Aurora Quilt Sew-Along Week 1
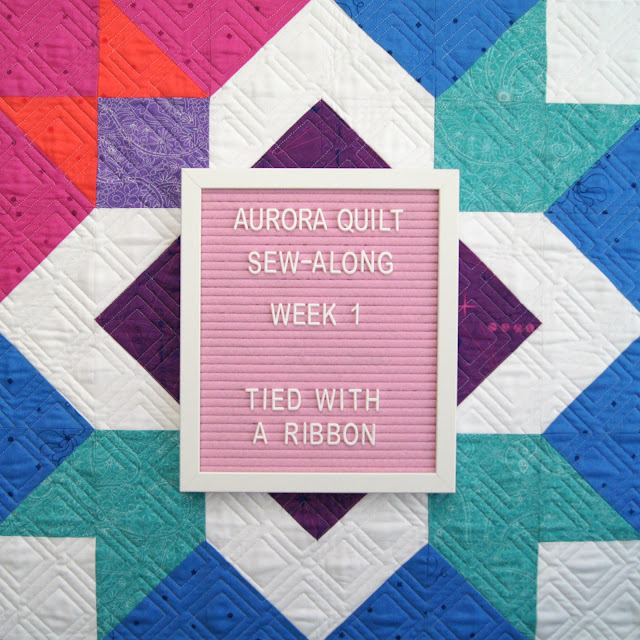
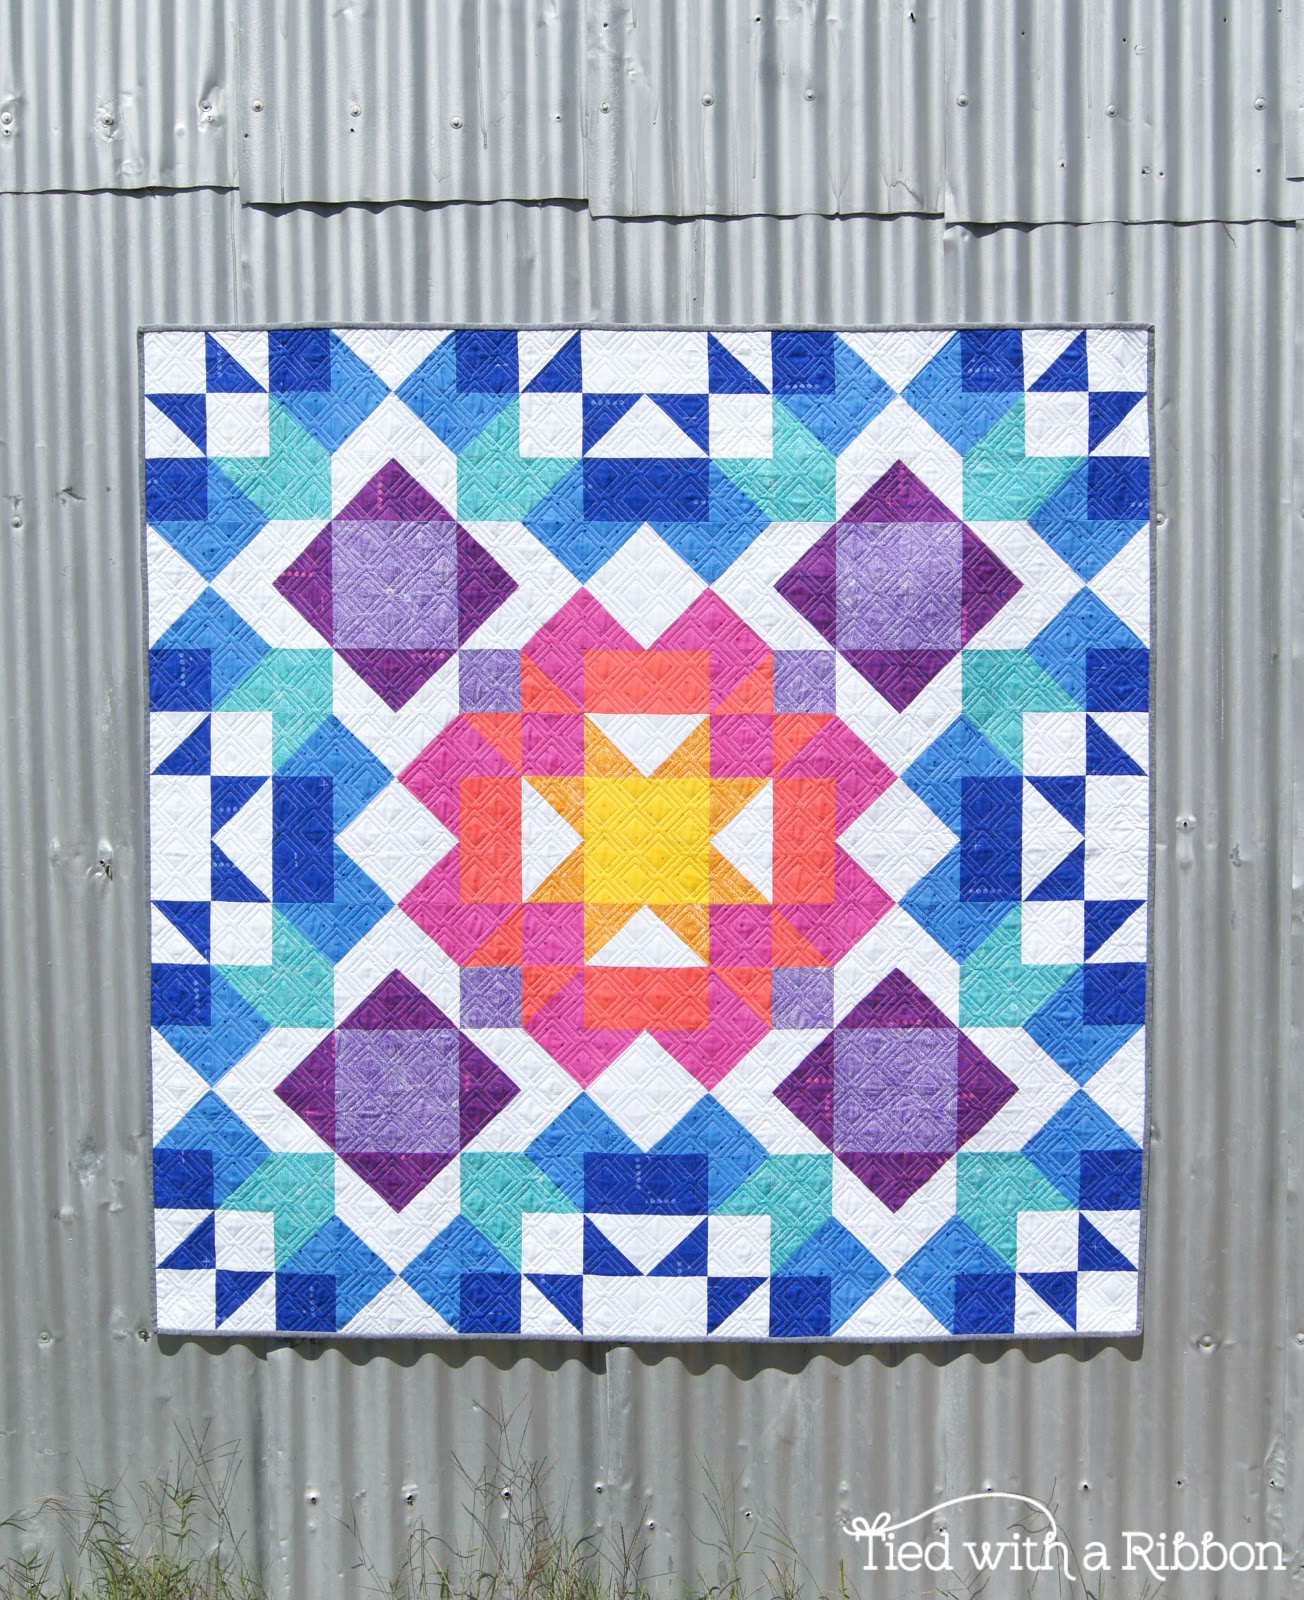
Welcome to Week 1 of the Aurora Quilt Sew-Along. Get excited because this is going to be a really fun adventure ahead. This Sew Along is designed to help inspire you to make your own version of the Aurora Quilt and give you lots of tips and tricks along to way to guide and help with your quilting. Please share your comments or questions that you may have along the way. Designed to be causal and over a realistic time frame, we will all sew along together.
Schedule
Week 1 - Choose and cut fabrics
Week 2 - Make Half Square Triangles
Week 3 - Construct 1st Quadrant
Week 4 - Construct 2nd Quadrant
Week 5 - Construct 3rd Quadrant
Week 6 - Construct 4th Quadrant
Week 7 - Sewing Together Quilt, Quilting, catch-up if needed
Week 8 - Finishing up, Binding
Choosing Fabrics
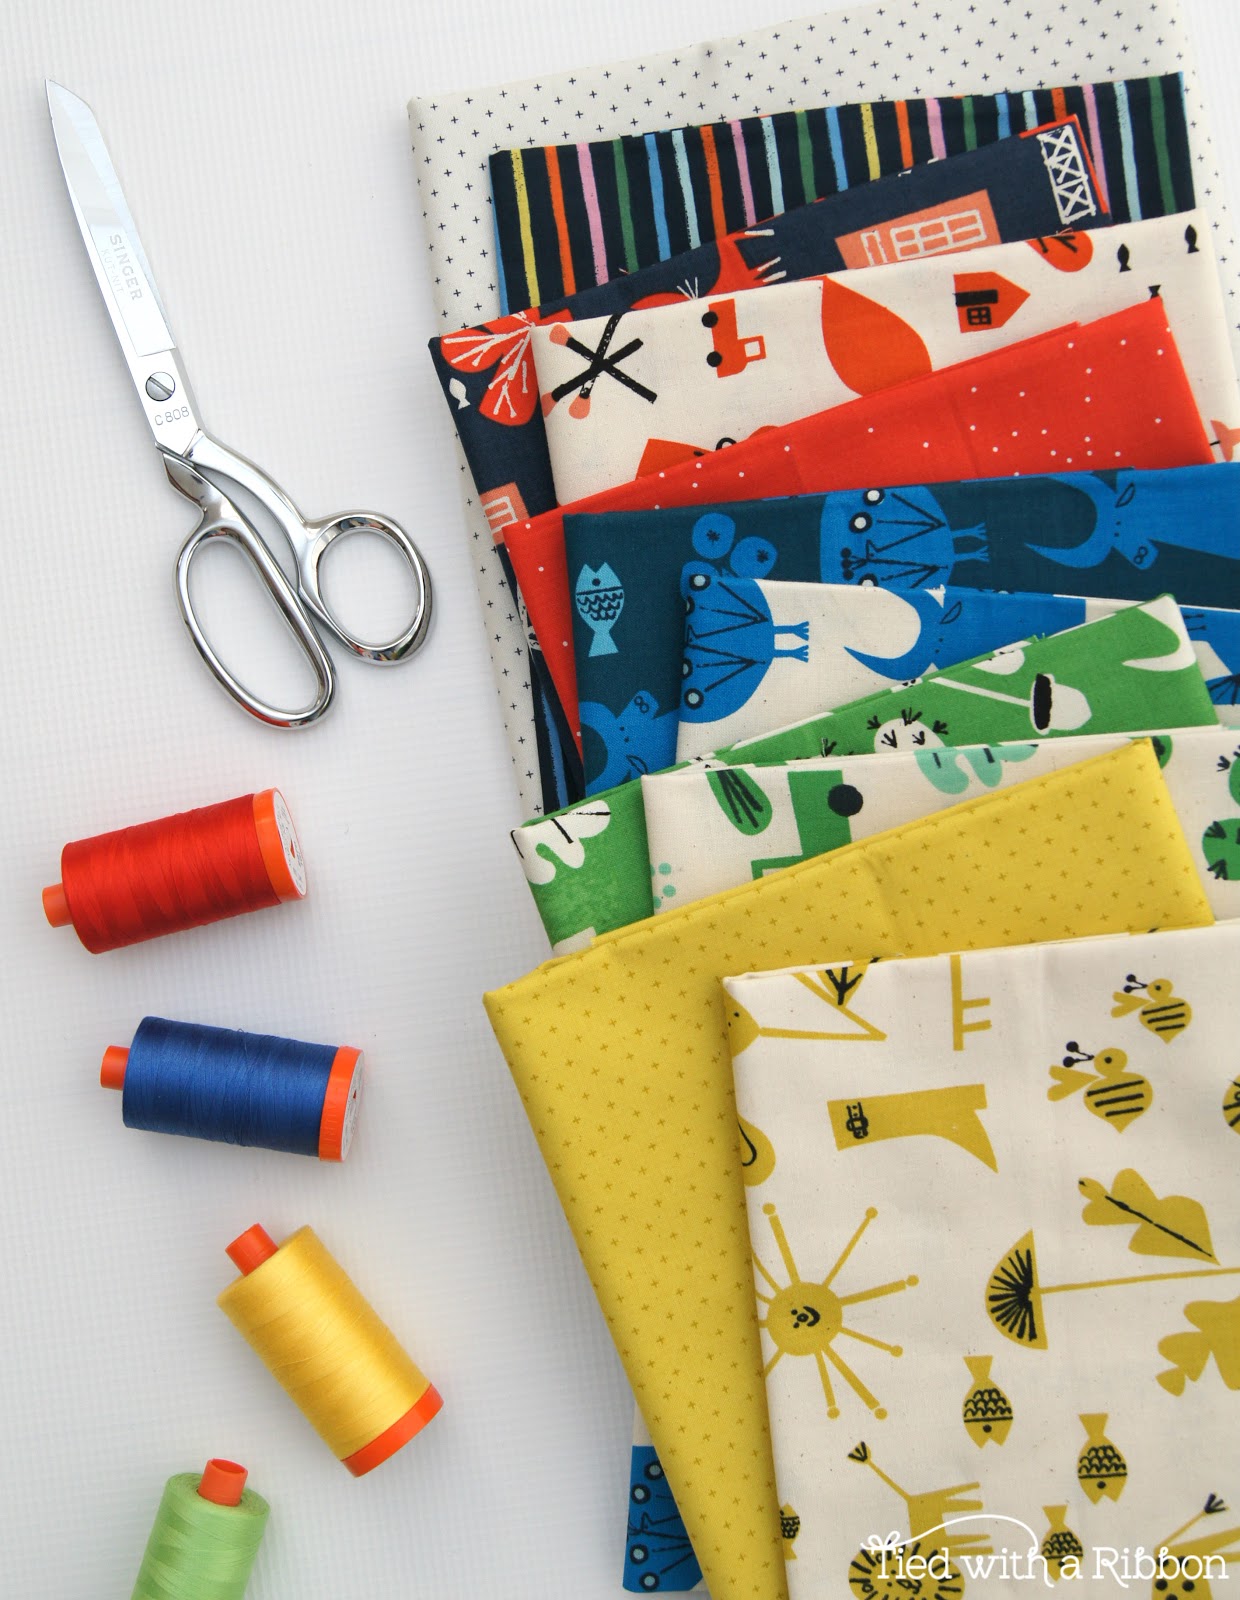
This is such a fun part of the process although I totally understand how this is the daunting part for many people. I always start with whom I am intending on giving the quilt to. Hence why I have chosen the Spectacle Bundle I am using. I will be giving mine to a child so I wanted it to be bright fun and primary coloured fabrics. So think about who you might like to make the quilt for as a way to get colour inspiration.
Fabric Print / Colour Options
You can make your Aurora Quilt in so many different options. Here are some ideas for you to run with ....
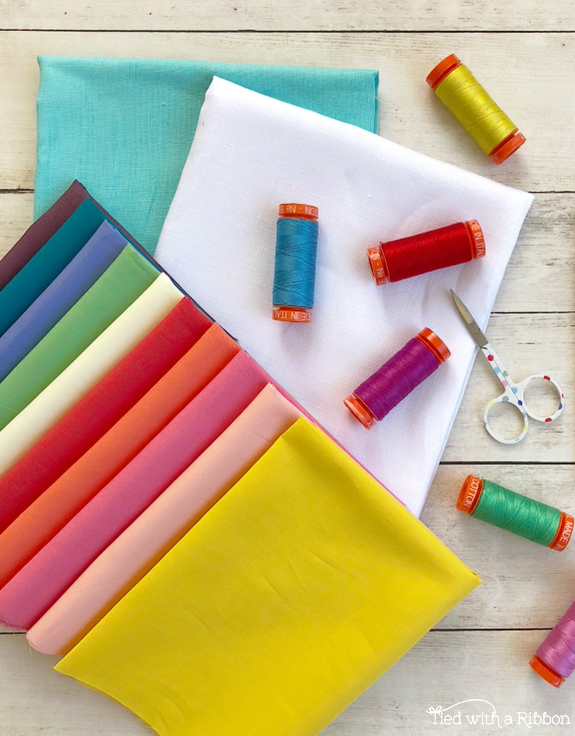
Rainbow - yellow, orange, red, pink, purple, turquoise, green, aqua, blue.
Ombre - choose a colour and then gradiate the colour from lightest to darkest in that colour.
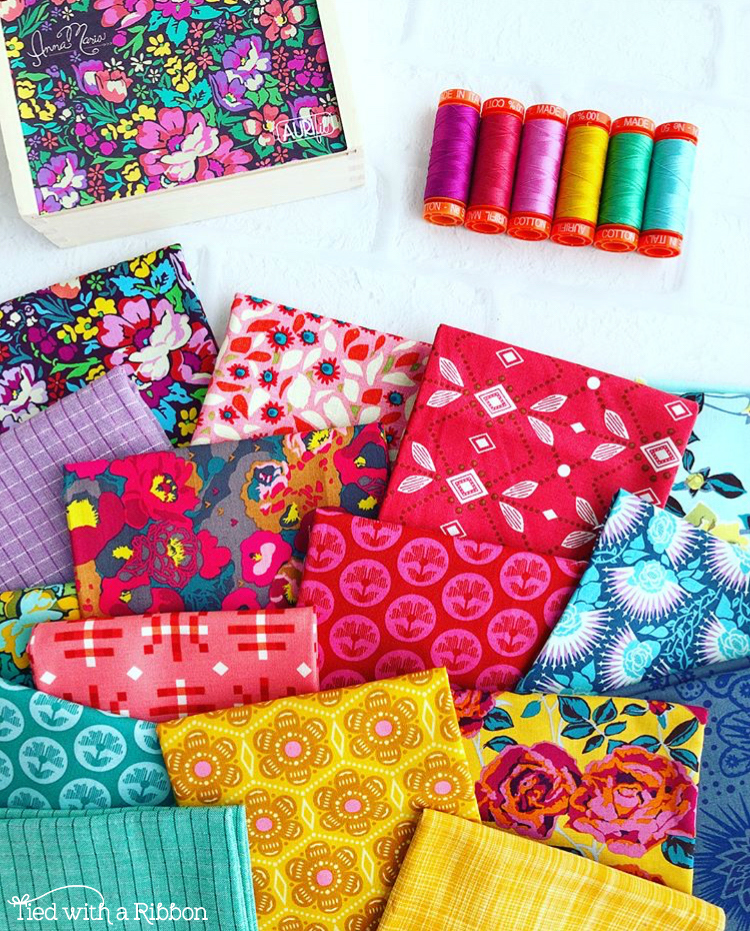
Scrappy - dive into your Scrap Basket and make a dent.
Two-Toned - this quilt would look great if you choose just to do it in two colours.
Neutrals - how about a black and white quilt with either a great background or low volume fabric background.
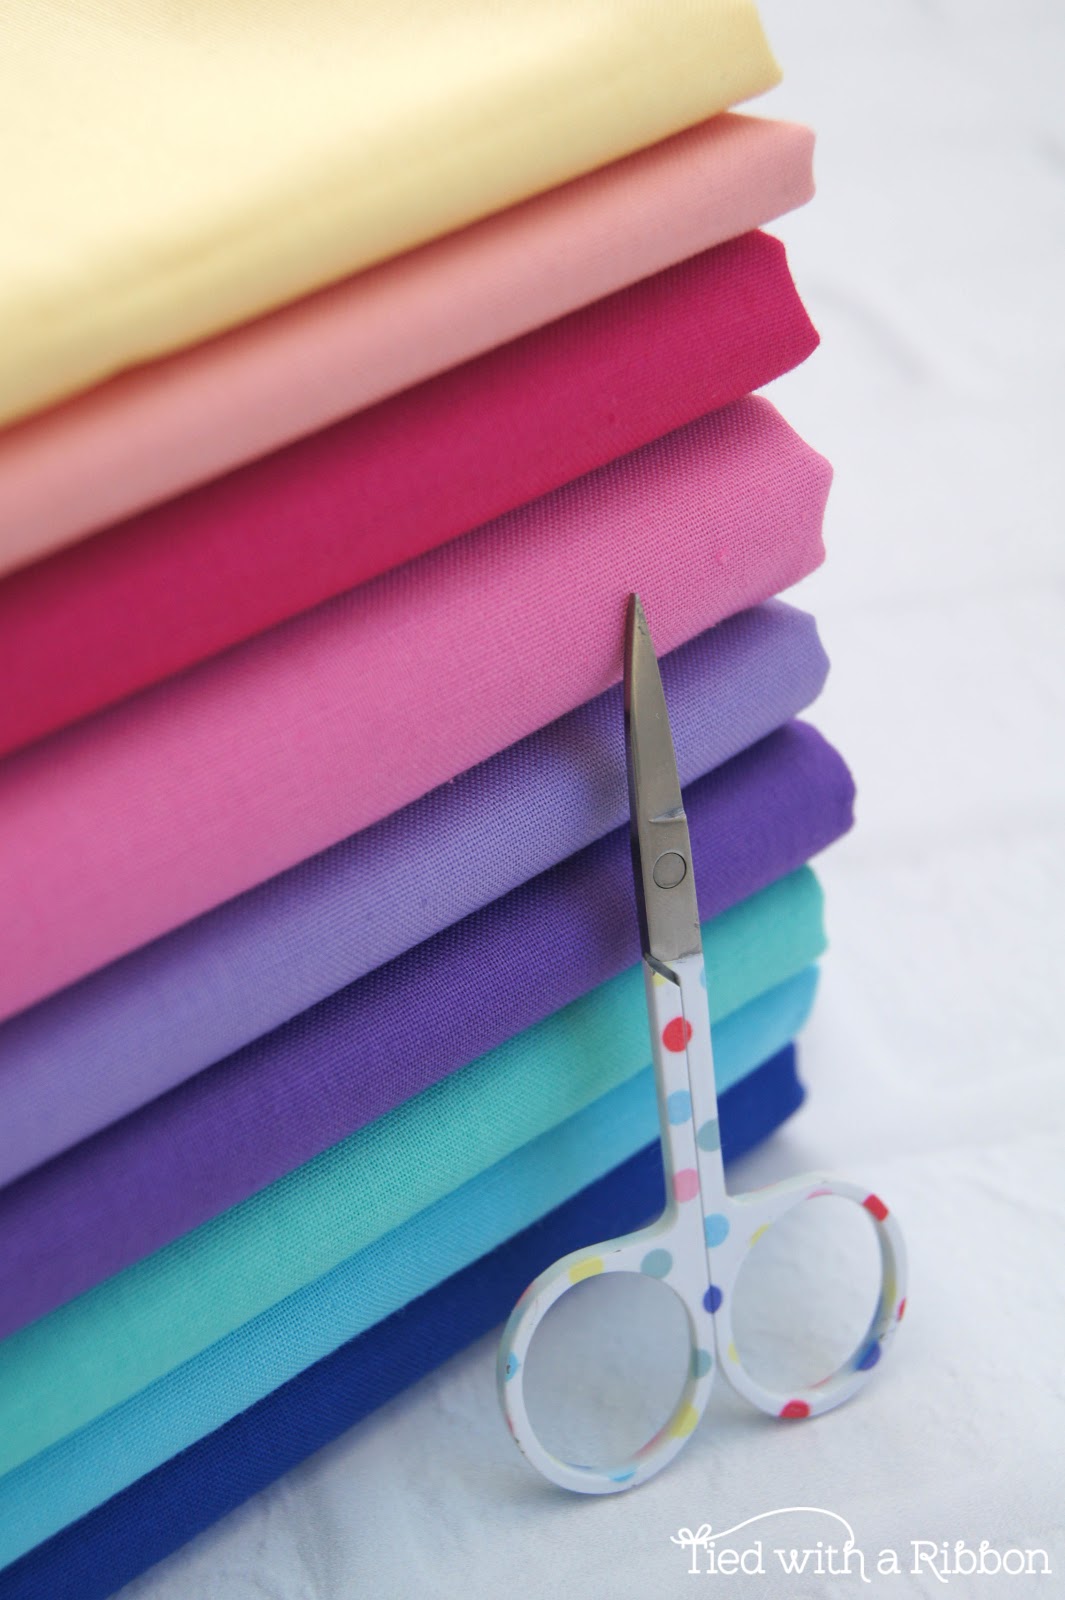
Solids - choose your favourite colour palette and make a statement with Solids.
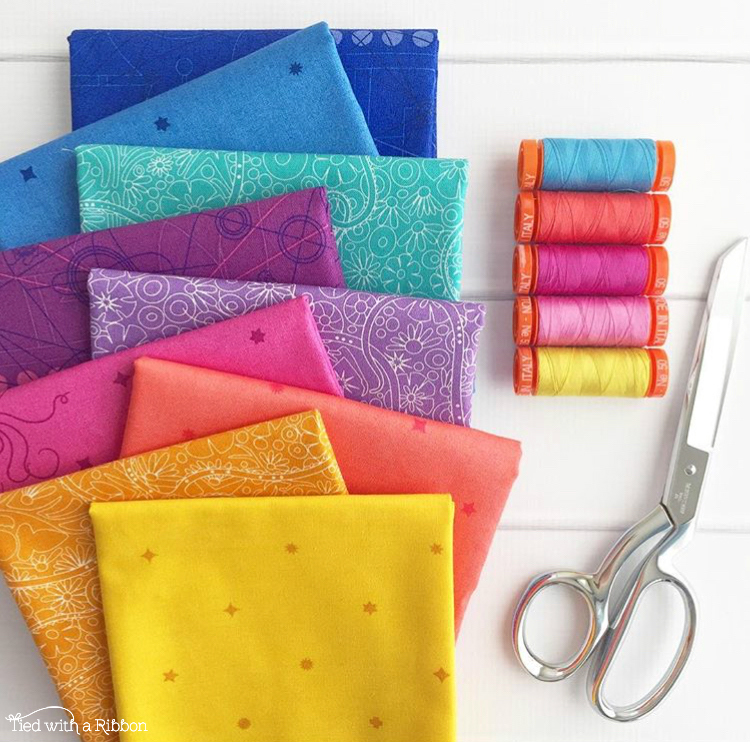
A Range - choose fabrics from a collection from your favourite designer.
No matter what you choose I cant wait to see what you do end up deciding to go with. Follow your instincts most importantly!
DIRECTIONAL FABRIC - Something to take into consideration when making your Aurora Quilt is if you choose Directional Fabric. You can certainly use it you just may want to be aware that if you want characters or prints to line up certain ways then this will need to plan early for this. Each quadrant although pieced in the same way requires the finished quadrant to be rotated to make the pattern. You will need to arrange your quadrant in the correct finished order if using directional or fussy cut fabrics before sewing.
Colouring Page

Image thanks to @katebasti
Included in the pattern is a Colouring Page for you to use. Grab your coloured pencils and if it helps to plan your fabric colour layout then get colouring.
Some people find it much easier to plan what fabrics will go where and what the colours might look like. Using the colouring page may be helpful to give you an overall look of what your quilt will look like without cutting all your fabrics necessarily first.
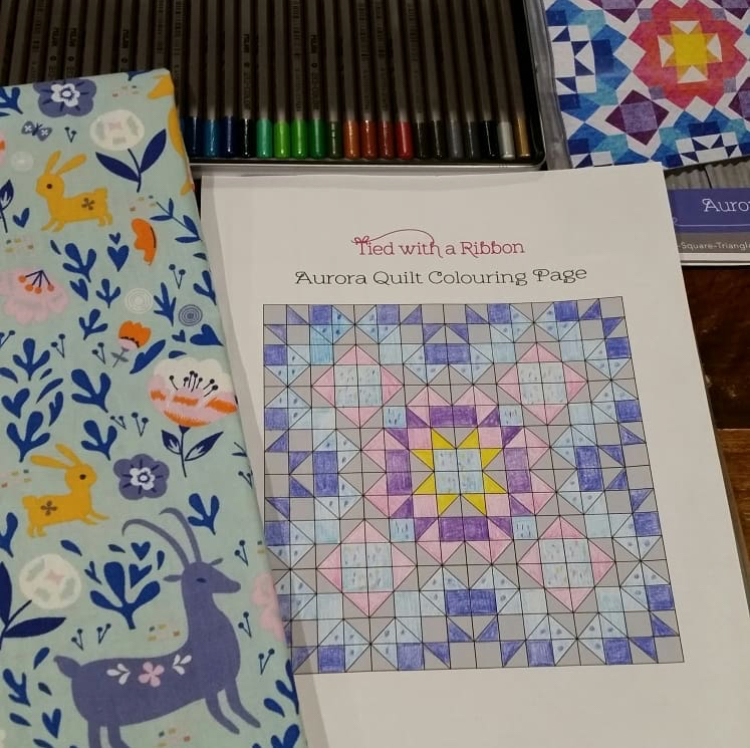
Image thanks to @rebeccaw.projects
Gathering Supplies
Make sure you have all the tools and notions you will need to make your Quilt.
Aside from the Pattern, you will need Sewing Thread (I always use Aurifil), a Rotary Cutter, Ruler and Cutting Mat.
Bloc-loc Ruler - this ruler is completely optional but is my preferred ruler to use when making Half Square Triangles. You can get these from many Local Quilt Stores or online. These are one of my most Favourite Tools, I use them so regularly in my quilting.
Cutting your Fabrics
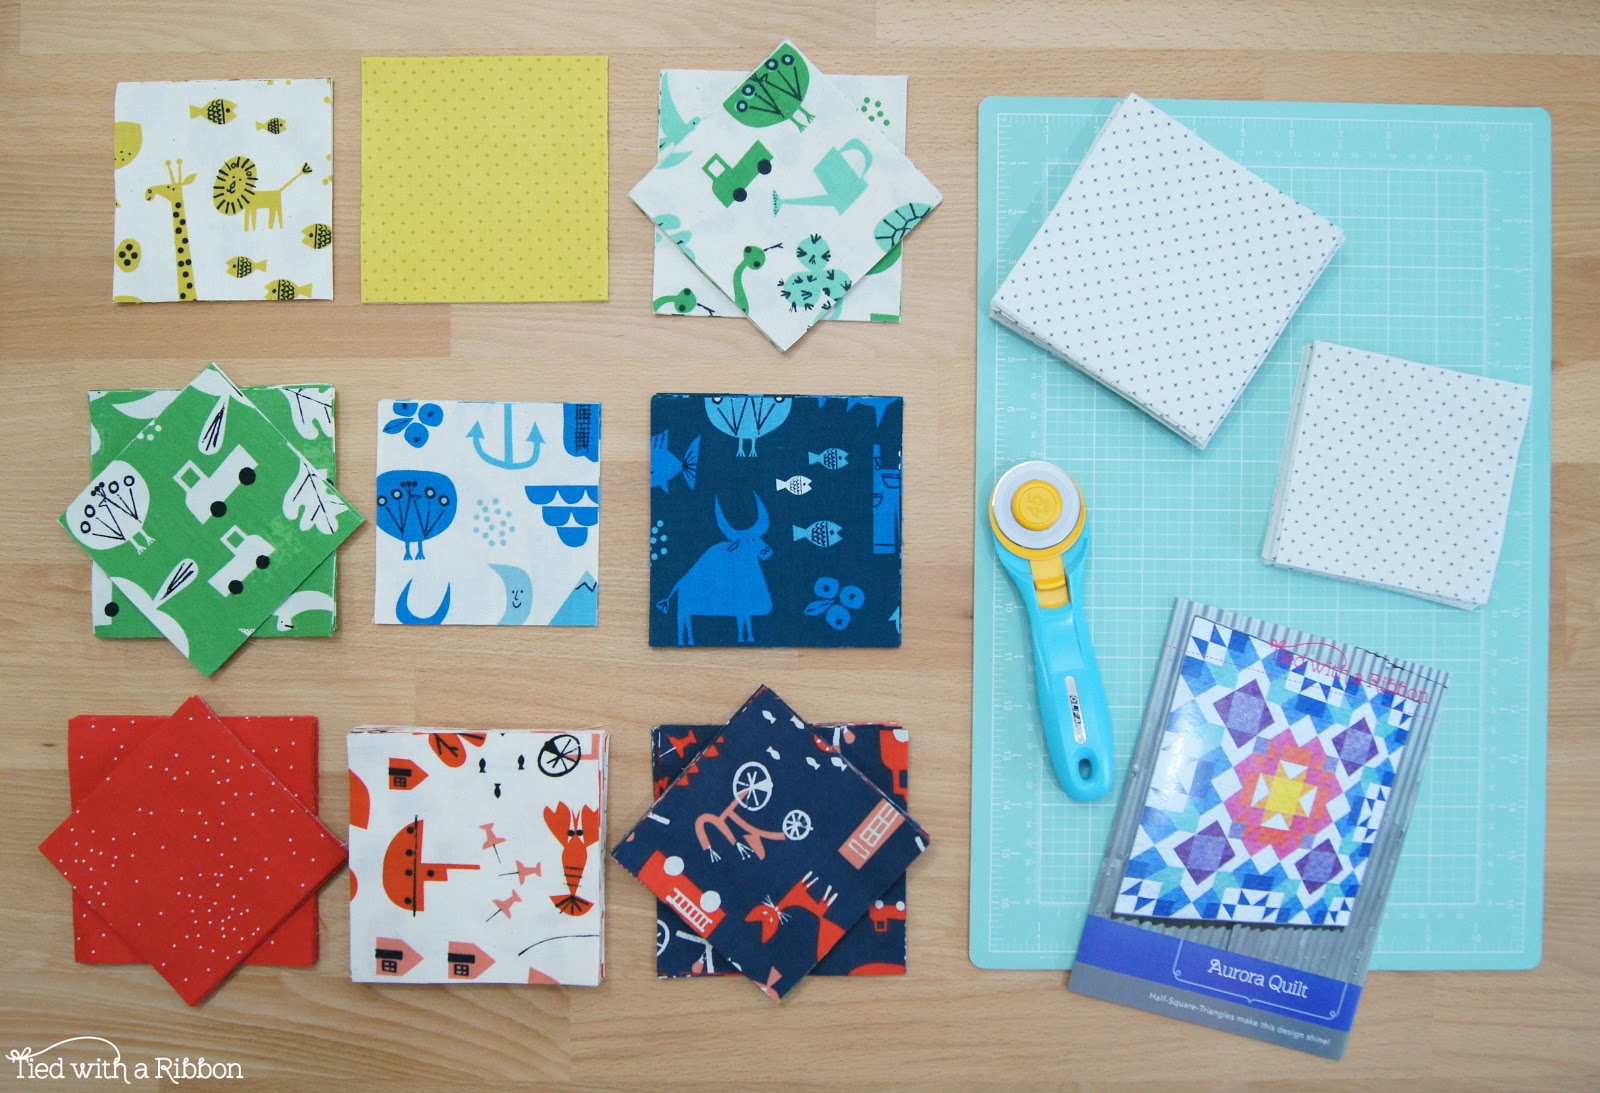
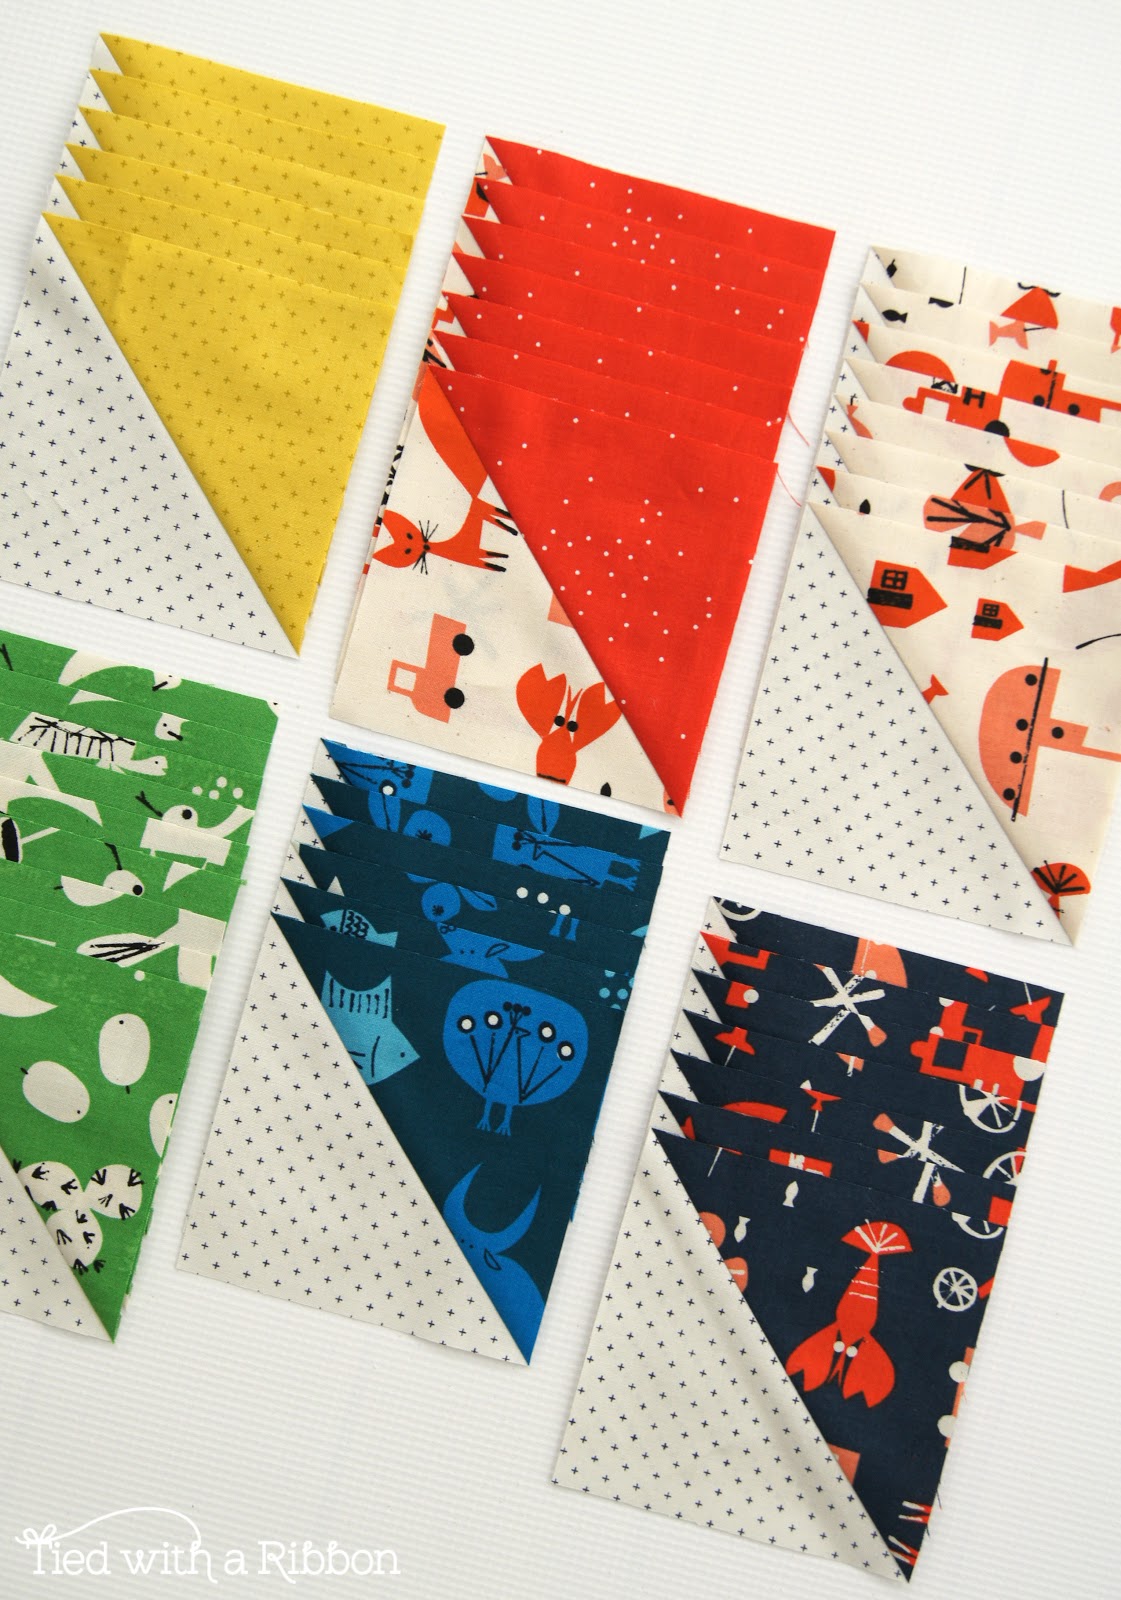
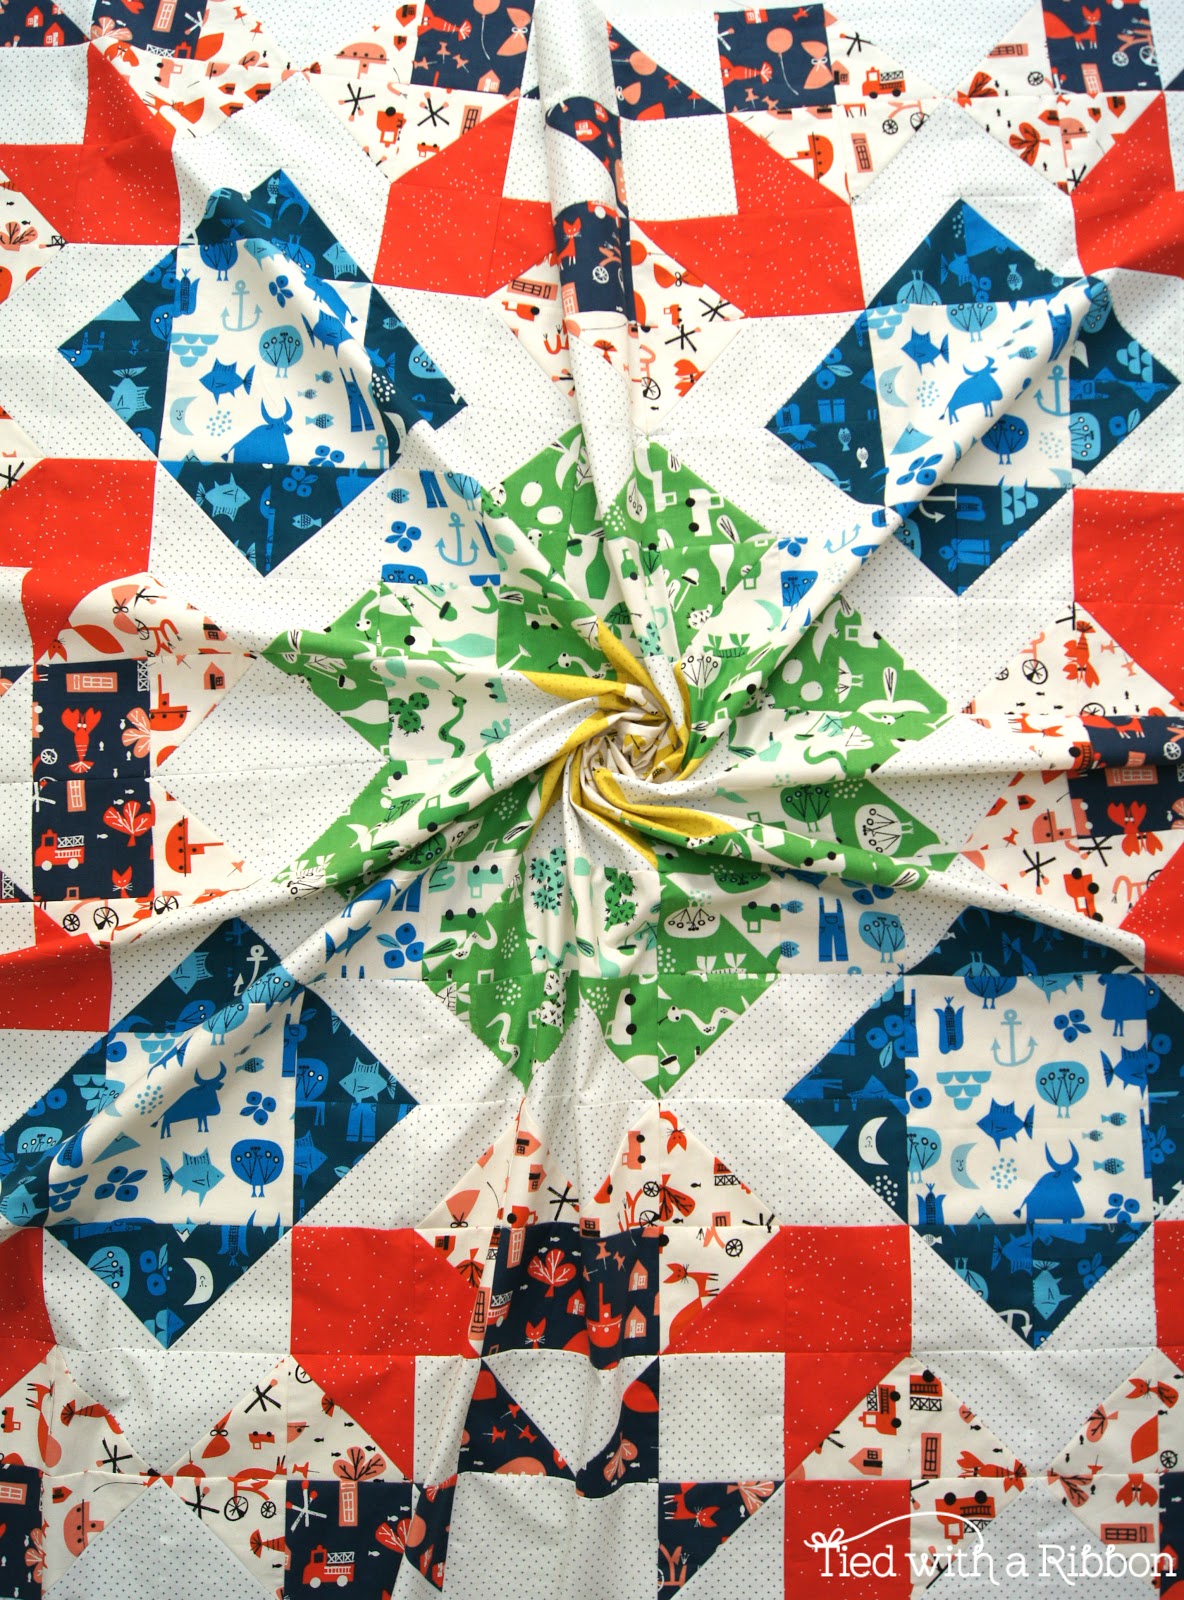
Once you have settled on your fabric combination for this quilt it is time to get cutting each of the blocks. I am using Spectacle for my version and have ordered them below to show you.
Give your fabrics a press with the iron and using the Cutting Instructions in the pattern begin cutting your blocks depending on which size Quilt you are making. As far as cutting out your fabrics it is very straightforward. As a TIP - I always like to cut the largest pieces/strips first from the fabric piece.
Aurora Quilt Inspiration
There have already been so many beautiful Aurora Quilts made by some very talented people. You can head over to Instagram and checkout the #auroraquilt hashtag to see some more stunning quilts. Check out these below.
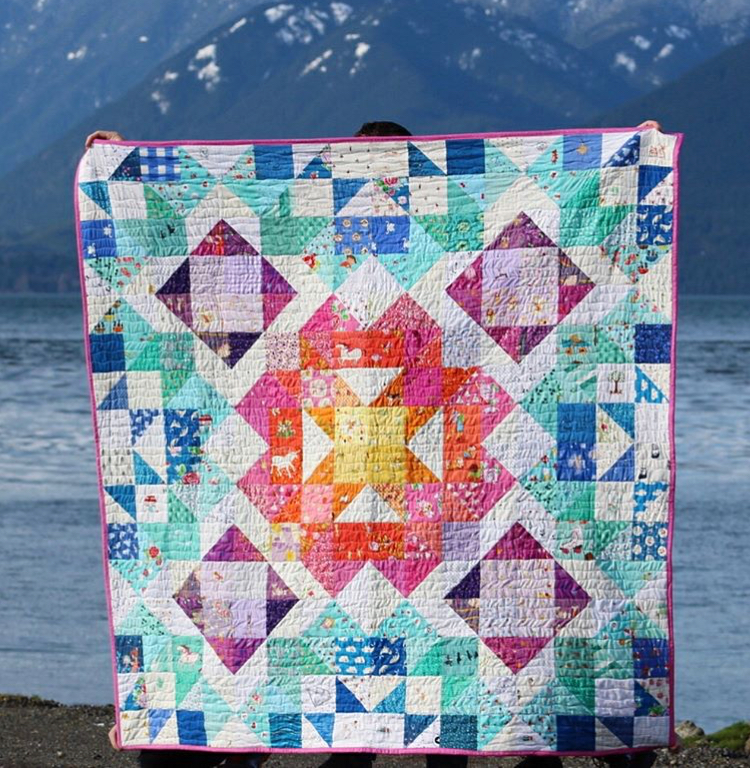
Aurora Quilt made by Lindsay @linzentart
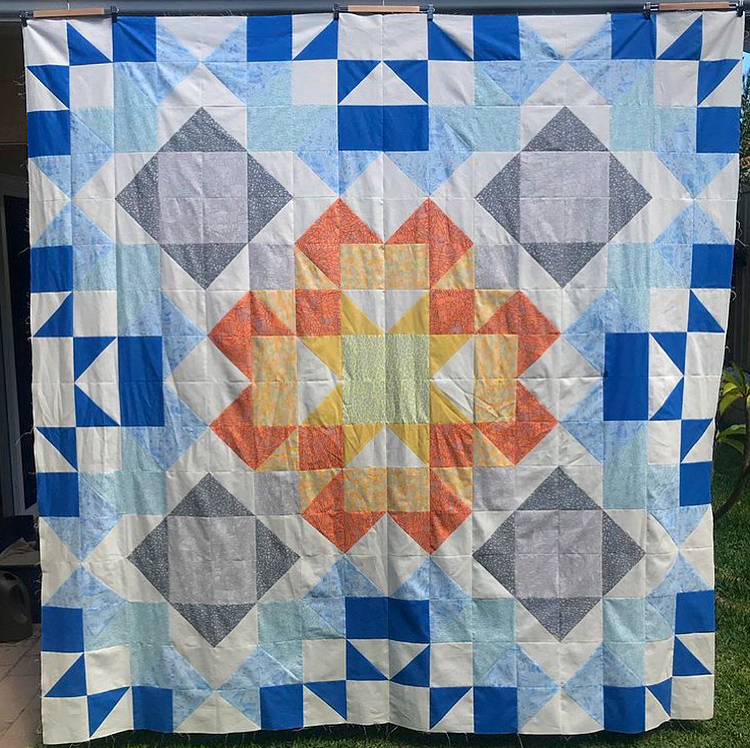
Aurora Quilt by Hanna @hannabanna203

Aurora Quilt Quadrant by Kate @katebasti
This week our Sponsor of the Aurora Quilt Sew-Along is - My Fabricolgy
Jemima x
Aurora Quilt Sew-Along Week 2
It's Week 2 of the #auroraquiltsewalong and I am so excited to see so many posts and people having started their own #auroraquilt over at Instagram.
You are very welcome to join in at any point along the Sew-Along - so if you have been inspired by seeing all the great fabric pulls for the project then it is certainly not to late to join in.

This week is all about taking your cut fabrics and making your Half Square Triangles or HST's as they are more commonly referred to.
You can take all your cut squares for the HST's (these will be the larger sized squares) and following the pattern instructions on page 5 - there is a "Fabric Combinations" chart to help you pair up and make the required number of HST in the right combinations.
How to HST!
There are many ways to make Half Square Triangles (HST'S), you only have to do a quick Google search and you will see countless Tutorials on how to do them. In the pattern I have outlined my favourite way to make them.
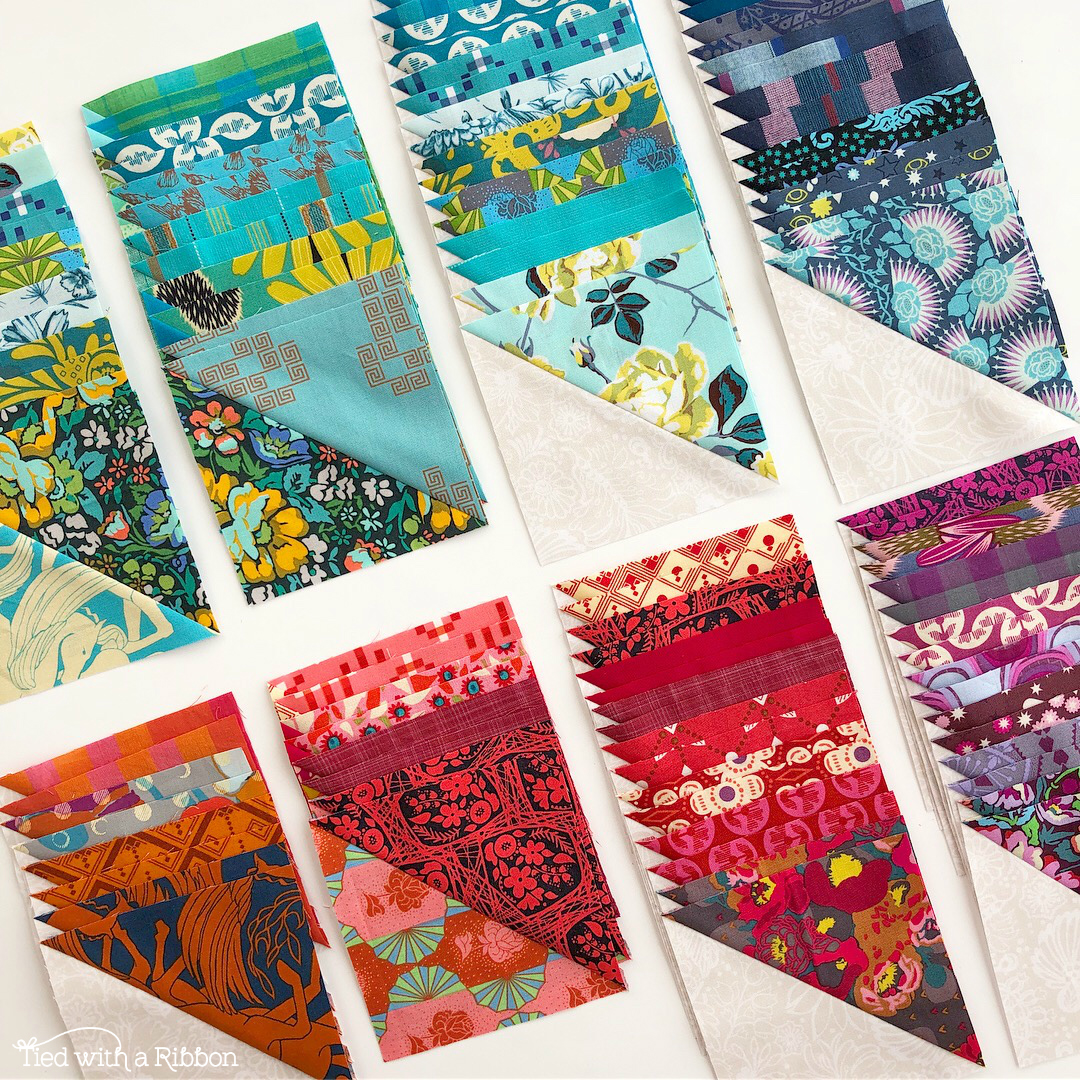
Chain Piecing is a great way to sew the large number of HST's required. Chain Piecing is when you take one block and continue to sew the next through the machine without backstitching each block. It is a quick and easy way to speed up the sewing process. With these HST's - I like to run down one side of the marked line in a chain with about a dozen squares and then turn them around and sew down the other side of the marked line in a chain. Then use your scissors and snip the threads joining the blocks.
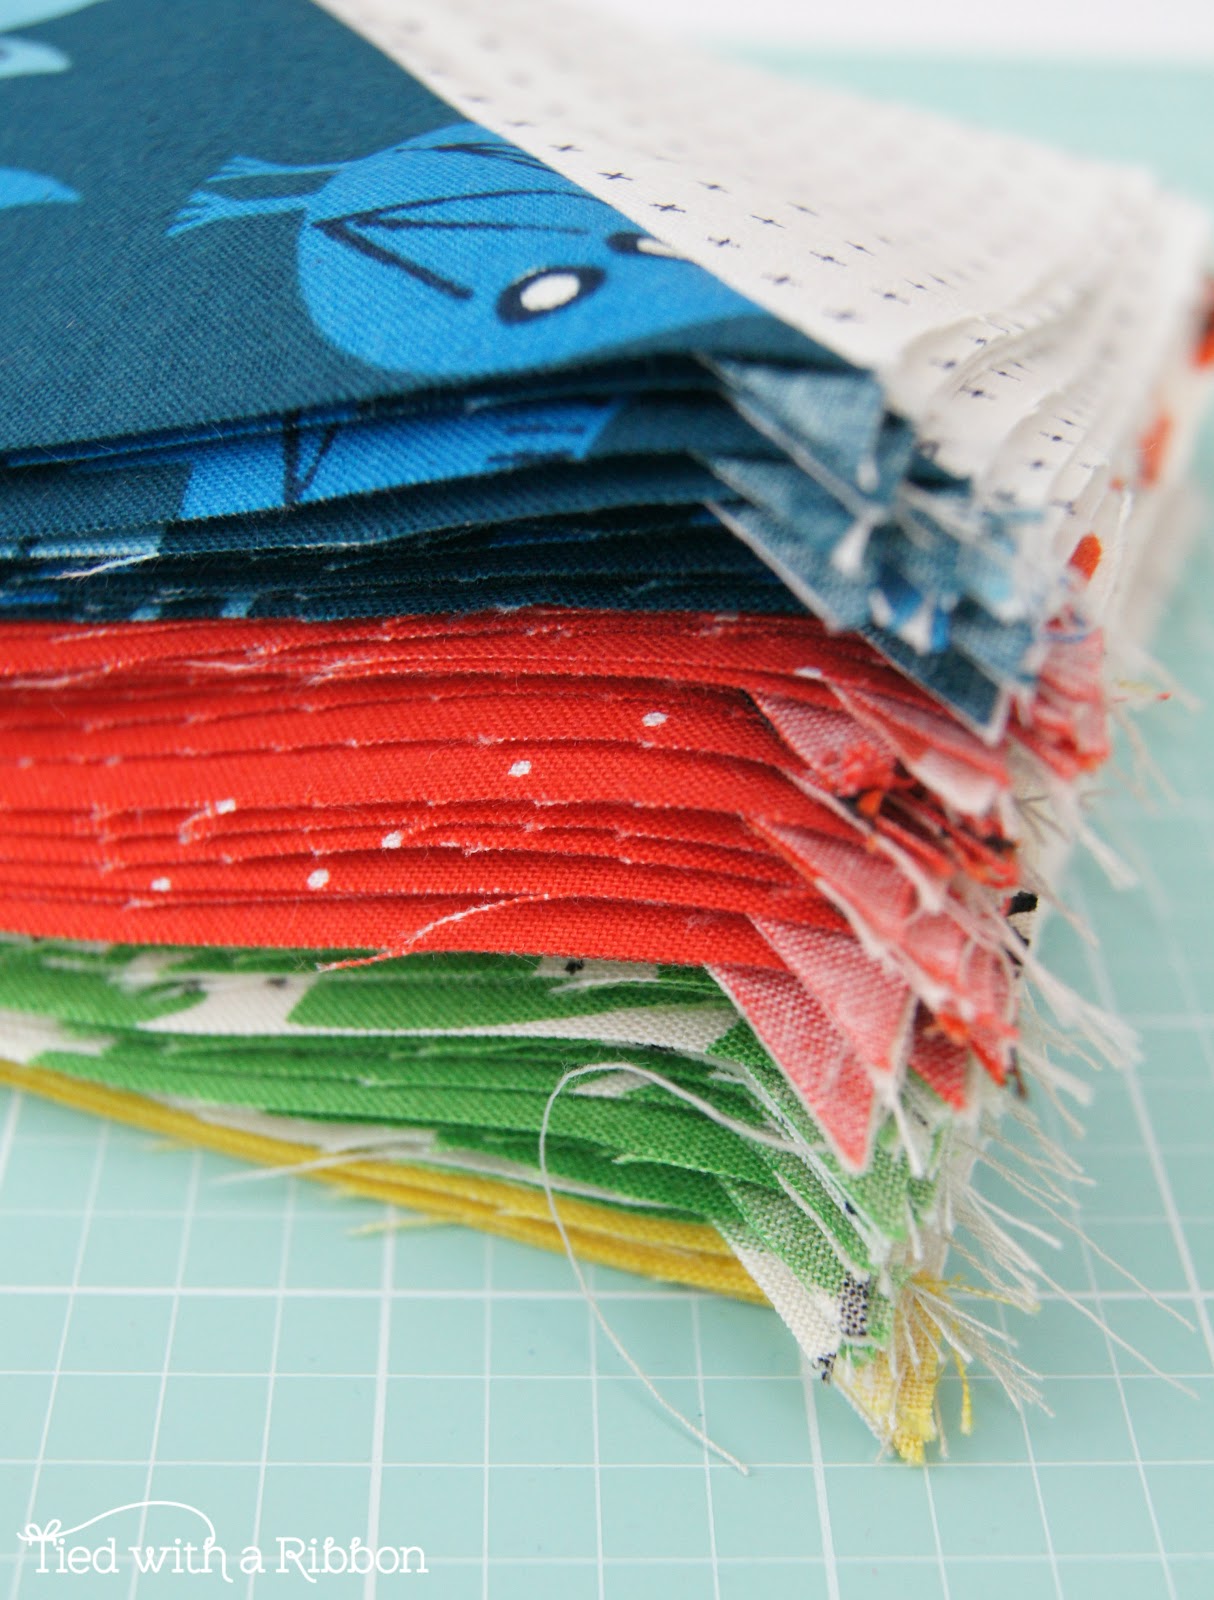
Oversizing - I really do like to make my HST's - oversized and then allow for trimming back to the correct size. I do this for a number of reasons. Firstly as many of my patterns are beginner friendly - I think this helps with accuracy. Secondly after pressing your HST's - you can have some stretch from the bias of fabric and this may have distorted the HST a little. Thirdly - trimming them back really does make for getting "Perfect Points". I think it saves time and issues later in trying to make the seams line up later - if they are trimmed back everything should line up nice and neatly the first time around and save you unpicking later.
TRIMMING
Bloc Loc Rulers
Most people will know I am a big fan of Bloc Loc Rulers (you can check out this post). Having taught many students over years of Quilting I find them one of the most useful and purposeful tools to have in your kit. I make a lot of HST's and so I always use them to trim my HST's to the correct size - they really do make for "Perfect Points".
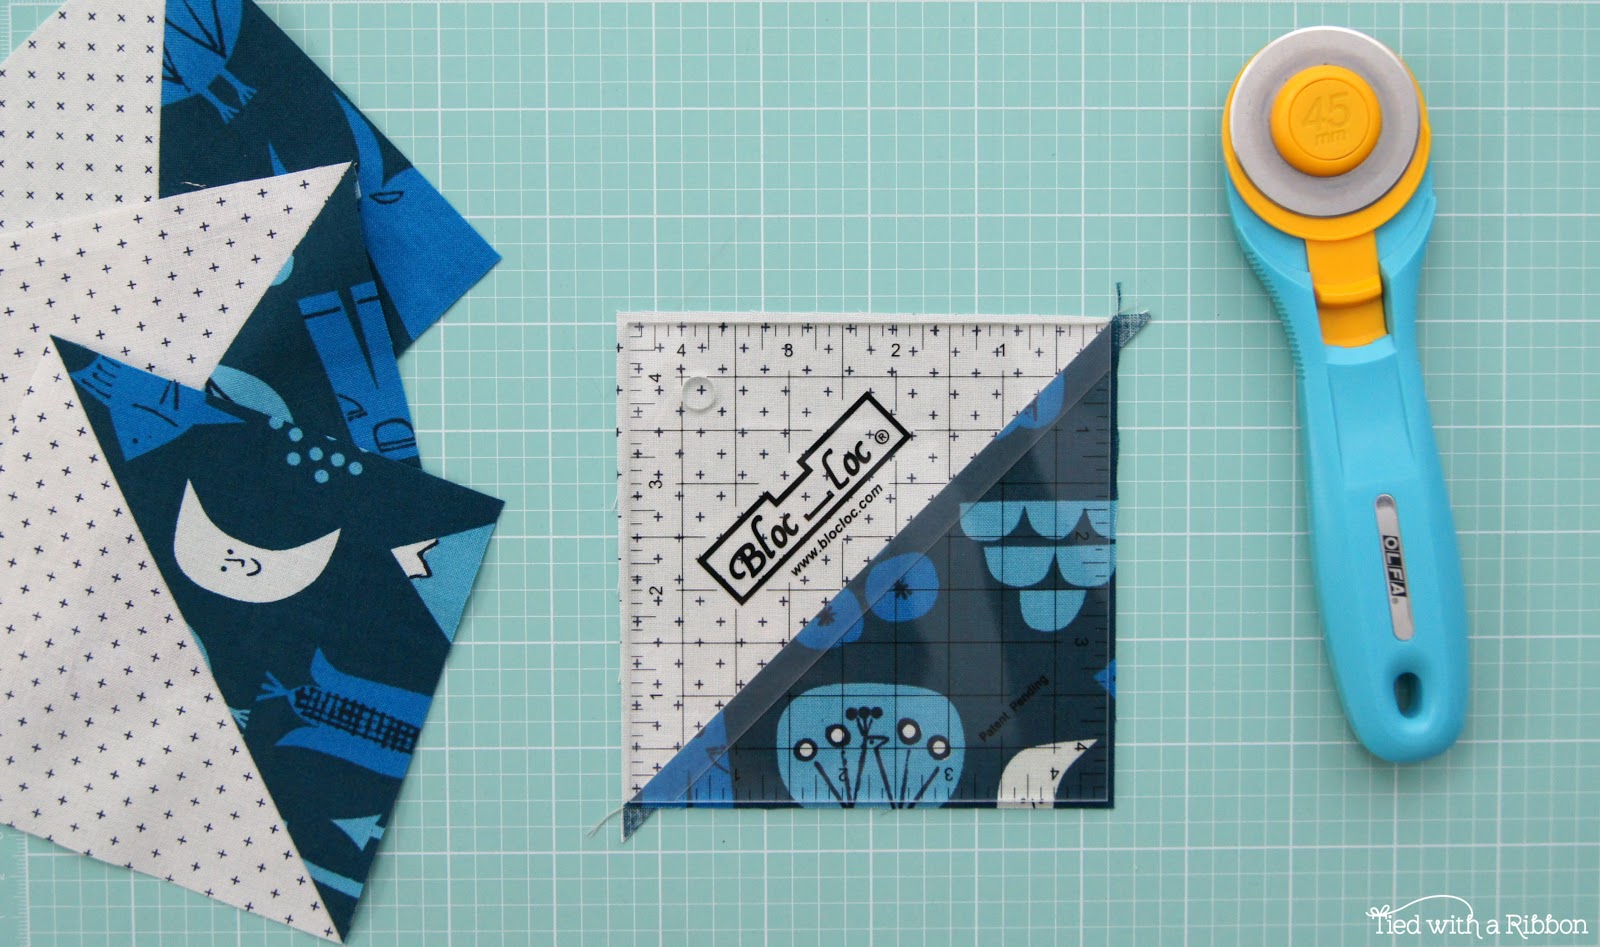
NOTE - I am not affiliated with Bloc Loc Rulers I just really think they have a great product in my opinion.
Using your Regular Ruler
To make your HST's you do not have to have a Bloc Loc Ruler. You can certainly trim them back using your regular square ruler. As long as your ruler has a 45degree angle line on it you can simple line up the diagonal of your made HST along this line and trim your block to size. Make sure the points run through this 45degree line.
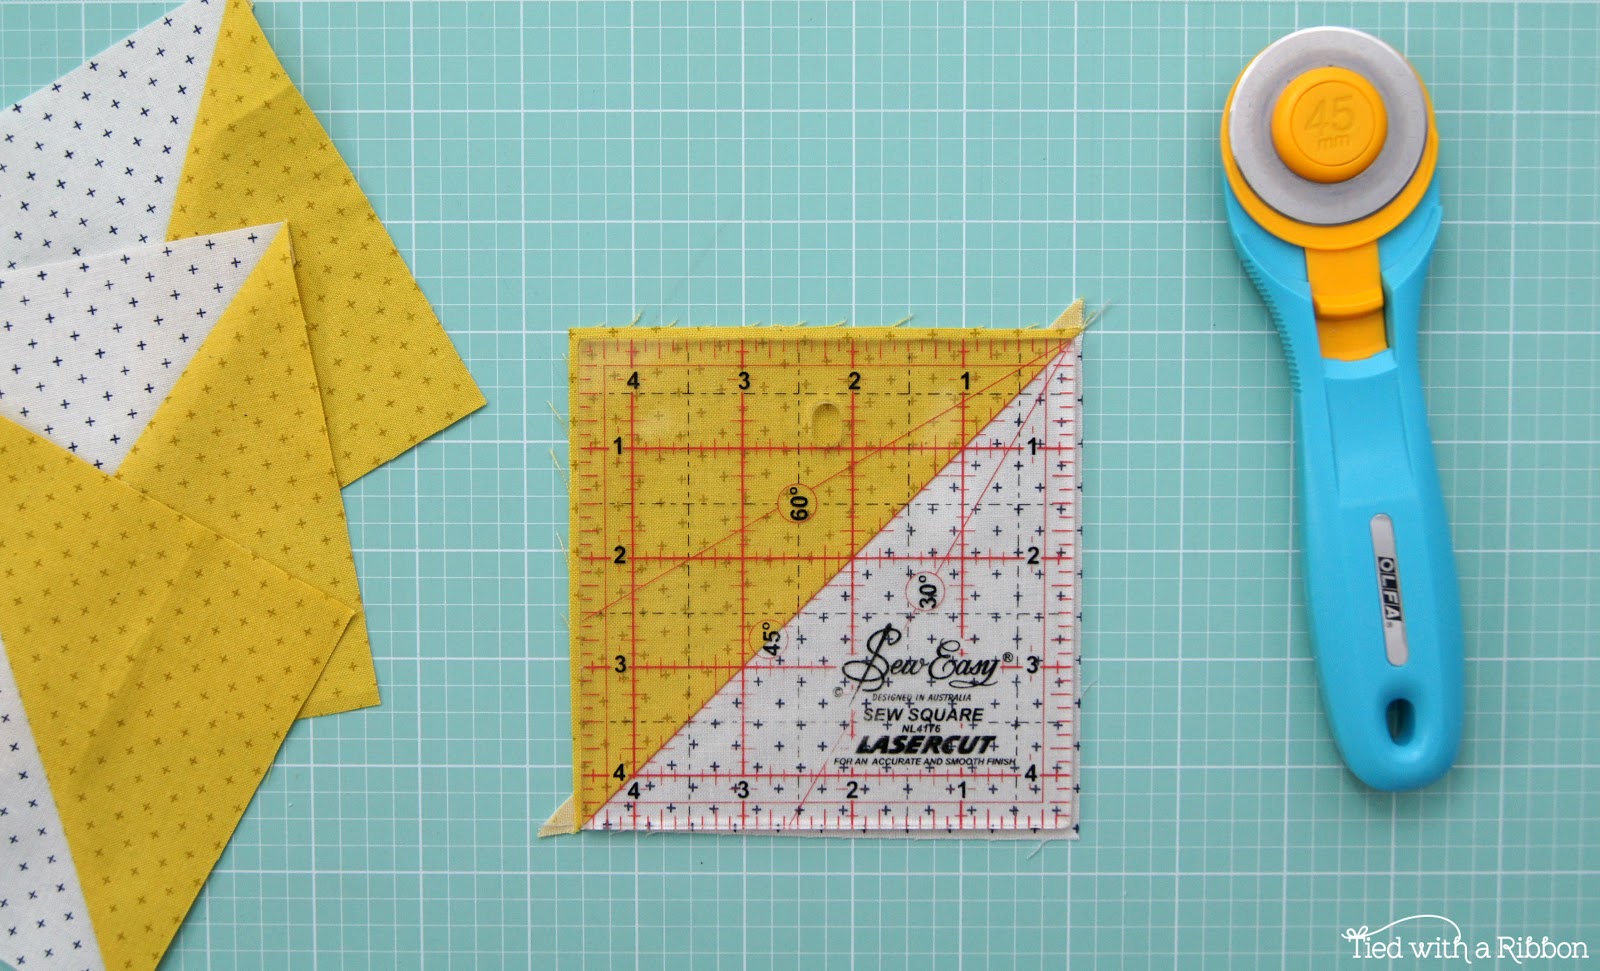
Aurora Quilt Inspiration
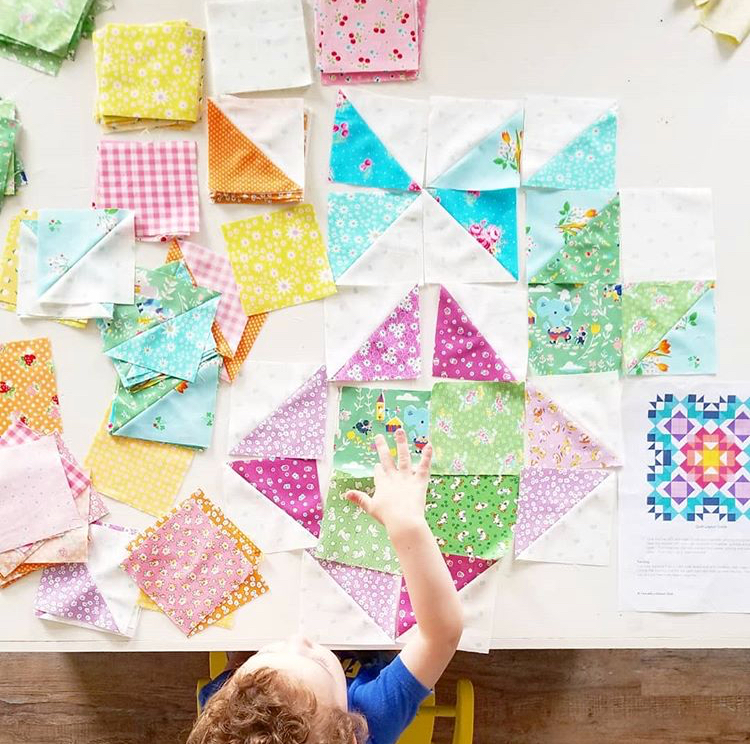
Image thanks to @sewstichinghappy
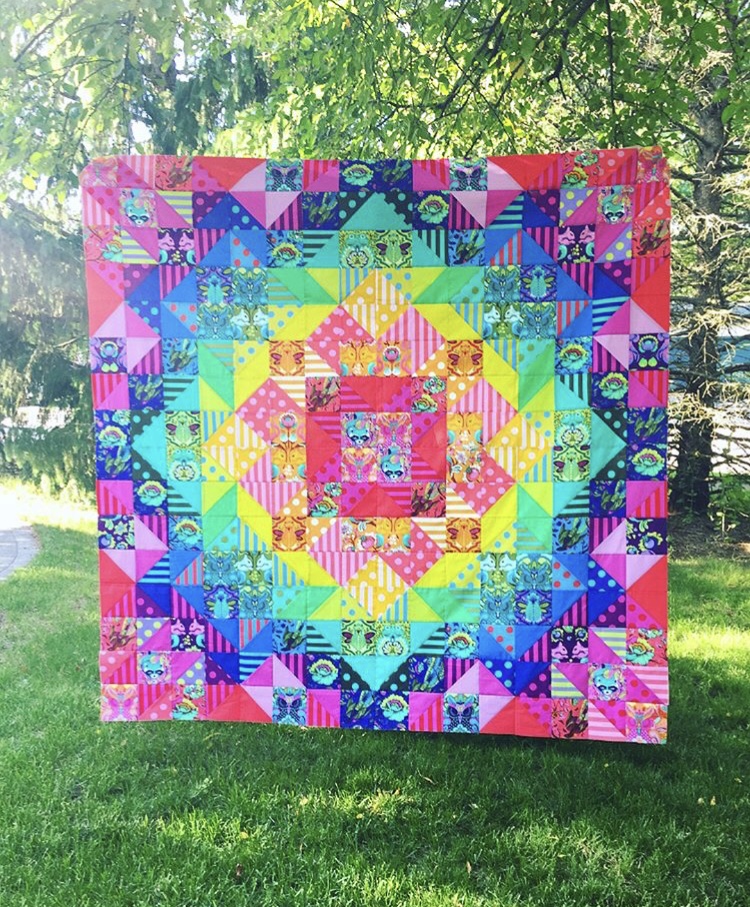
Image thanks to @katebasti
I have created an Aurora Quilt Sew-Along Pinterest Board - check it out here!
This week our Sponsor of the Aurora Quilt Sew Along is Ava and Neve

Happy Quilting
Jemima x
Aurora Quilt Sew-Along Week 3
Welcome to Week 3 of the Aurora Quilt Sew-Along. Now things start to get even more exciting as you will start to see your fabrics take their place and your design begin to form.
There have been so many beautiful progress shots over at the #auroraquiltsewalong hashtags - be sure to check them all out.
Remember its not to late to join in the fun to make your own Aurora Quilt. You can join in at any point.
Making your First Quadrant
It was a big week 2 with lots of sewing and prepping your Half Square Triangles. I assure you that trimming and making sure your HST's are square before you begin sewing them together will save you lots of grief and unpicking as you now come to sew them together to make your first quadrant.
Following your Pattern you have a Quadrant Layout guide. This will help you to place your pieces in the correct position.
REMEMBER - if you are using fussy cut or directional fabrics that you may need to change the direction of the block to suit which quadrant you are making - so that you don't have upside down characters or so that your lines work nicely together.
Helpful Tips
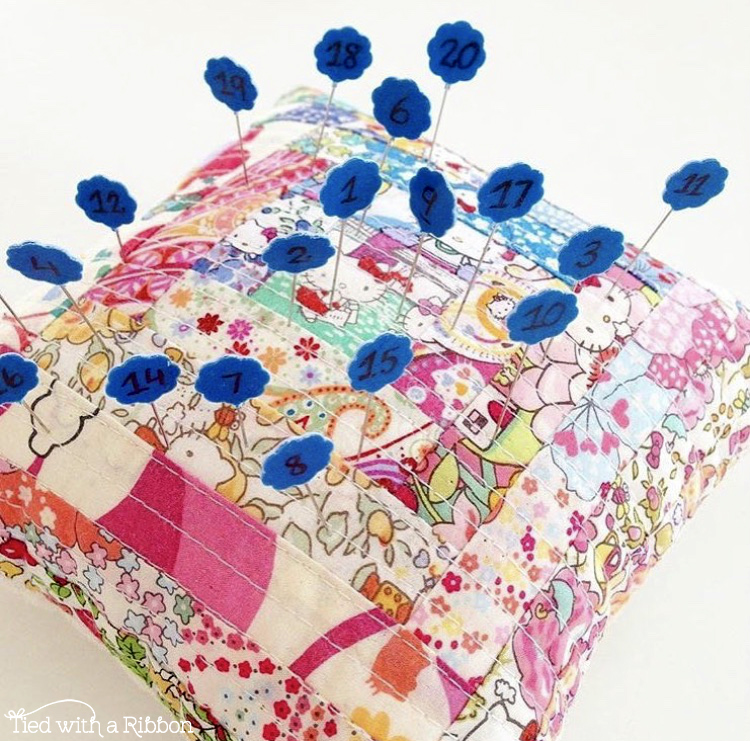
I find it really helpful to use Row Markers when making my Quadrants. There are lots of fancy ones available. But I have made my own - by taking a permanent marker and using some Clover Flower Head pins - I have written numbers on the flower heads and these are ever so handy to help me keep track of the rows.
Not sure of a Colour?
Once you have laid out all your colours you can sometimes see a colour may not work as well as you may have intended. If this is the case for you - this is now the time to change out any colour you may not be happy with. It is much quicker and easier to change out a colour fabrics at this point then later after having sewn them together.
Sewing your First Quadrant
Begin working through the sewing the rows following the directions also for pressing seams - this will help reduce bulk.
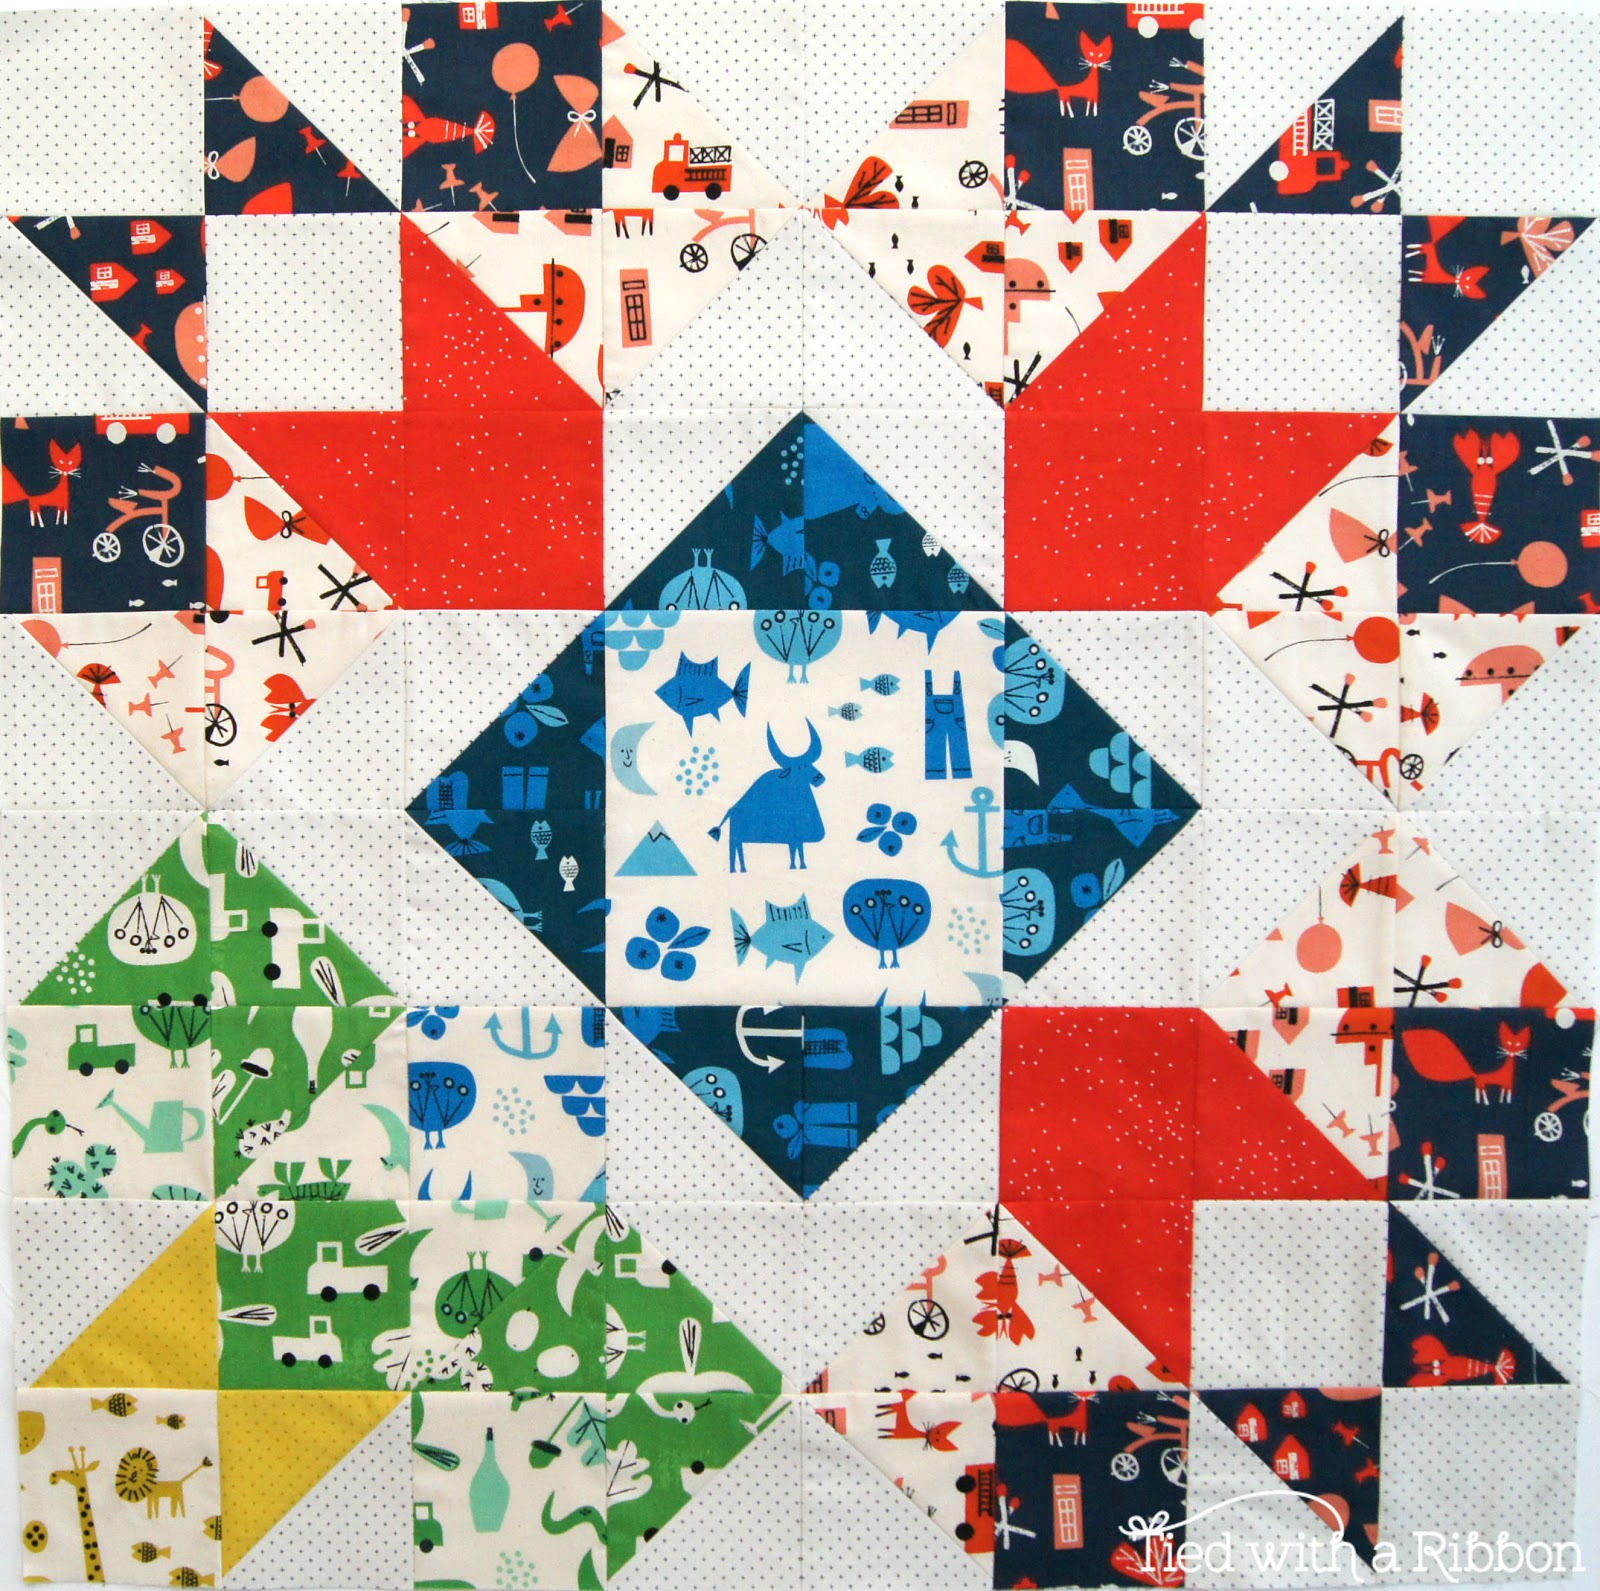
I have been busy making all of my HST's from my Spectacle fabric and have laid them out then shown as below.
Because of the fabric I chose for the light purple centre squares (as shown in the pattern) rather than cut it into four pieces - I cut it as one 8.5in x 8.5in square so that the characters would be more dominant. You can do this by cutting a square at the above dimensions and then sewing the first 3 rows together, then sewing rows 4 to 5 in two parts placing the larger centre square between the rows and then completing by sewing rows 6, 7 and 8.
Aurora Quilt Inspiration
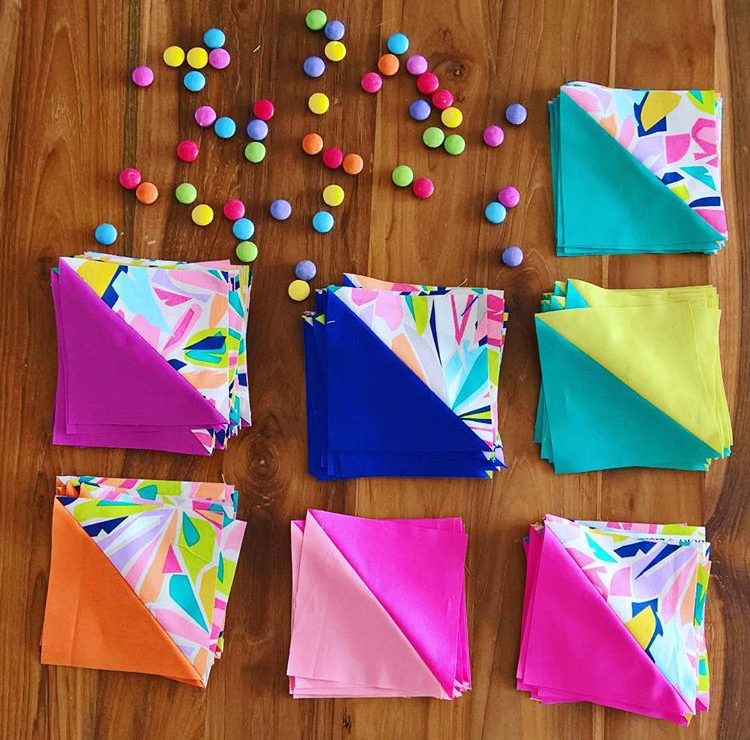
Image thanks to @septembers_delight
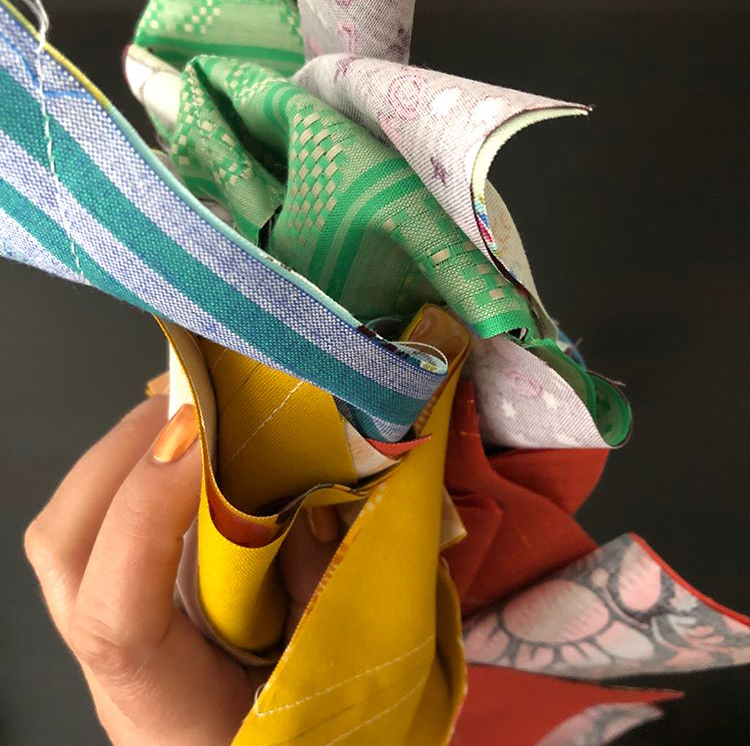
Image thanks to @mashie_v
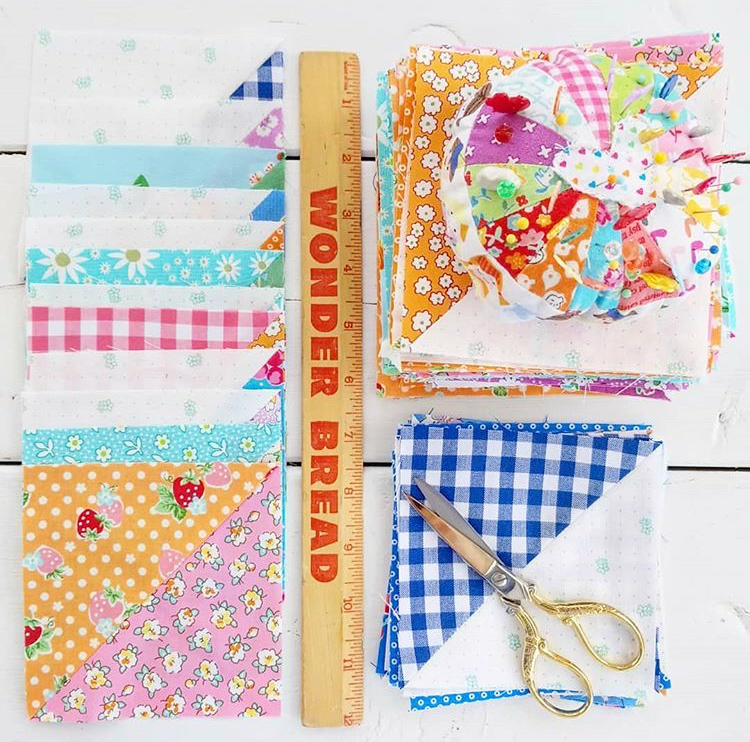
Image thanks to @sewstitchinghappy
This week our Sponsor of the Aurora Quilt Sew-Along is Quilters Candy Box

Happy Quilting
Jemima x
Aurora Quilt Sew-Along Week 4
Well as we approach the halfway mark it is really so exciting to see the Aurora Quilts you have been making over at the #auroraquiltsewalong and #auroraquilt hash tags.
This week - Week 4 is all about continuing on with making your second Quadrant. By now with your first quadrant together it will be a good time to have a look at your colour placement and make sure you are happy with everything where it goes.

Helpful Tips
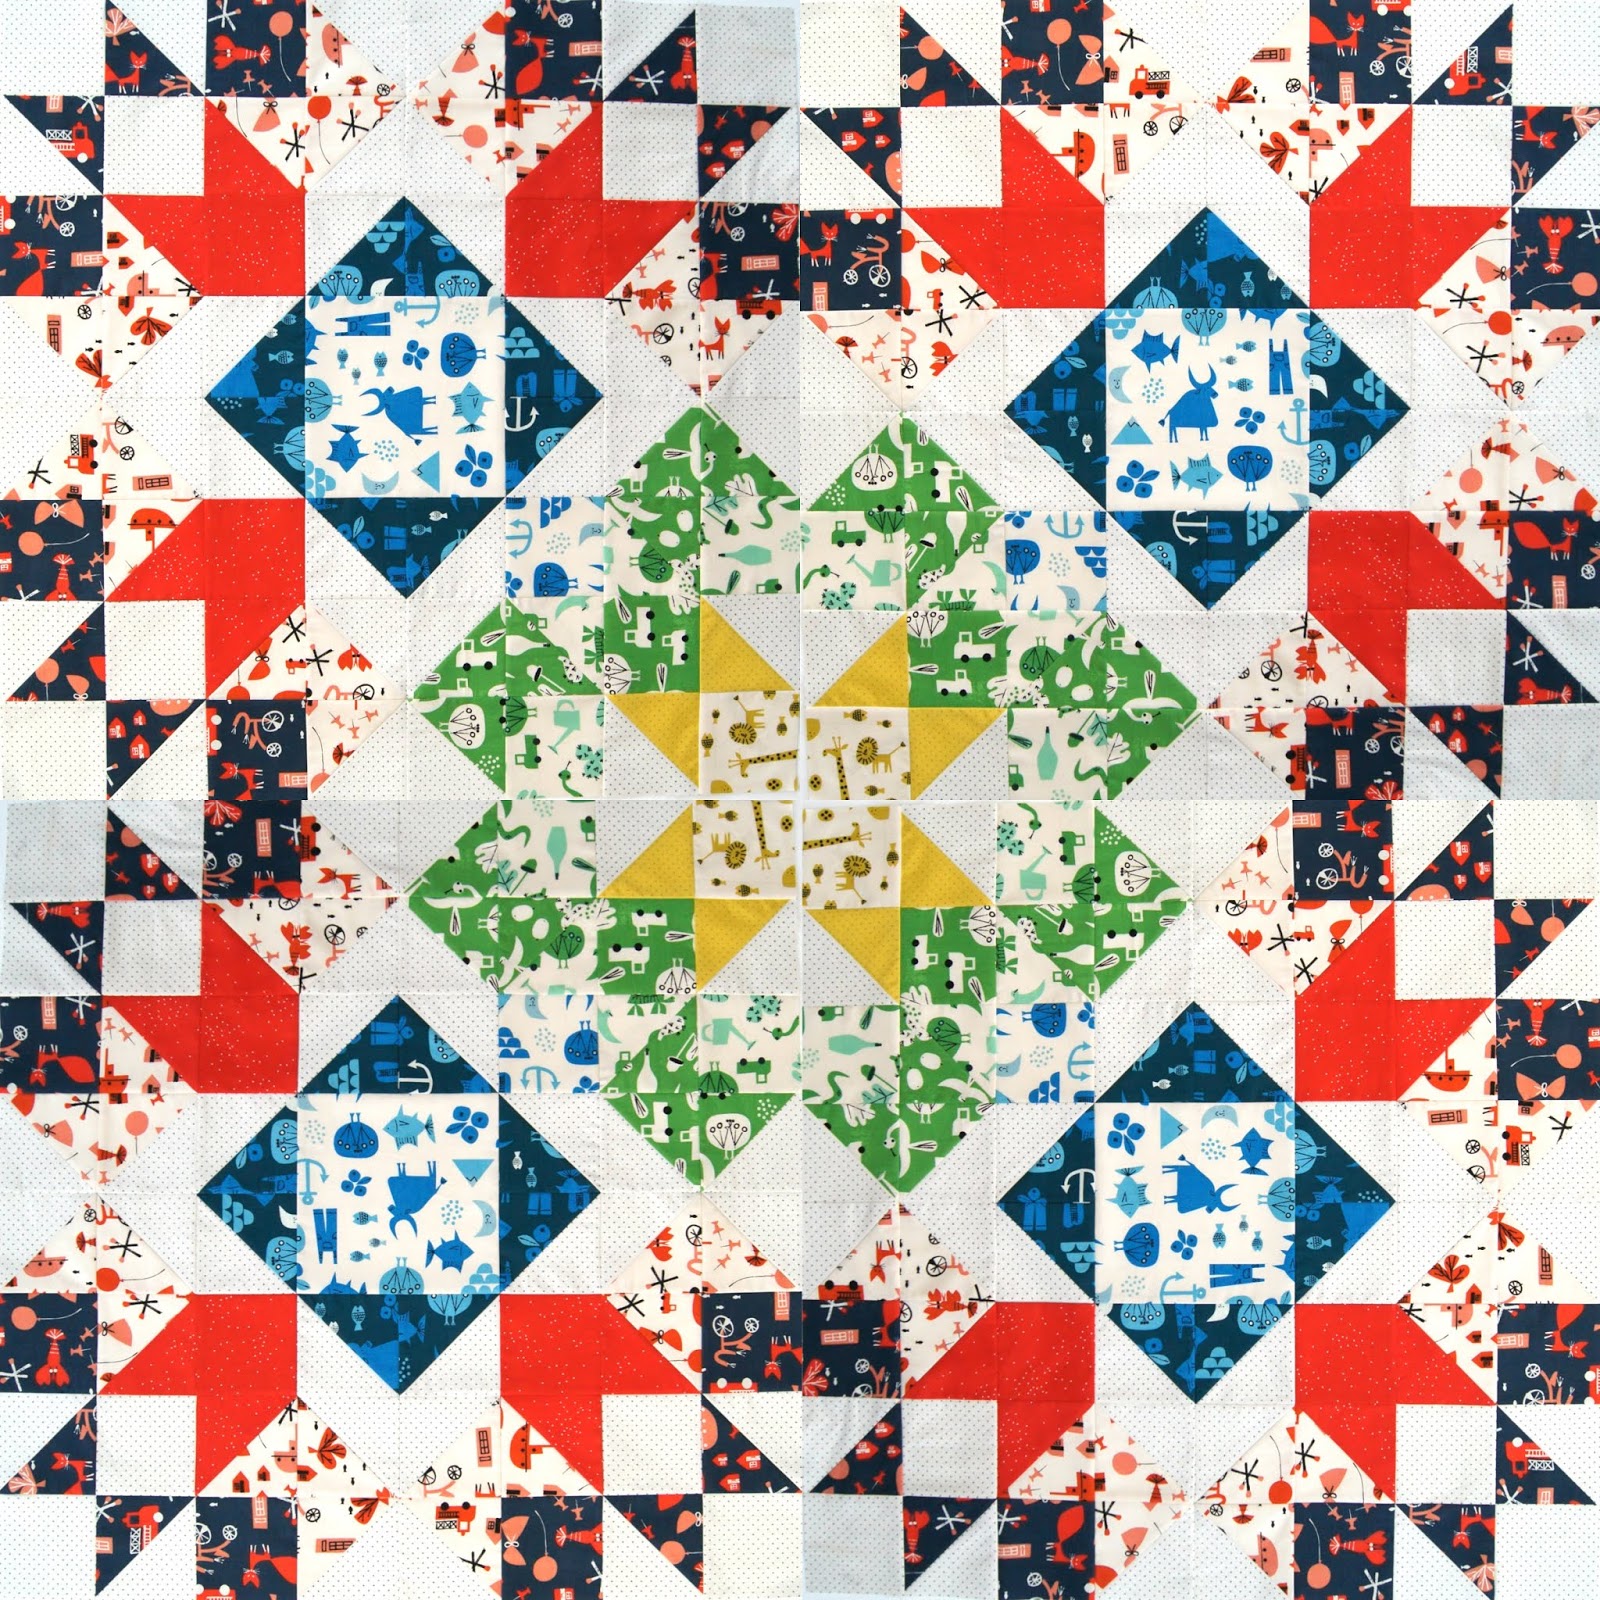
A great hack to see what your Aurora Quilt will look like once it is finished (and to help make sure you are 100% happy with your fabric placement choices) is to use a Phone App or Computer Photo Editing Program.
Phone Apps and Photo Editing Programs
There are heaps around - these are just a few of the ones I have used in the past. I only have an i-phone so am only familiar with Apple Apps (and I am not affiliated with any of them)
Phone Apps
Layout
Pic Frame
A Beautiful Mess (there is an Android version for this app available)
Photo Editing Programs
Pic Monkey
Ribbet
How to:
- Take a photo of your First Quadrant and make sure it is nice and square.
- You can then use one of the Apps or Programs (listed above) to upload your picture into to make what will look like a full quilt.
- Use a 4 Picture Layout and add the same picture to each quadrant and then rotate your picture to have your centre squares placed in the correct orientation. (Of course if you have fussy cut or placed fabrics directionally it won't be exactly accurate but it will give you an overall look.
- Adjust the frame on the pic to be zero so you have no divide between the picture and then your quilt will magically appear like.........
Aurora Quilt Inspiration
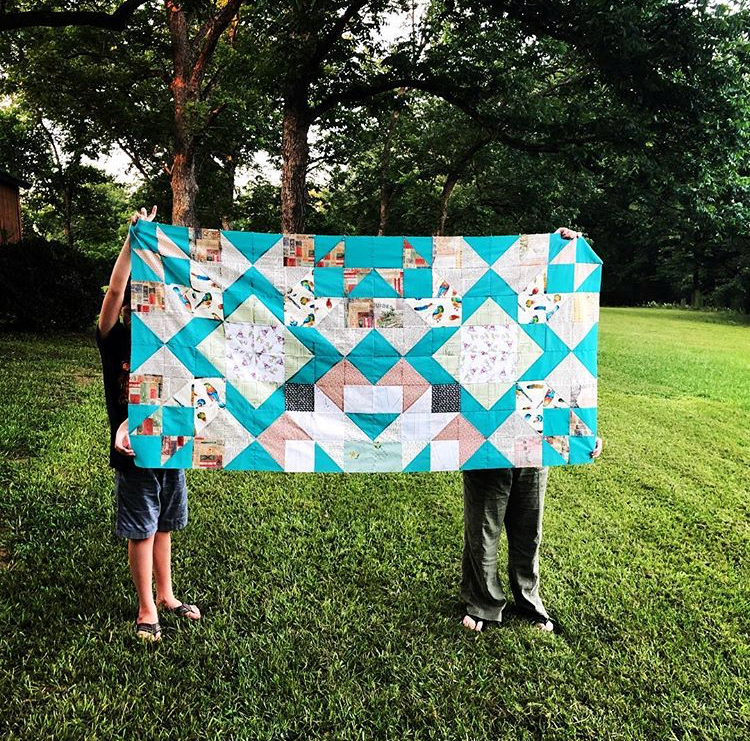
Image thanks to @thecatbx
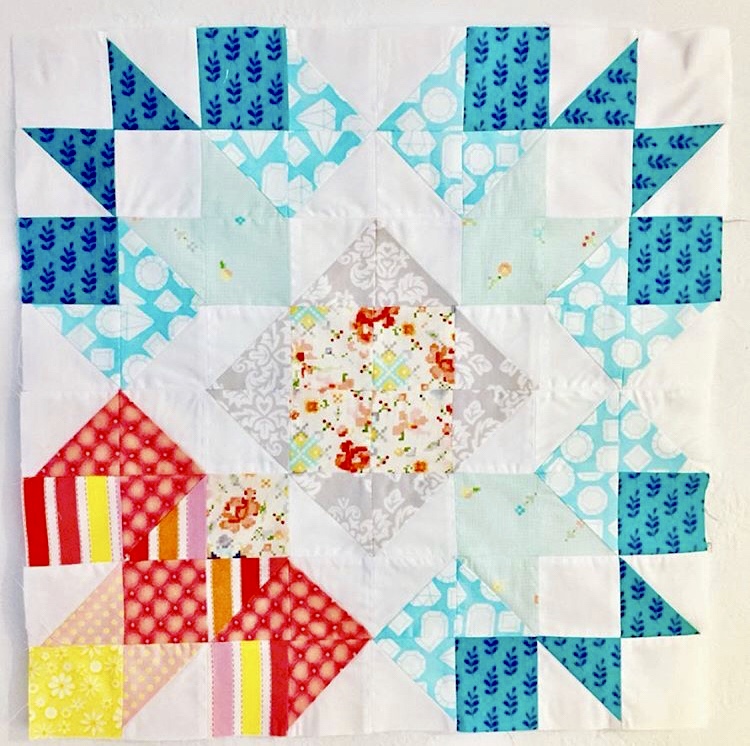
Image thanks to @jesslovestosew
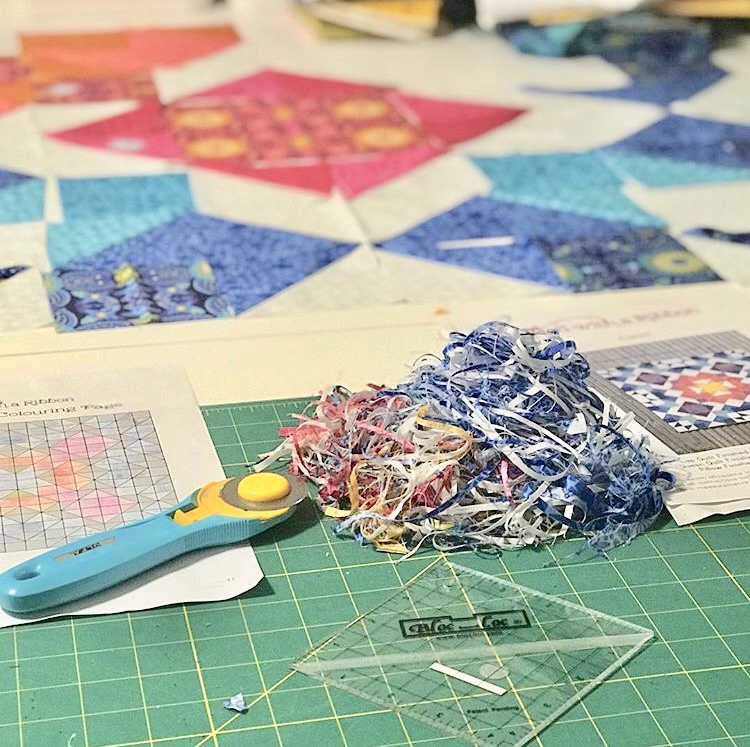
Image thanks to @sew_love_scuba
This week our Sponsor of the Aurora Quilt Sew Along is Cottoneer
Happy Quilting
Jemima x x
Aurora Quilt Sew-Along Week 5
We are now just over halfway in the #auroraquiltsewalong. I love seeing how all the fabric choices you made have now started to be made in the Quadrants and you can really see now how your Aurora Quilt is going to look.
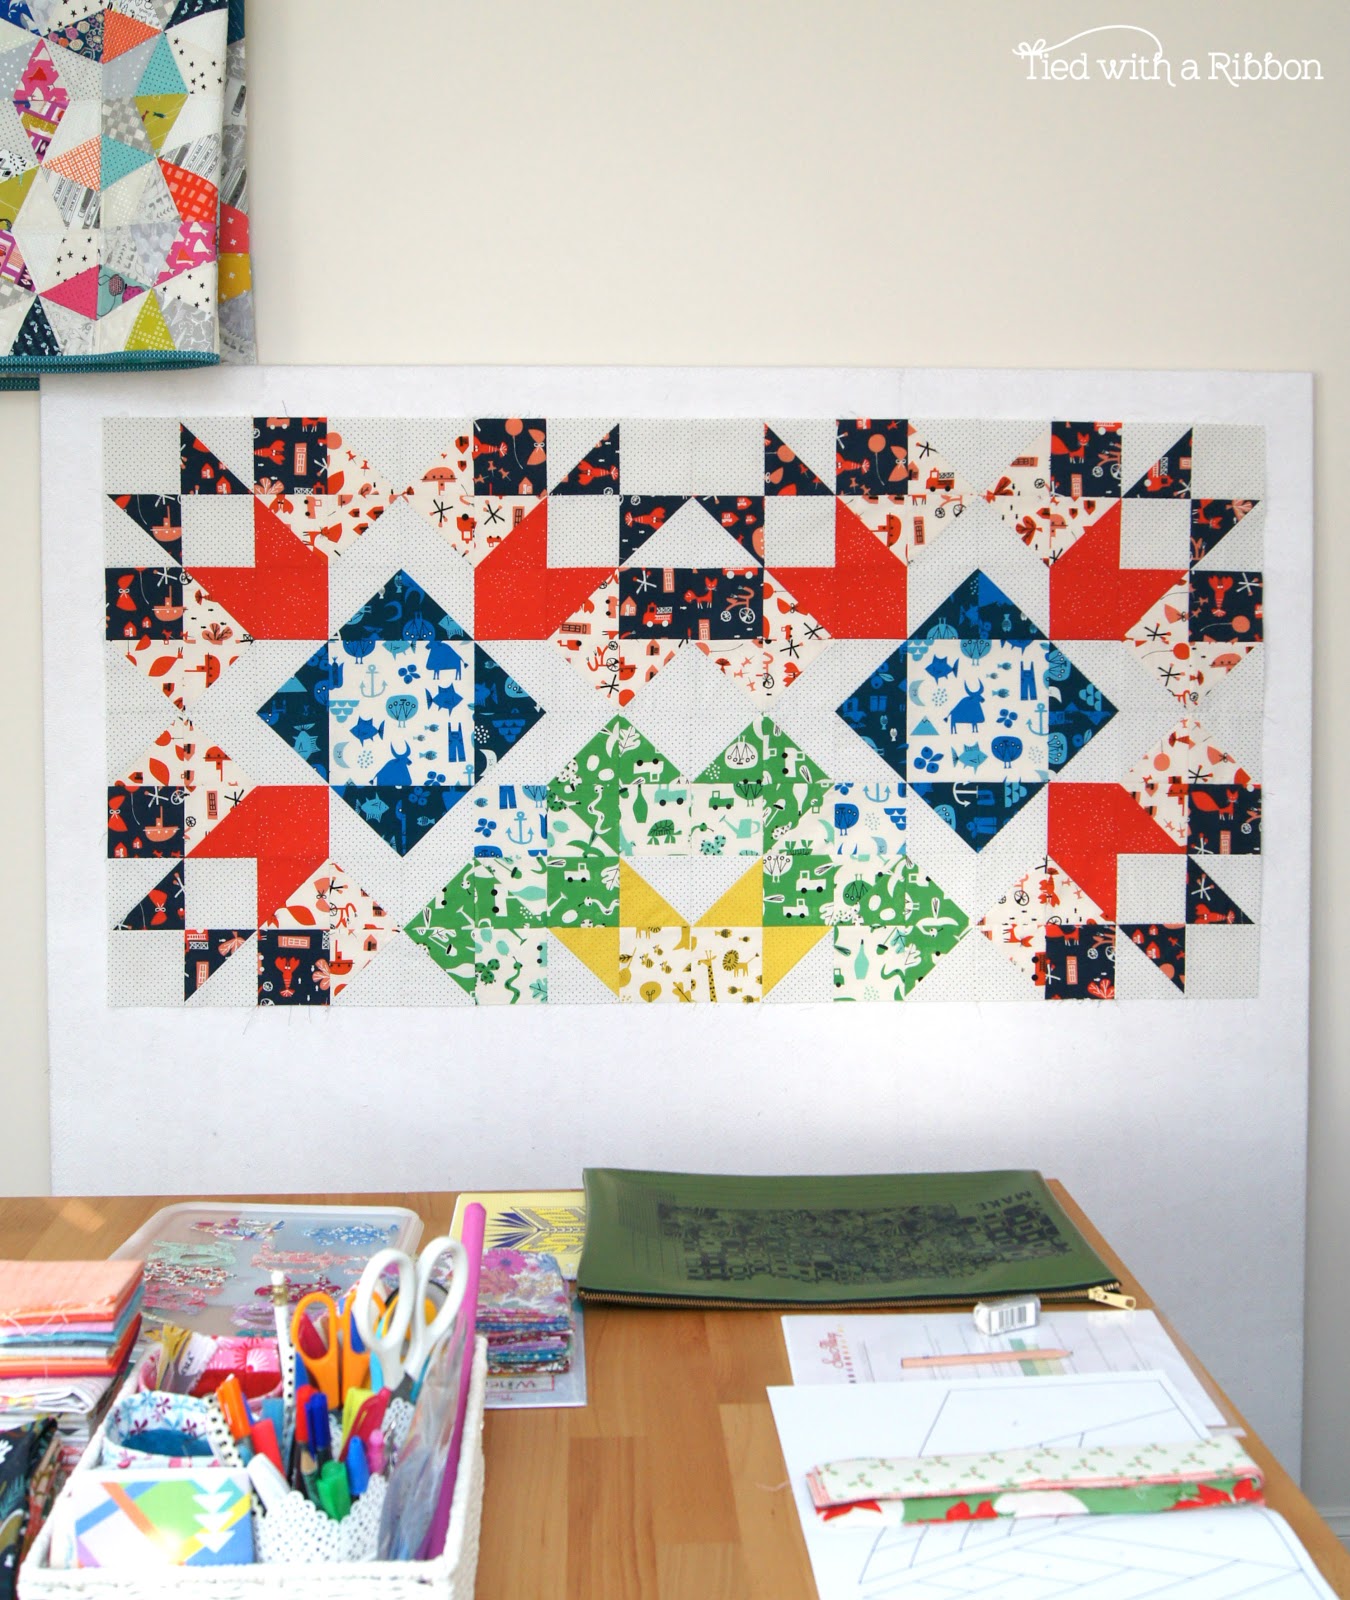
Week Five is all about making and working on your 3rd Quadrant. With all your pieces trimmed and ready then you can assemble the next Quadrant for your Quilt.
I have had a few messages through the week for tips on how to get all the Points lined up on your Half Square Triangles when sewing your rows together.
Here are a few of my best tips for making sure everything is matching up as best as possible. (none of these tools/notions are sponsored - just my personal opinions and preferences for quilting)
Tip 1 - Bloc-loc, Bloc-loc, Bloc-loc
This really is the best piece of equipment I have come across to date on how to get your points just perfect for trimming up your Half Square Triangles (HST's). There are a few other type HST Trimming rulers around - anything that helps you get perfect points are welcome. If your points on your HST's are great from the start it is unlikely that they will match up no matter how hard you try.
Here is a link to an article I wrote a while ago on Bloc-Loc rulers.
Tip 2 - Pins
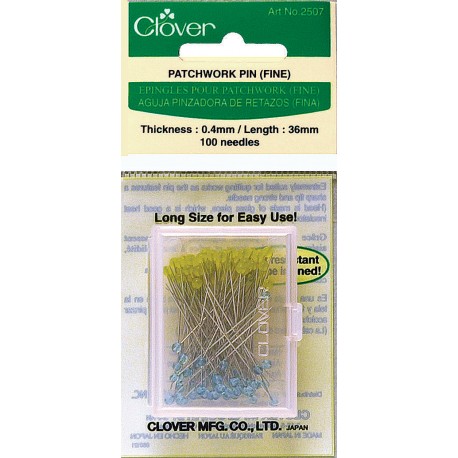
It seems simple but using Fine Patchwork Pins while quilting is very helpful. Thick pins can be too bulky to use in quilting due to the intersecting seams. Use Fine Pins that don't move or shift these seams once you have pinned them in place. I like to use Clover Fine Patchwork Pins.
Tip 3 - Pining your Seams
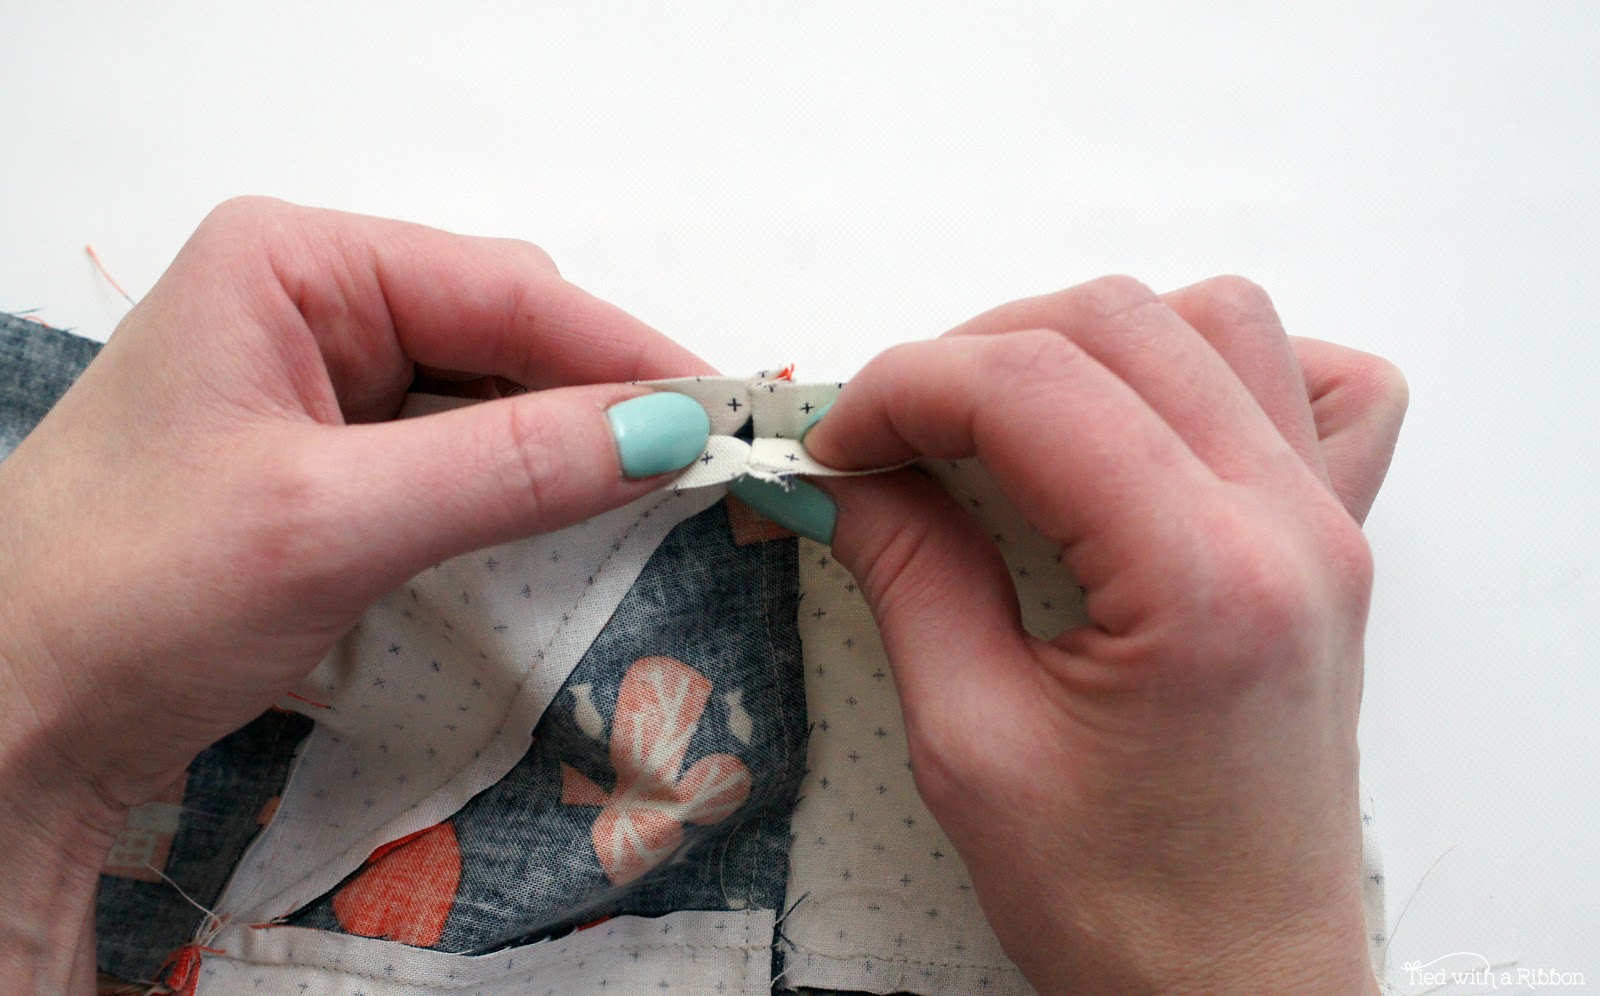
When pinning the seams I like to pin at each intersection. With the pattern if you have followed the pressing you will find that having pressed the seams open you will find this distribute the bulk as evenly as possible.
For those who have pressed alternate seams in different directions your seams now should "nest" (which means they but up against each other).
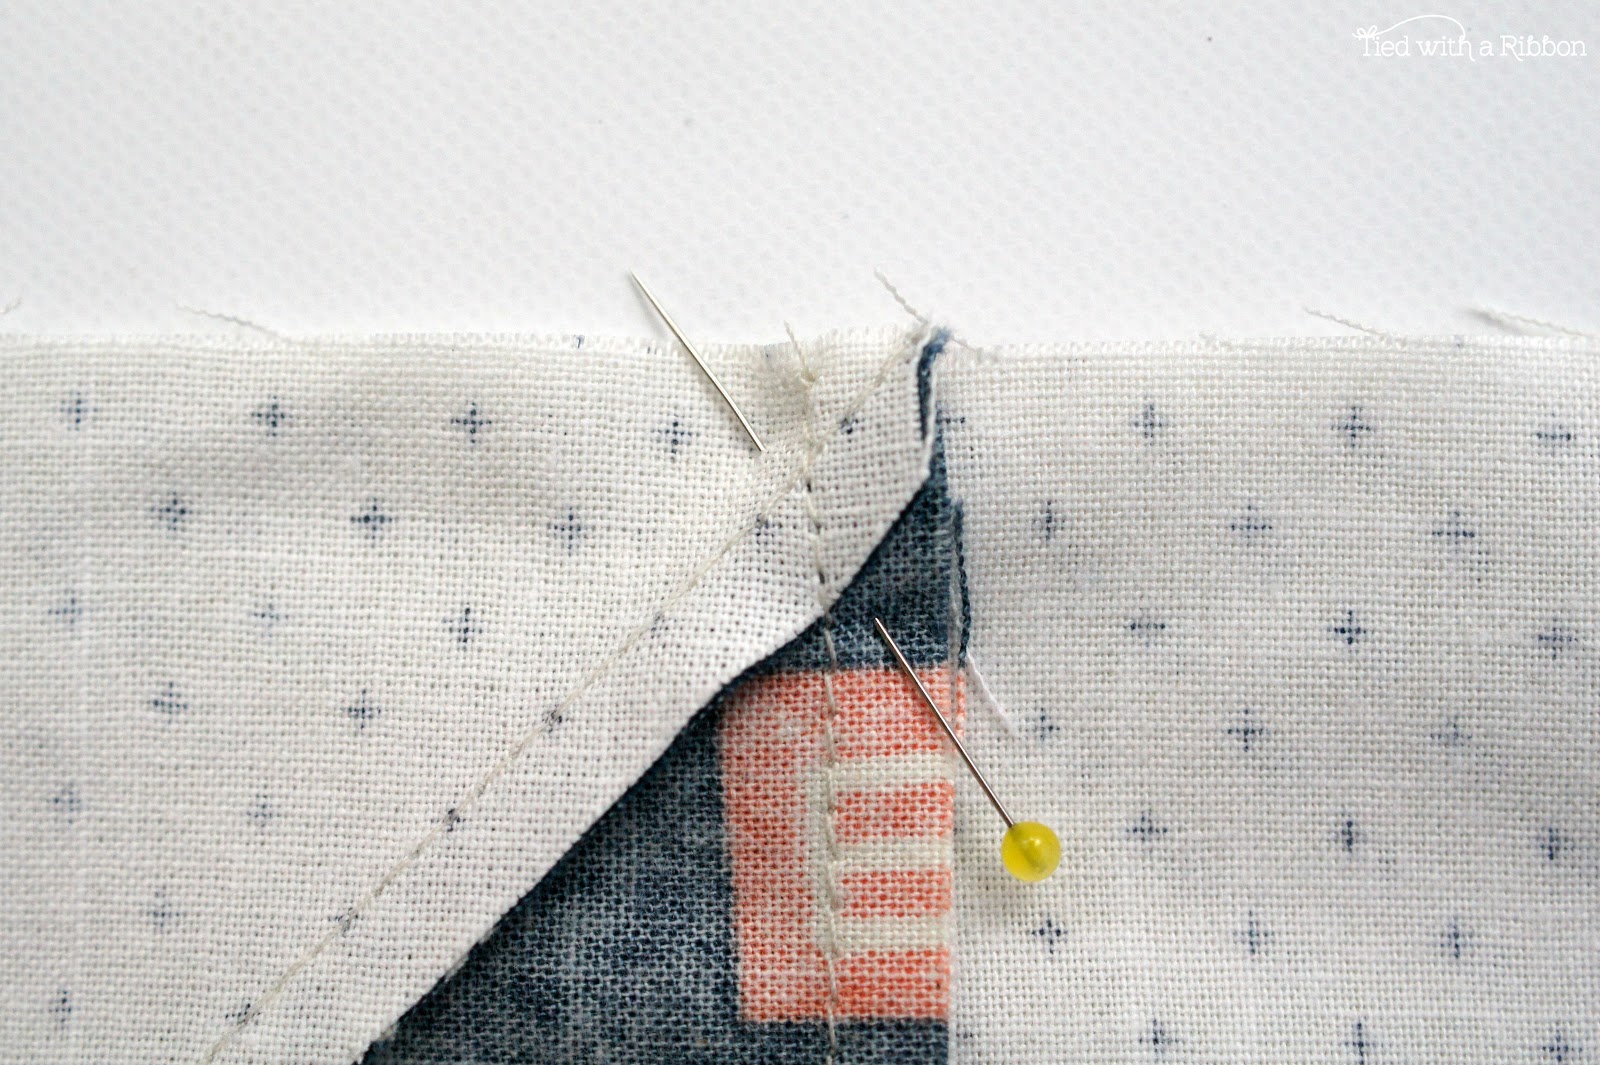
More importantly I like to match up the points at where the 1/4in seam line will run and then place the pin on the diagonal holding both seams. This means that you match up the points at the place in which they meet rather than at the top of the raw edge. This way you will know where the stitched seam line will run and if your points will match.
Below shows me having pressed the seams to nest (clearly not having read my own pattern exactly - but still very acceptable to do it this way)
Tip 4 - Walking Foot
When Quilting I always recommend using a Walking Foot - even when piecing. The Walking Foot is either attached to your machine in the case with Pfaff's and some Bernina's or an added attachment like on a Janome. It can be a clunky looking contraption depending on your brand of Machine but trust me - using a Walking foot will mean that your fabric on the top is fed through at the same rate as your bottom piece (which has the feed dogs to help it through) and ultimately make a big difference to your quilting.
Tip 5 - Straight Stitch Plate
If your fabric gets "chewed" up by your machine at the beginning of a line of stitching. Investing in a "Straight Stitch Plate" for your machine will be beneficial. This is usually an additional plate your can purchase for your machine. The hole where the needle goes up and down into is considerably smaller and hence there is no where for the fabric to be "eaten" into your machine. Ask at your Local Quilt store for one to fit your sewing machine. These are a worthwhile investment and really do make sewing less frustrating.)
AURORA QUILT INSPIRATION
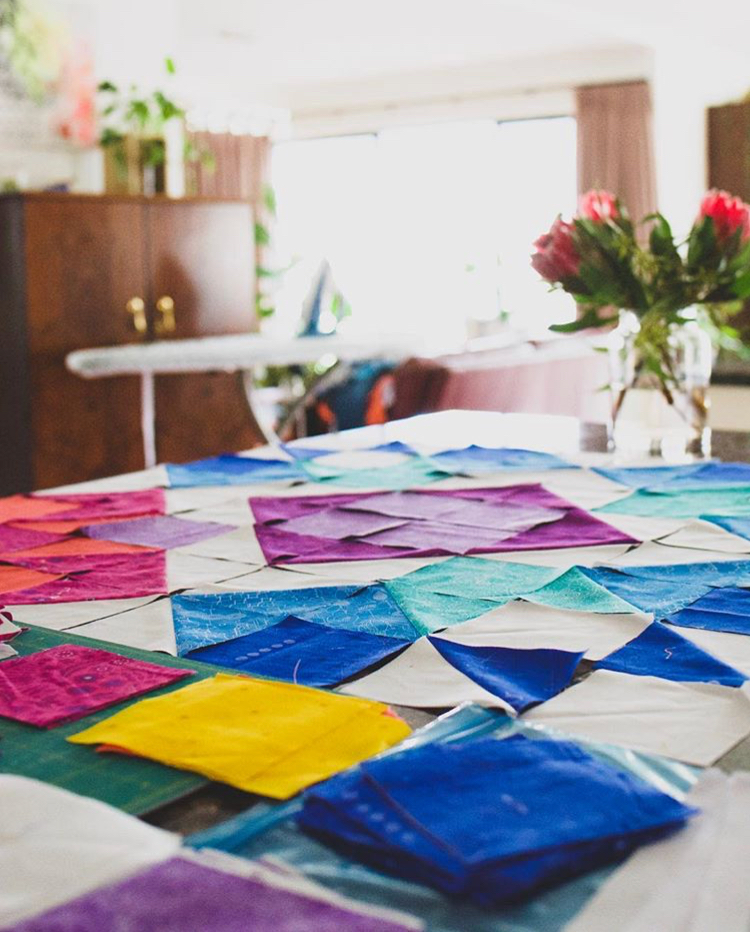
Image thanks to @thyme.with.tash
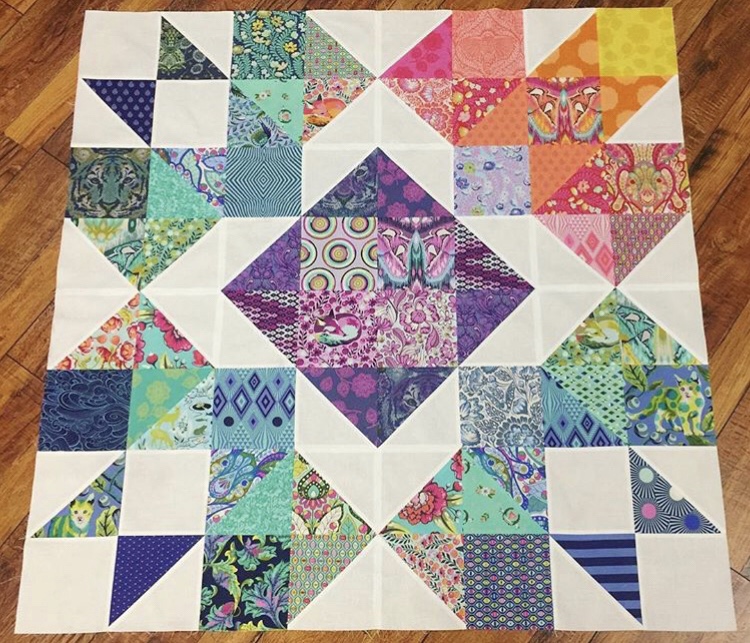
Image thanks to @jackietheaggie
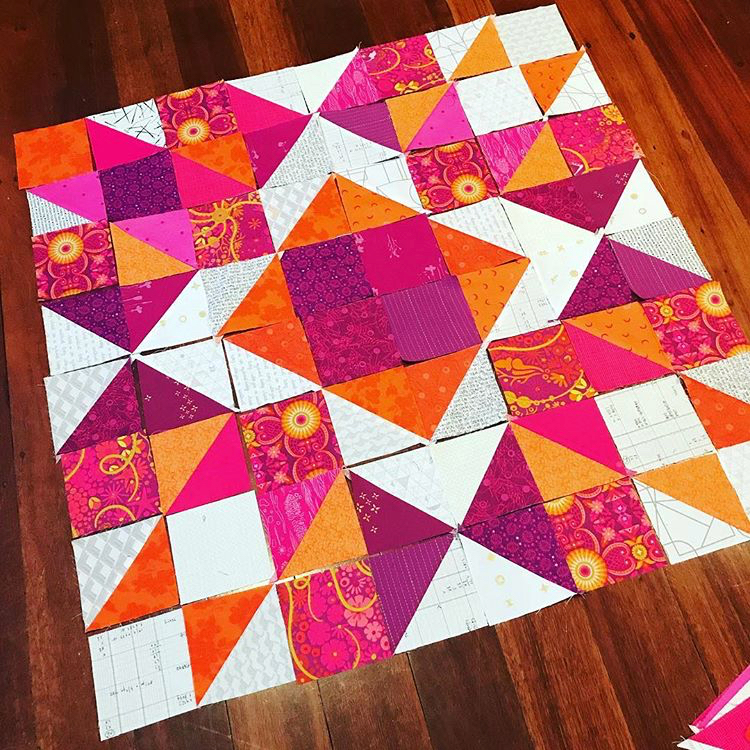
Image thanks to @myfabricology
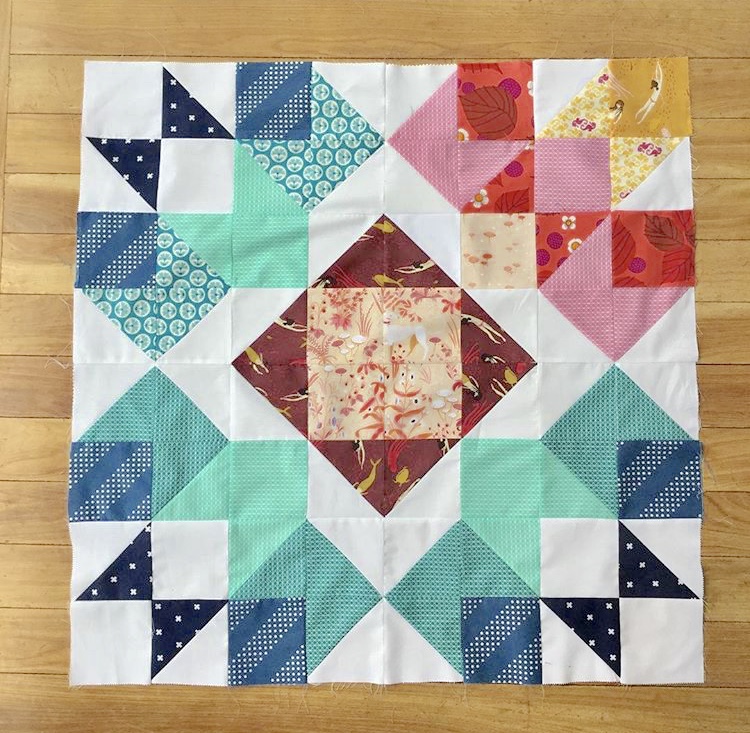
Image thanks @happygolizzie
This weeks Sponsor is Aurifil

Happy Quilting
Jemima x
Aurora Quilt Sew-Along Week 6
This is it - Week 6 - where your whole quilt will come together. Its all about getting your last quadrant together and then being able to assemble your quilt top!
All that hard work from prepping and trimming your Half Square Triangles will hopefully be making the construction of your rows so much easier.
There are so many different versions of the Aurora Quilt starting to be put together and the quilt tops finished. It is really exciting to see how different fabrics and different patterns can make the same quilt look so different.
For some of you this has been the first quilt you have made and I am floored by how beautiful they are looking, for others some of you are nearly getting so close to finishing, for others they have totally tried to used their stash to make these Aurora Quilts - no matter why or how you have joined in I really hope you have enjoyed making this quilt so far and I cant wait to see so many of these quilt tops being finished over the coming week.
AURORA QUILT INSPIRATION
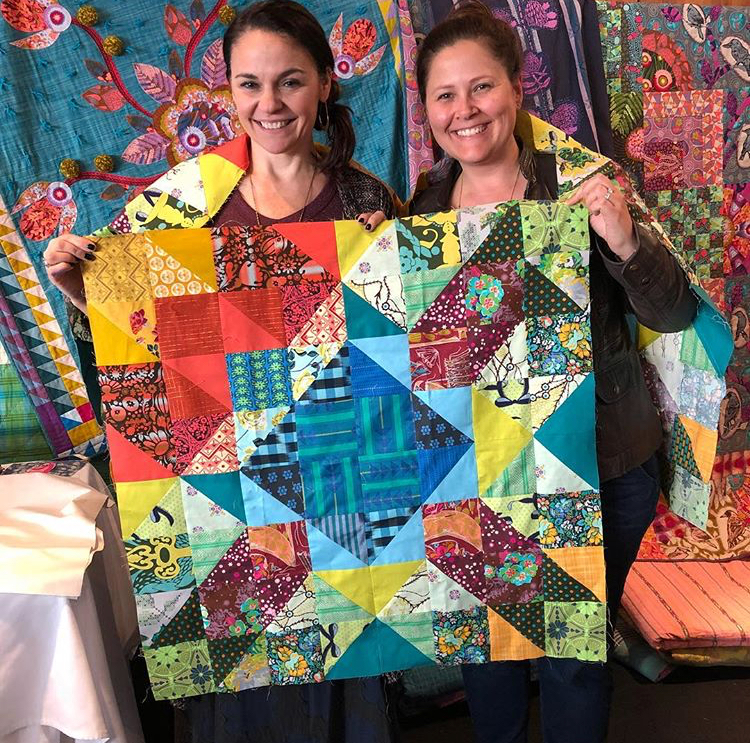
Image thanks to @mashie_v
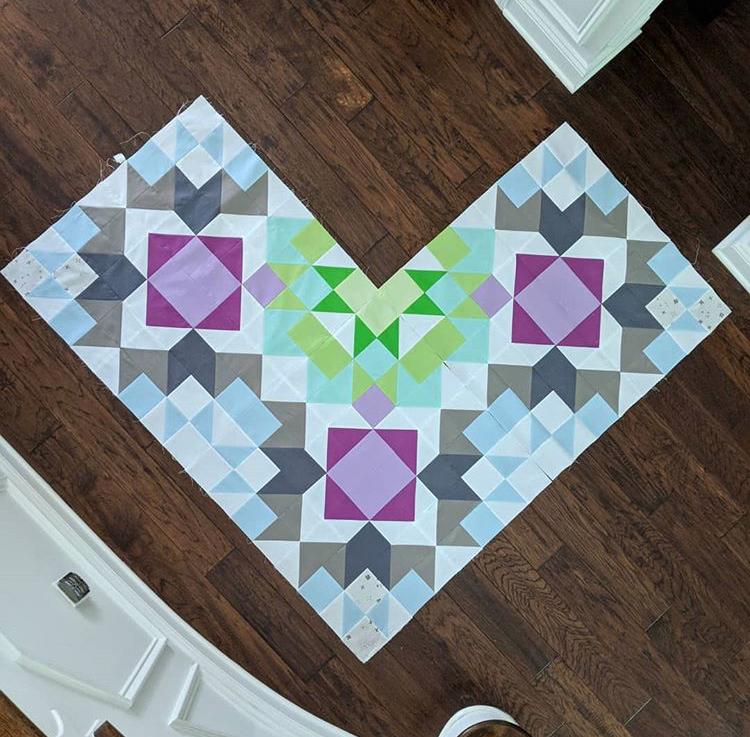
Image thanks to @thequiltedarrow
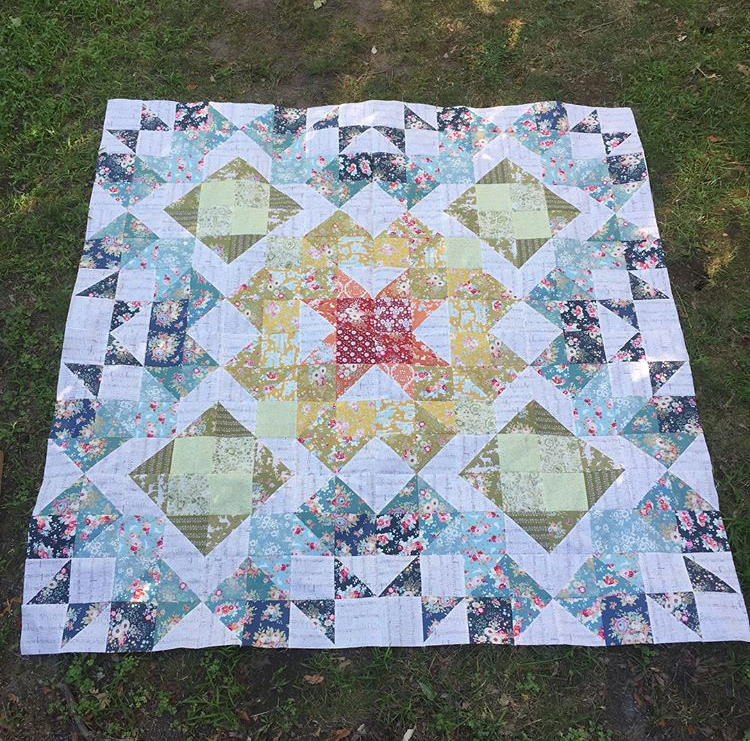
Image thanks to @julietapu
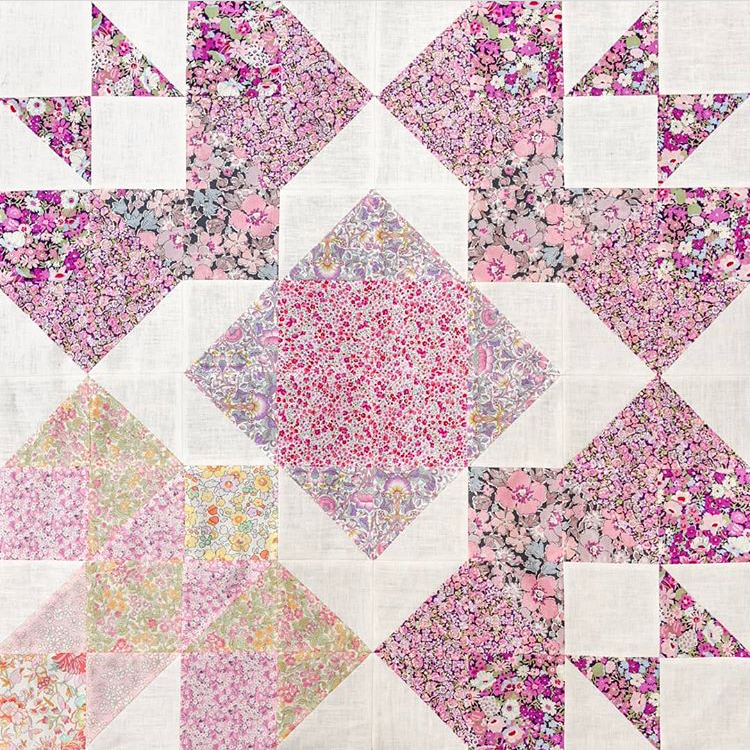
Image thanks to @felicitystylesphotography
This weeks Sponsor is Maker Valley

Happy Quilting
Jemima x
Aurora Quilt Sew-Along Week 7
Well we are getting so close to the end of this wonderful #auroraquiltsewalong. Week 7 is here and for those who have been keeping this up with the schedule then you have a bit of planning to do, for those who need to catch up then you have this week where you can keeping making progress with your Quadrants.
I am so in awe of the Aurora Quilt tops that are being made - truly they are each so amazing and I love how you have made them your own with your fabric and colour choices.
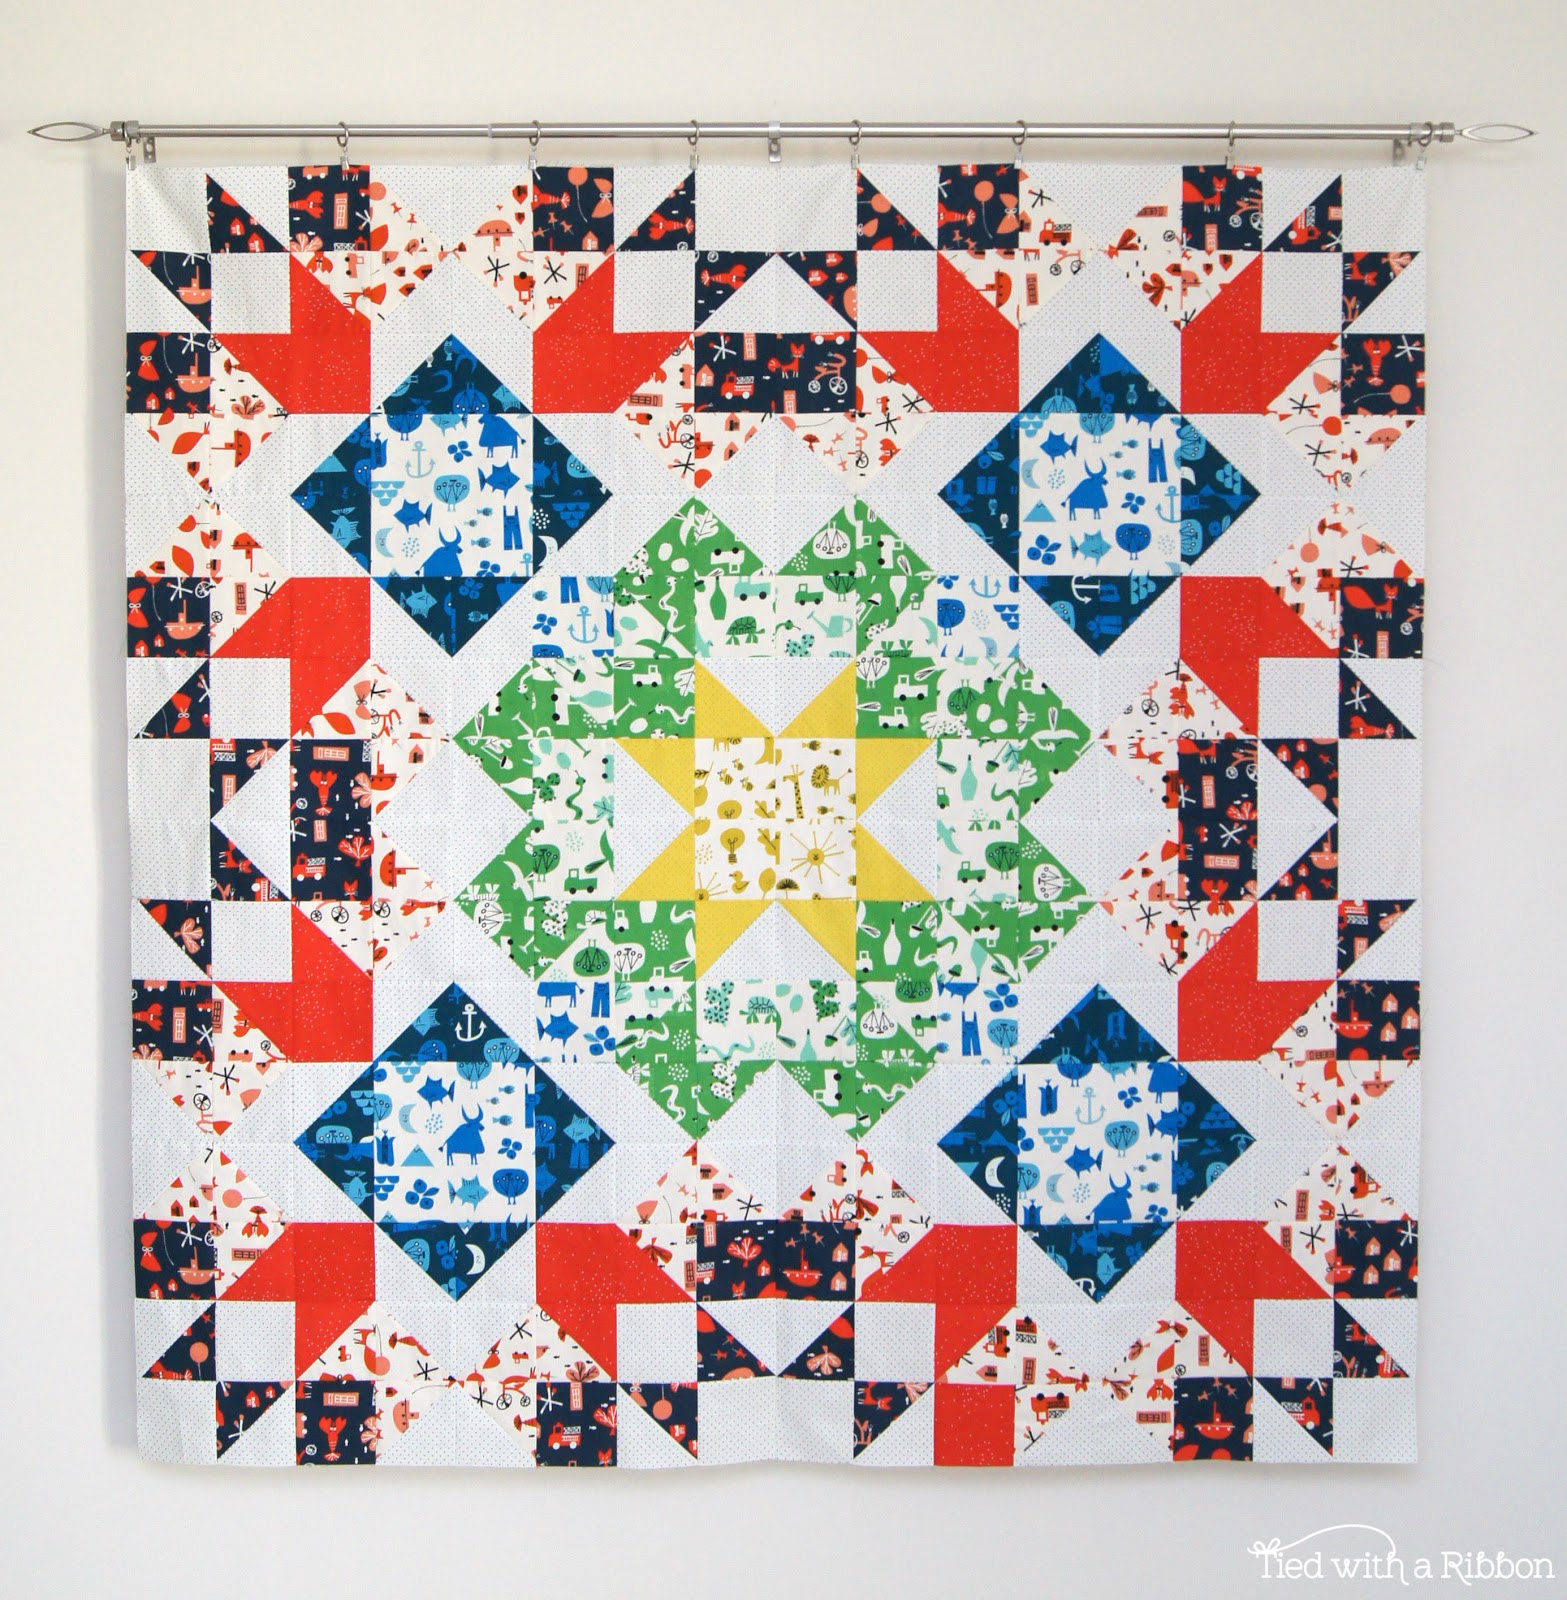
Planning for Quilting and choosing your Backing and Binding
If you have put together your four Quadrants then it is time to start to think of how you would like to finish your quilt. Would you like to Machine Quilt it or are you thinking you may like to Hand Quilt your Aurora Quilt.
Machine Quilting Yourself - if you are planning on Machine Quilting it yourself then here are some things you may find helpful in making decisions on how you might like to Quilt it
Machine Quilting Tips Blog Post
Hand Quilting - if you are thinking you would like to Hand Quilt your Aurora Quilt then here is a blog Post I wrote with some hopefully helpful hints on this technique.
Sending it out to be Long Arm Quilted - if your planning on sending your Aurora Quilt out to be Long Arm Quilted by a professional it is always a good idea to chat with them first about if they have any special instructions for how they like the quilt to be delivered to them.
My Quilter, Carol from The Quilting Cottage asks that the Backing and Batting be at least 4in bigger on all sides than the Quilt top. The Quilt top, Batting and Backing can be packed up into a bag ready for quilting - it does not need to be pinned or basted.
Backing Fabrics
I don't think of the back of a Quilt as "just the back". There are lots of ways you can make your back look just a s spectacular as the front.
You might want to head to your Local Quilt store and choose from their selection of Wide Backs. These are fabrics usually 108in wide which mean they will fit your quilt without having to piece them together. They come in a wide variety of colours and are usually cost effective.
Another option is to piece together two pieces of fabric 42in wide that may match the fabrics on the front.
Or maybe you might like to sew together lots of pieces of fabrics to make your backing. This is called a "Pieced Backing" is a great way to use up leftover fabric or fabrics from your stash that work well with your chosen quilt top fabrics.
Binding Fabrics
Start to think what you might like to use for the binding once your Quilt has been Machine or Hand Quilted. You will need 1/2yd or 45cm for the Aurora Quilt. Choose a fabric that compliments with your chosen fabrics from the Quilt Top.
AURORA QUILT INSPIRATION
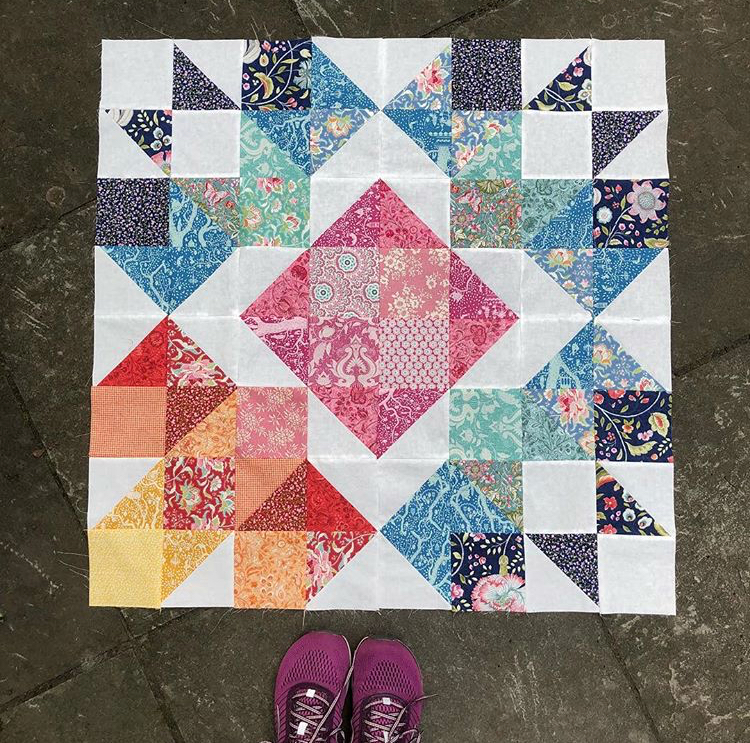
Image thanks to @julietapu
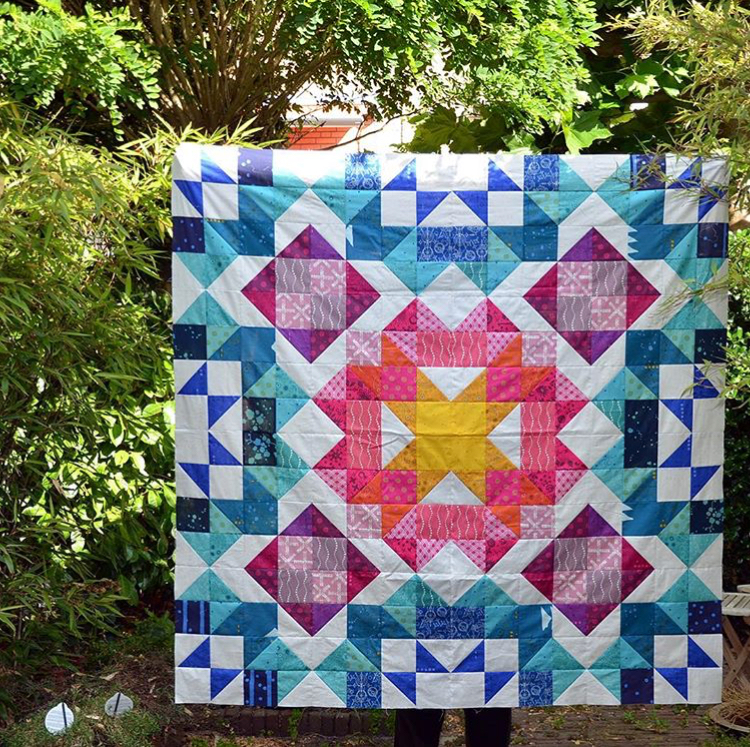
Image thanks to @dutchcomfort
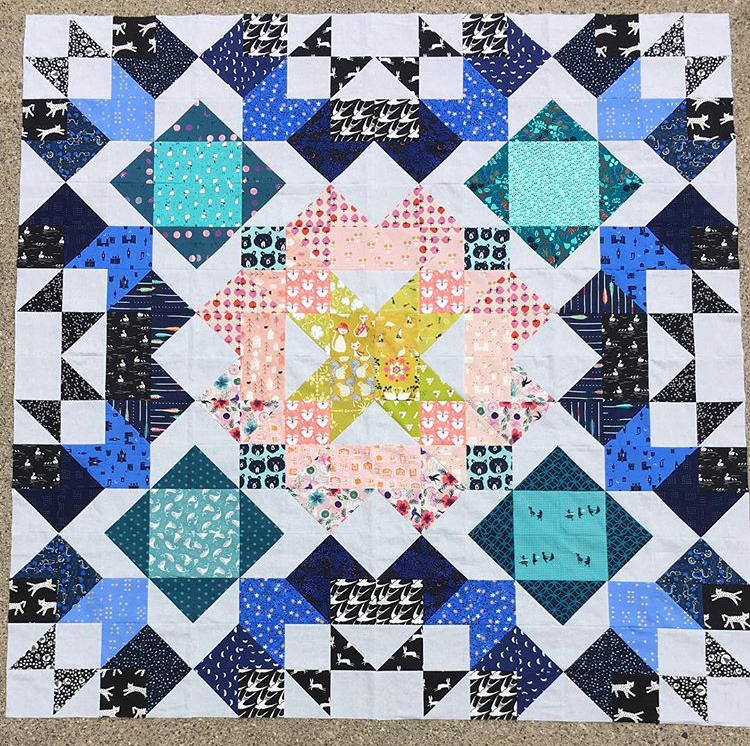
Image thanks to @geegeedesign
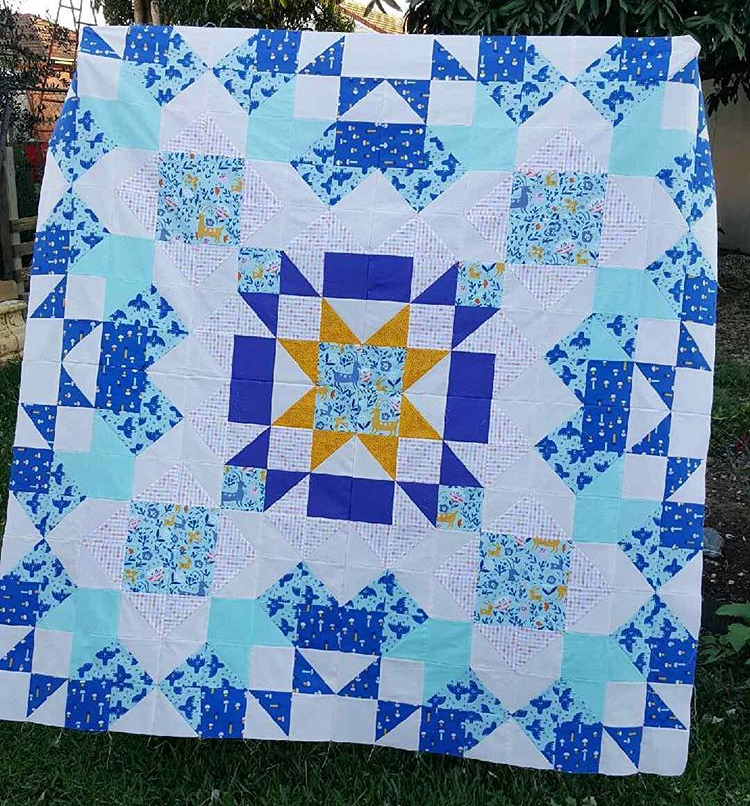
Image thanks to @rebeccaw.projects
This weeks Sponsor is SewMondo

Happy Quilting
Jemima x
Aurora Quilt Sew-Along Week 8
How quickly does time fly when you are having a wonderful time - I can't believe this is the last week of the Aurora Quilt Sew Along. The past 8 weeks have been filled with so many stunning quilts being made that it has blown me away at how many have joined in and how many are working on finishing an Aurora Quilt.
Week 8 is all about getting everything ready to finish and complete your quilt. You will need to organize and sort the backing for your quilt. Choosing Binding is always great fun for that finishing touch and also making the decision on how you are going to quilt it yourself (whether by hand or machine) or even enlisting a Long Arm Quilter to do the quilting - this week is all about decisions.
SEWING ON YOUR BINDING
Once you have quilted your quilt (or have had it quilted for you) you will need to sew on your Binding and then either hand or machine stitch the Binding into place.
Here is a Tutorial that I have made on a tip to help you sew the binding continuously around the corners of your quilt
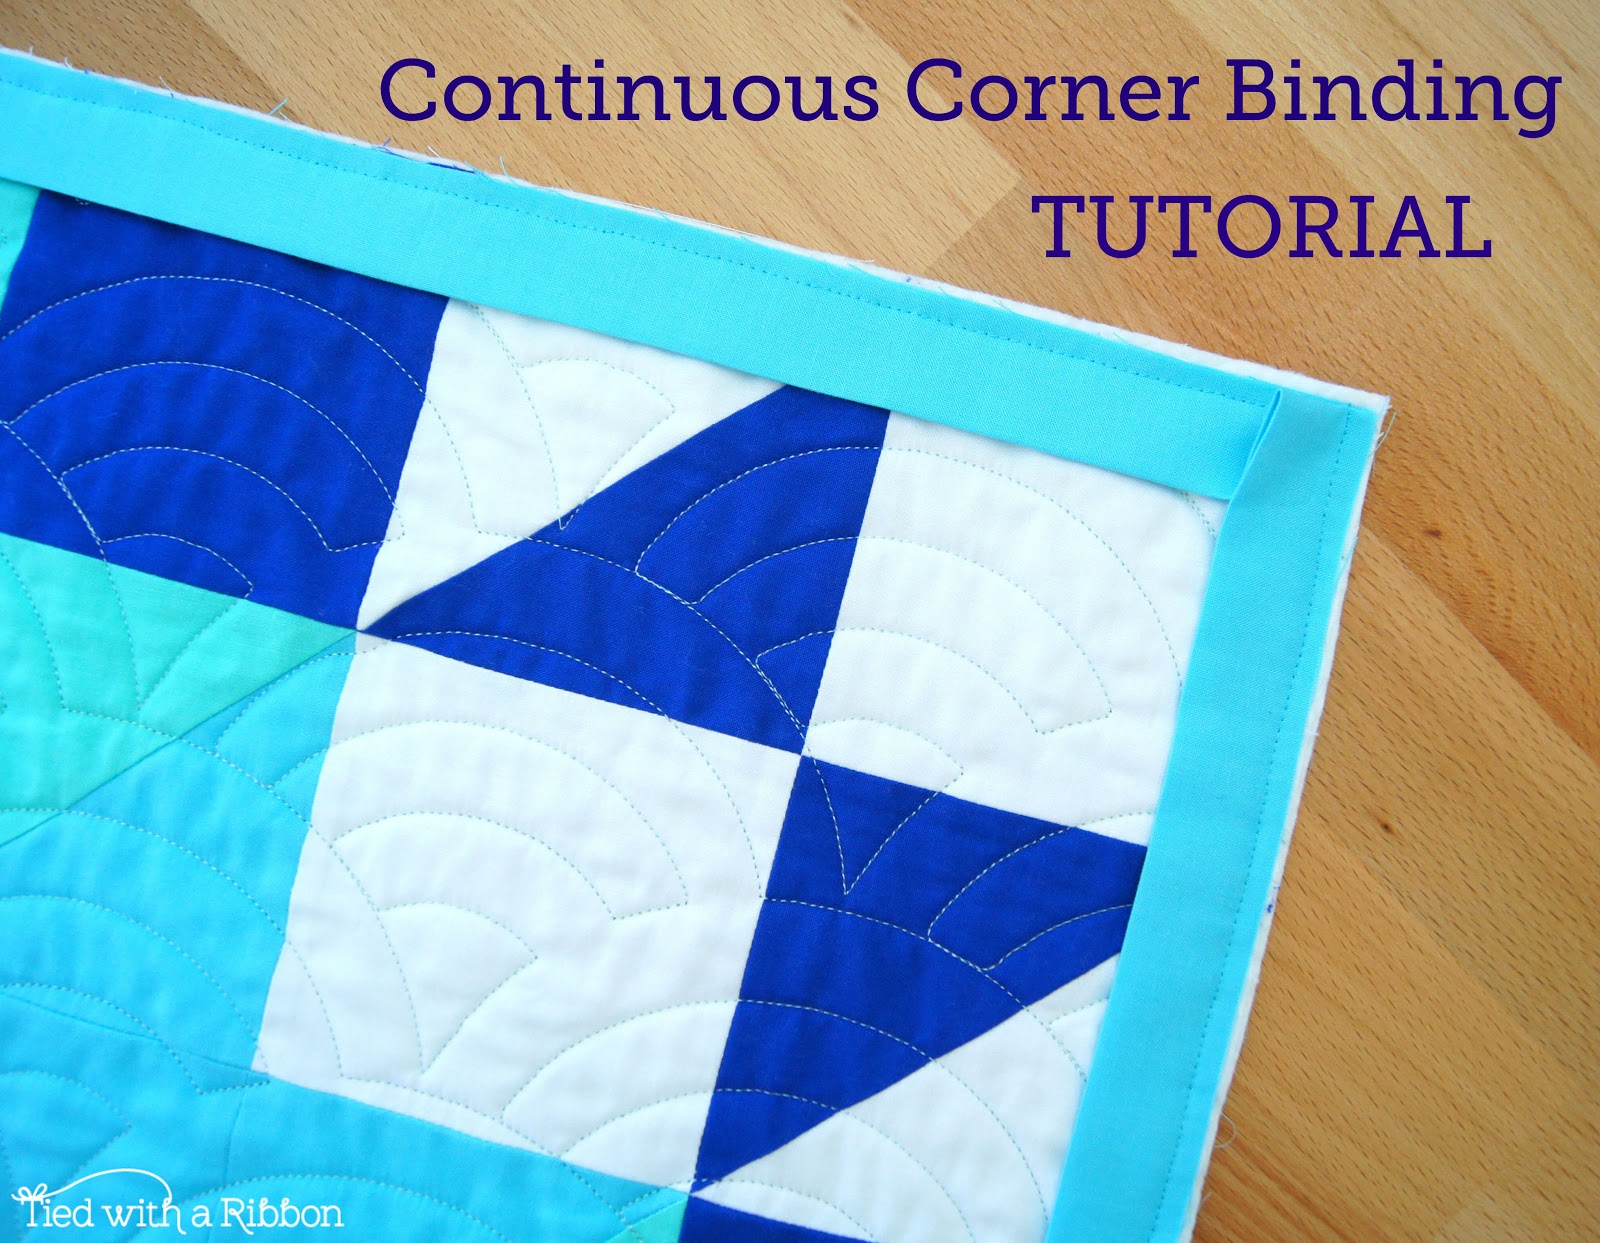
Continuous Corner Binding Tutorial
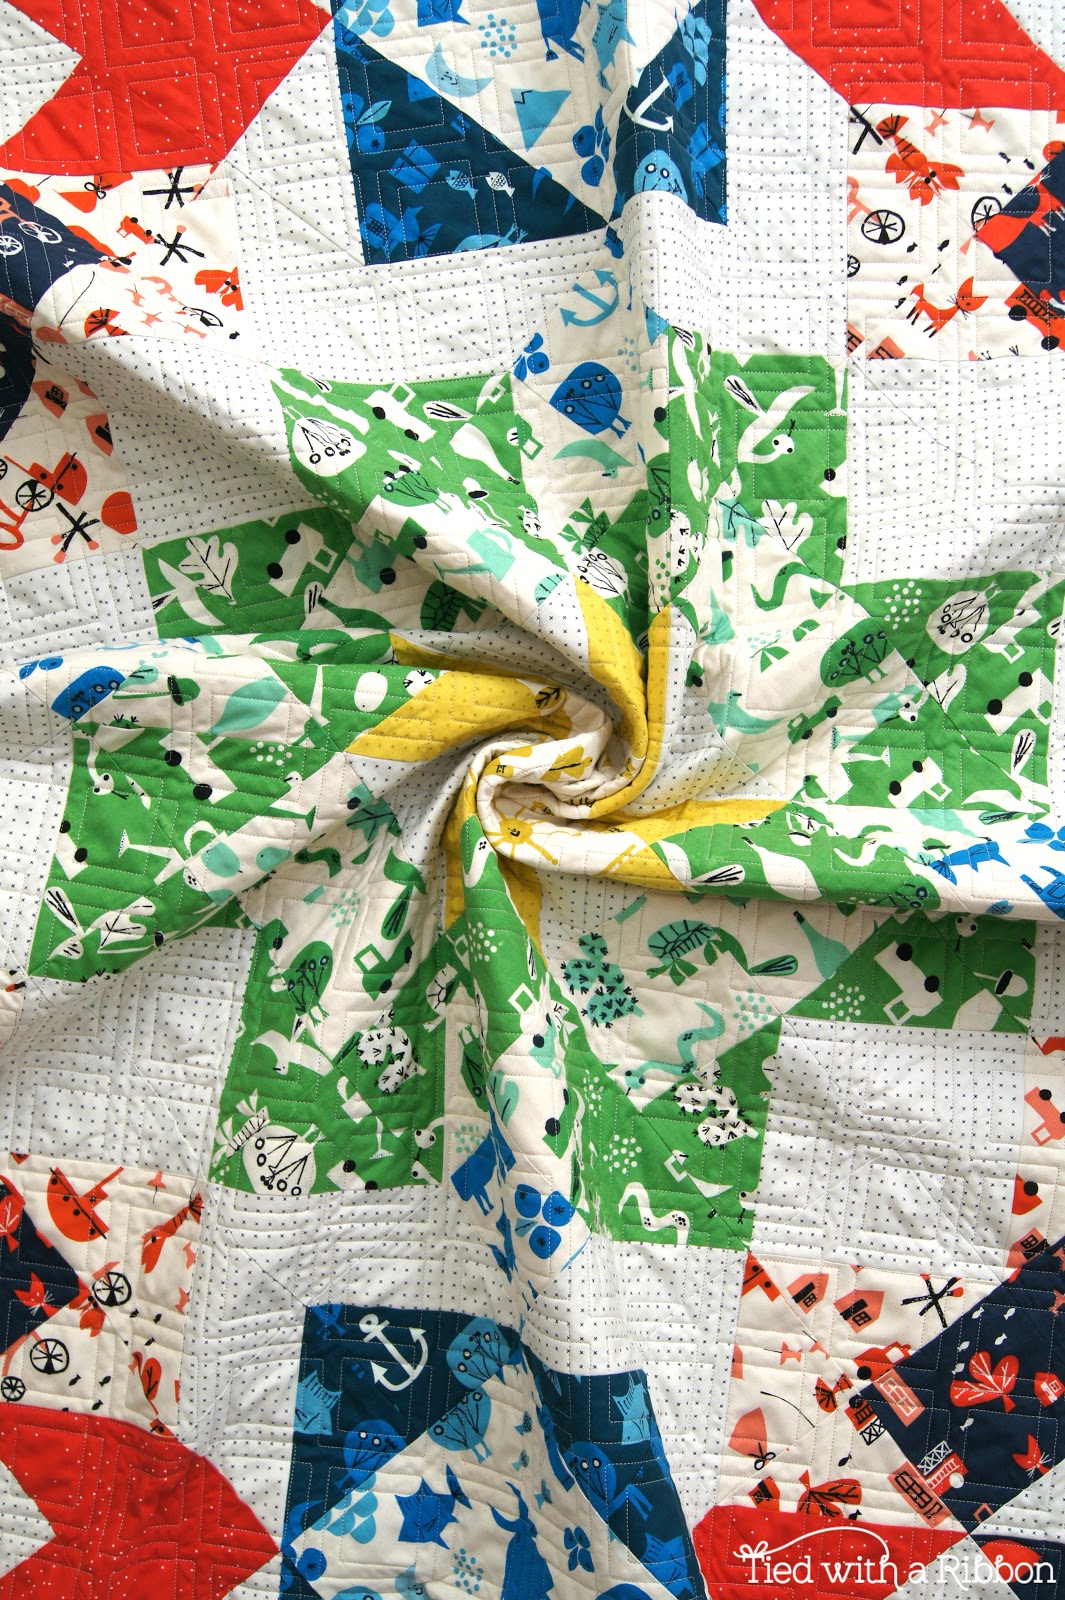
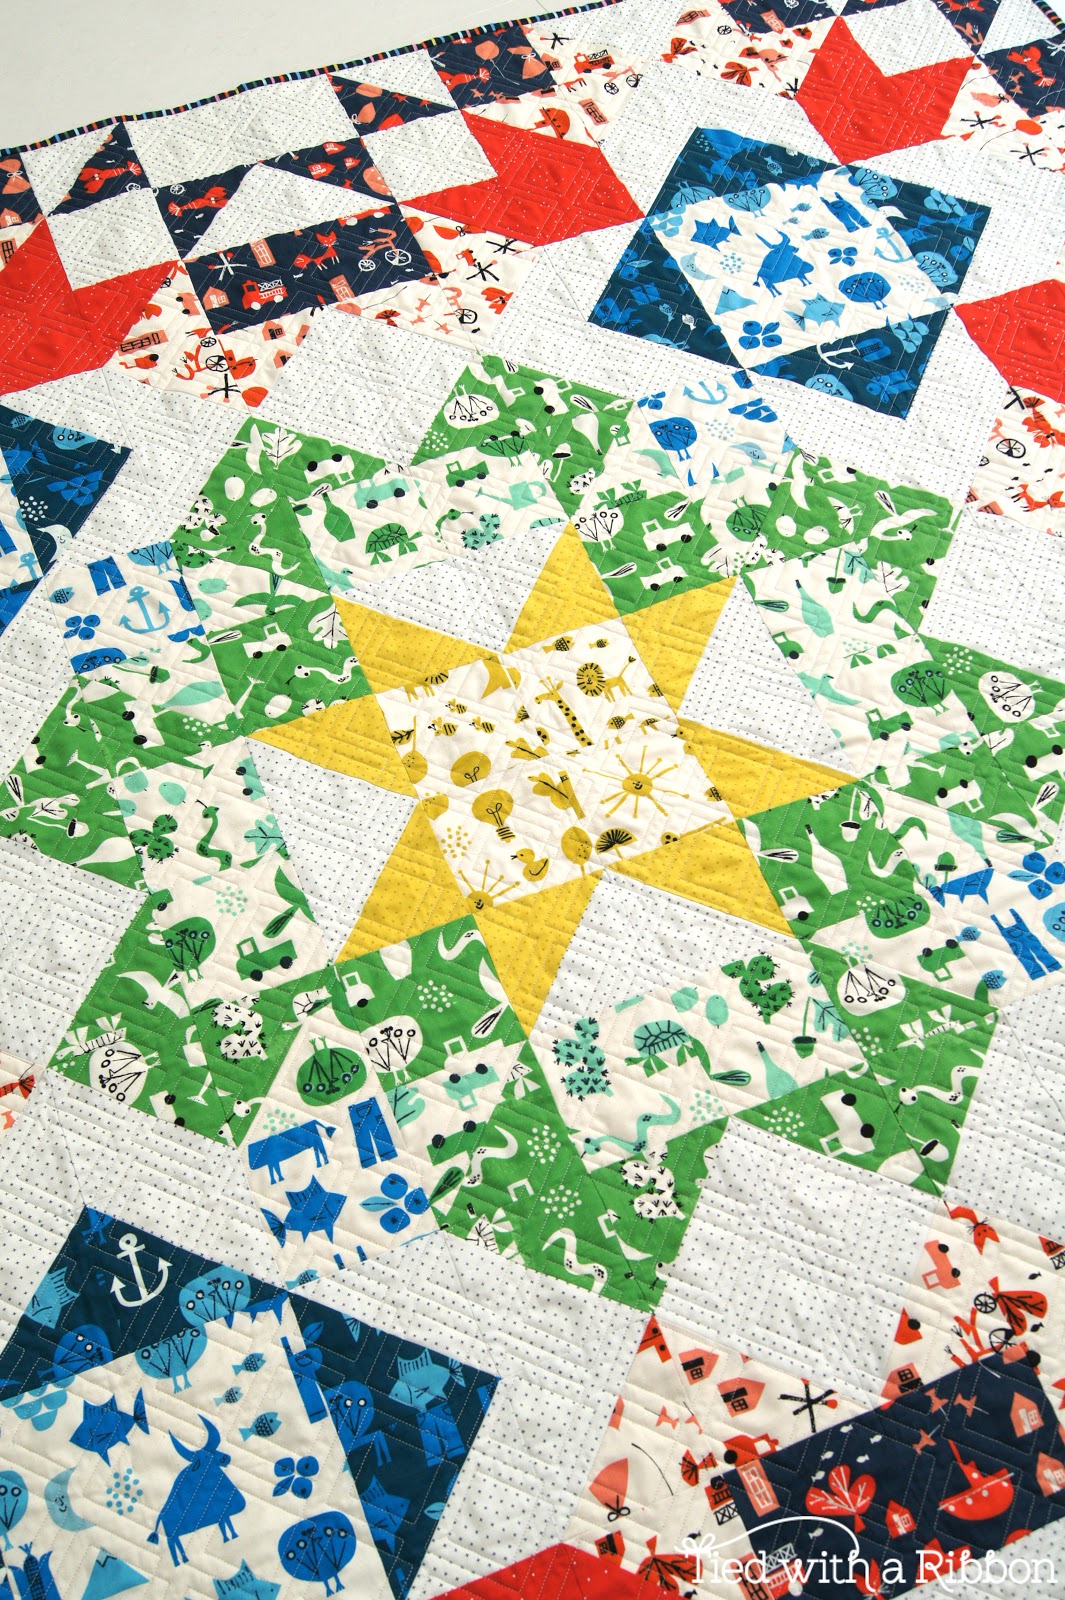
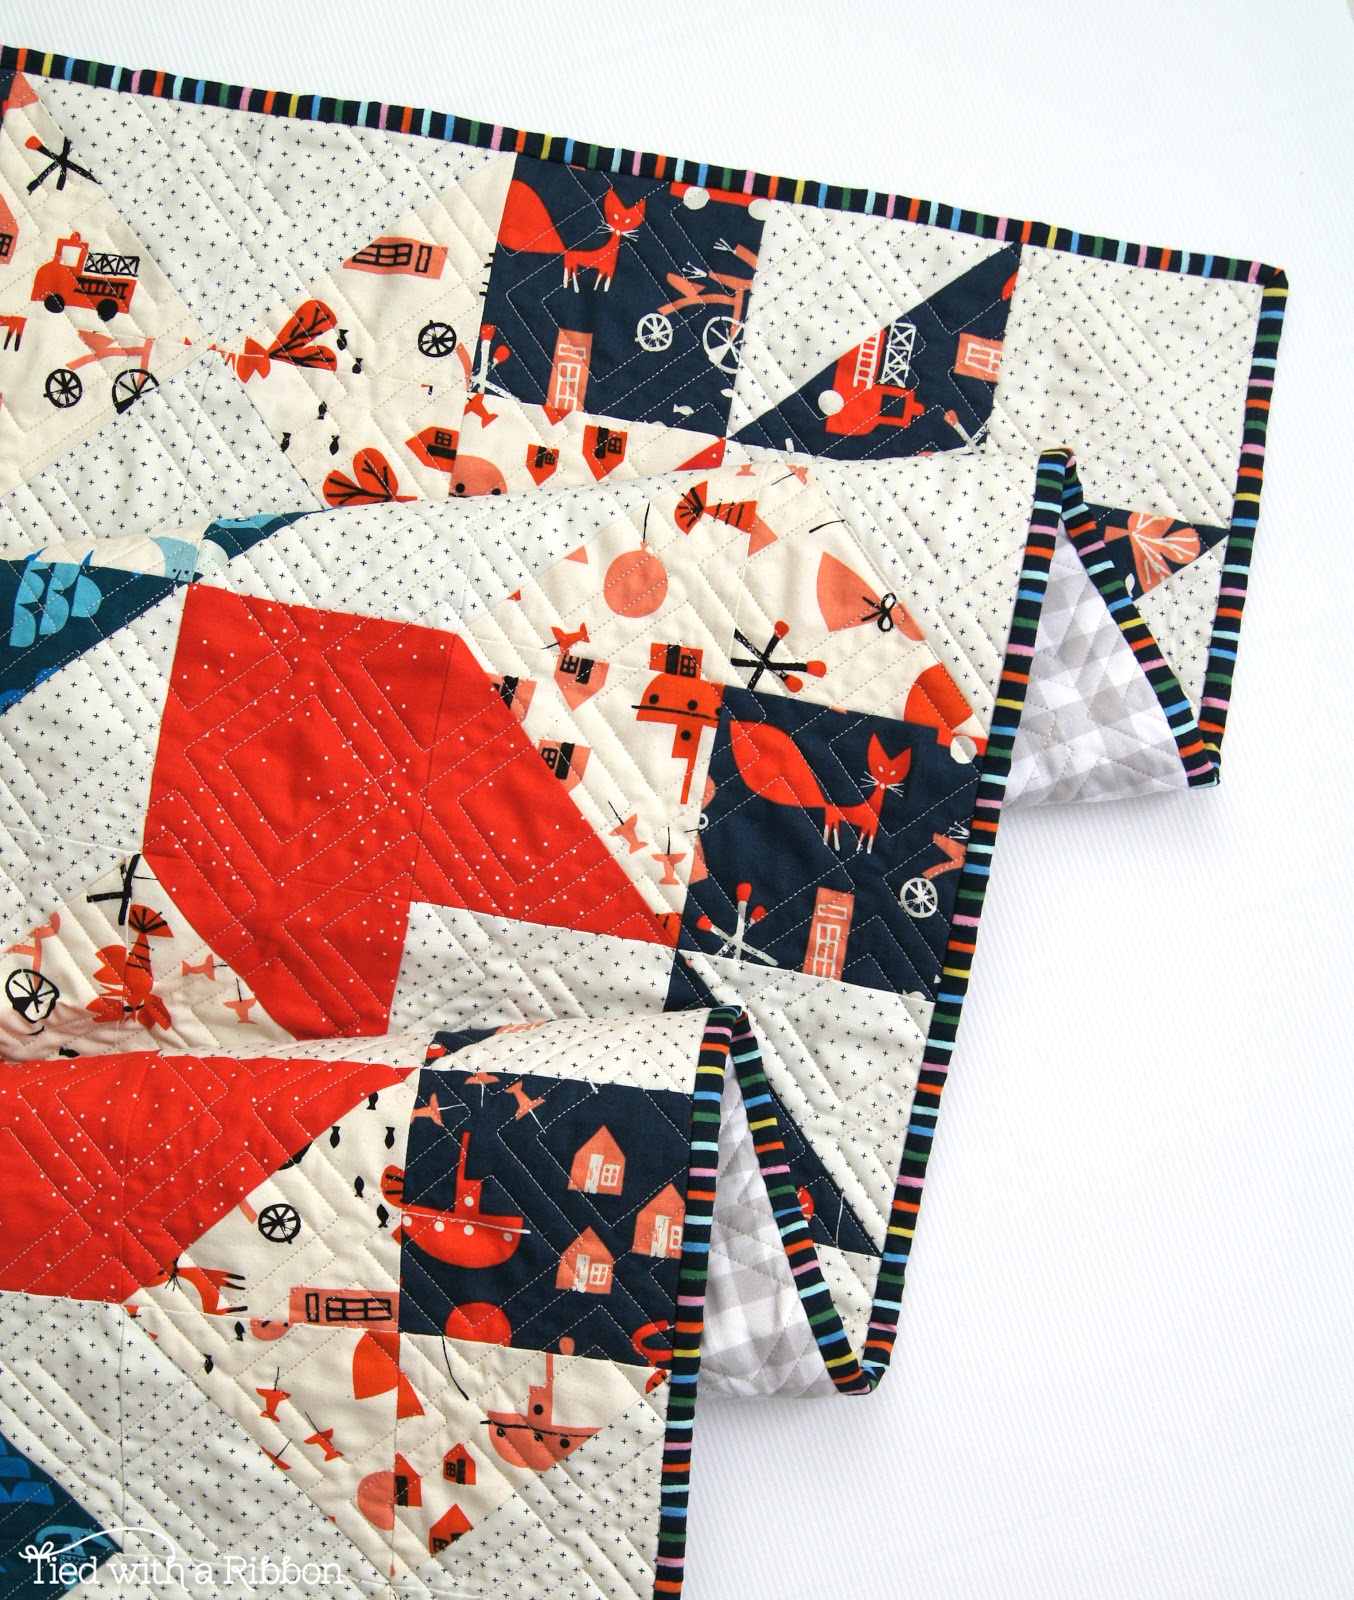
I have had a great time also sewing along making this Spectacle fabric inspired version. With the quilt back from being quilted, I used the Rifle Paper Co's - Amalfi Stripe for binding. This was the perfect choice to tie all the colours together.
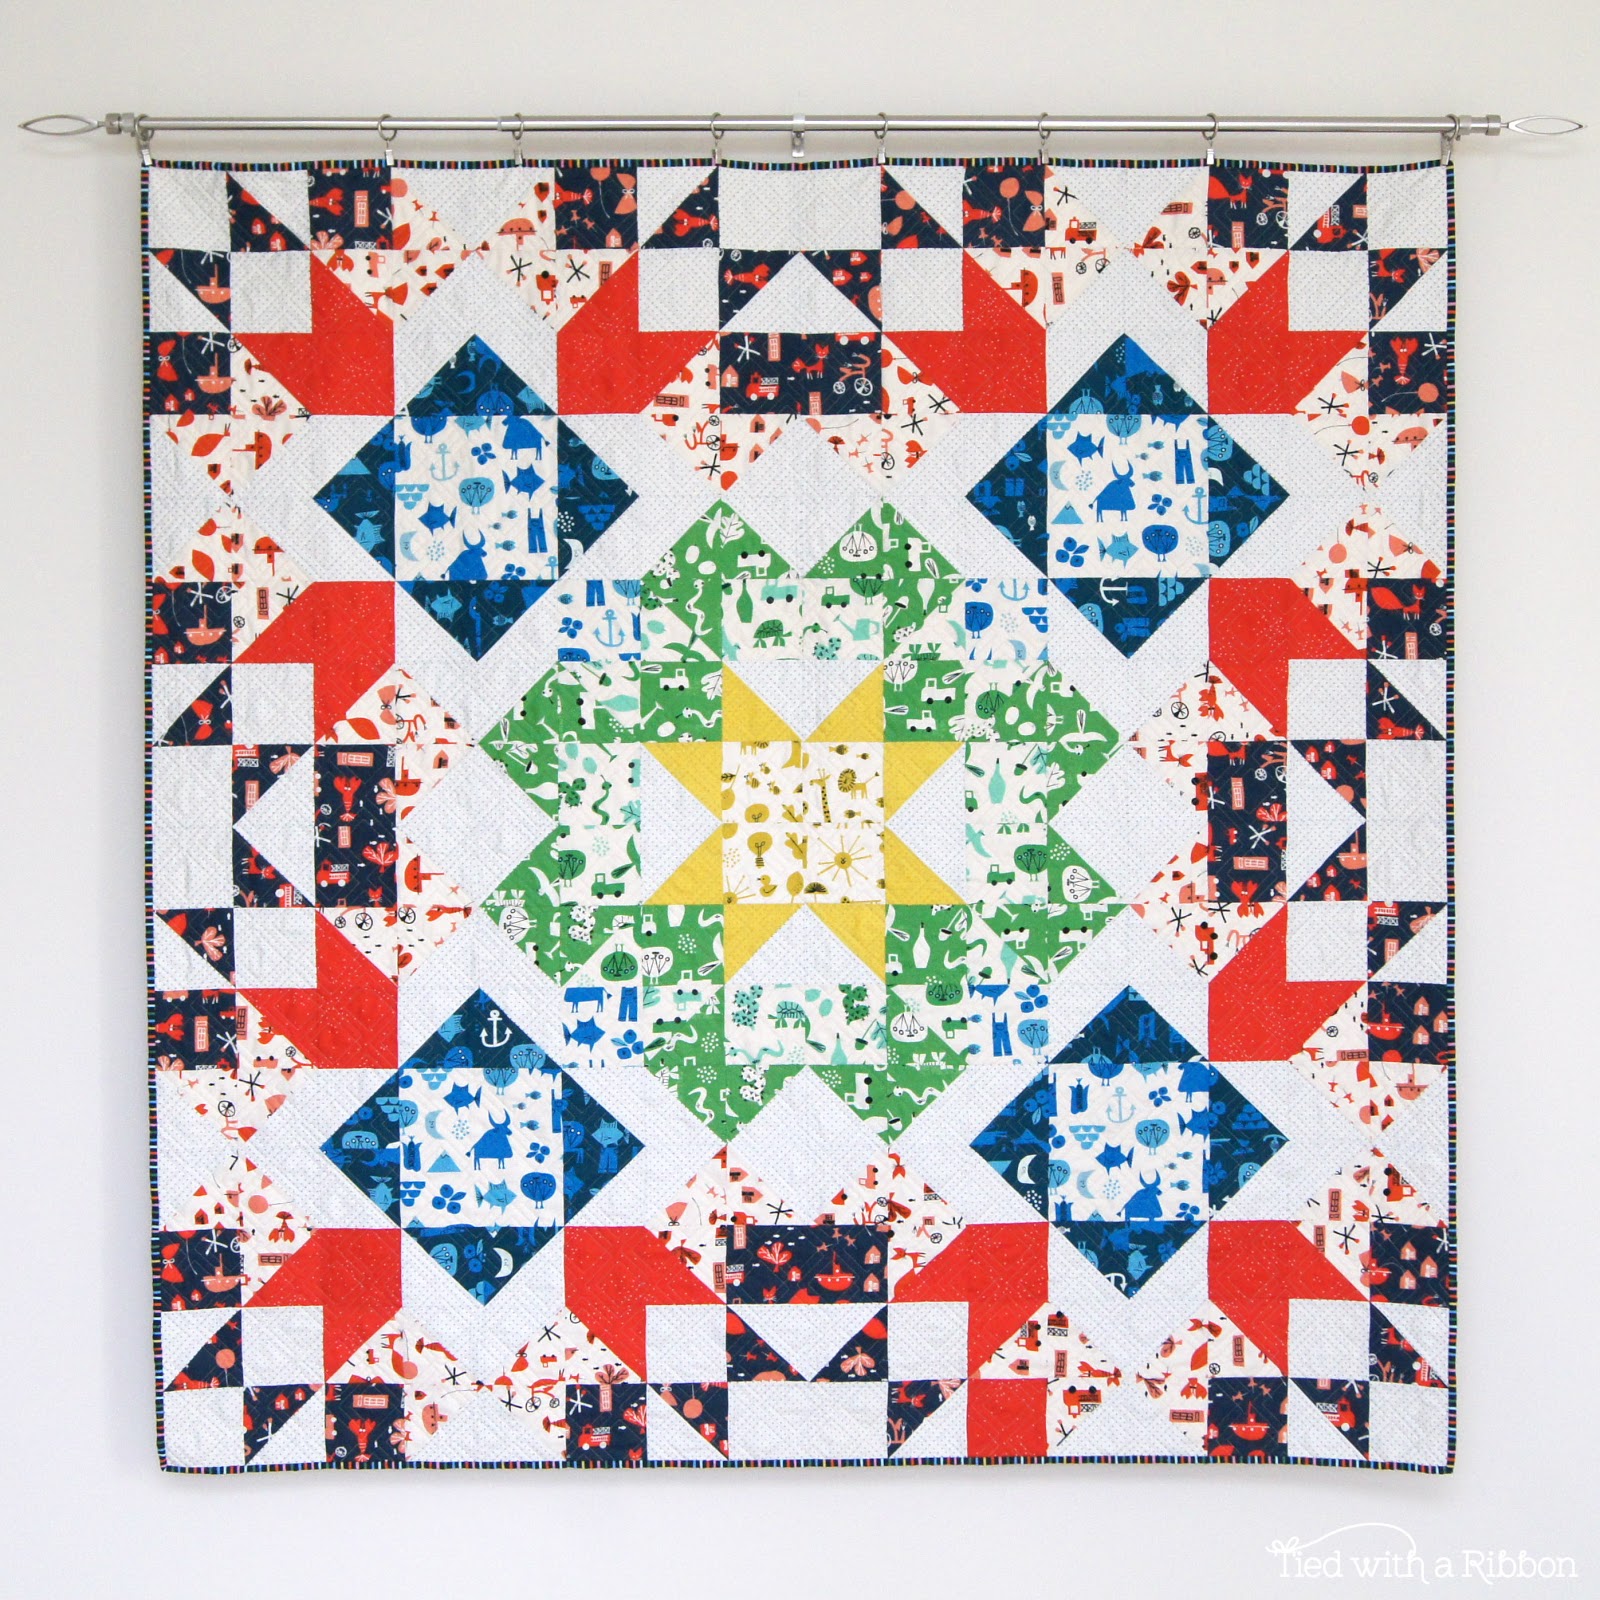
AURORA QUILT INSPIRATION
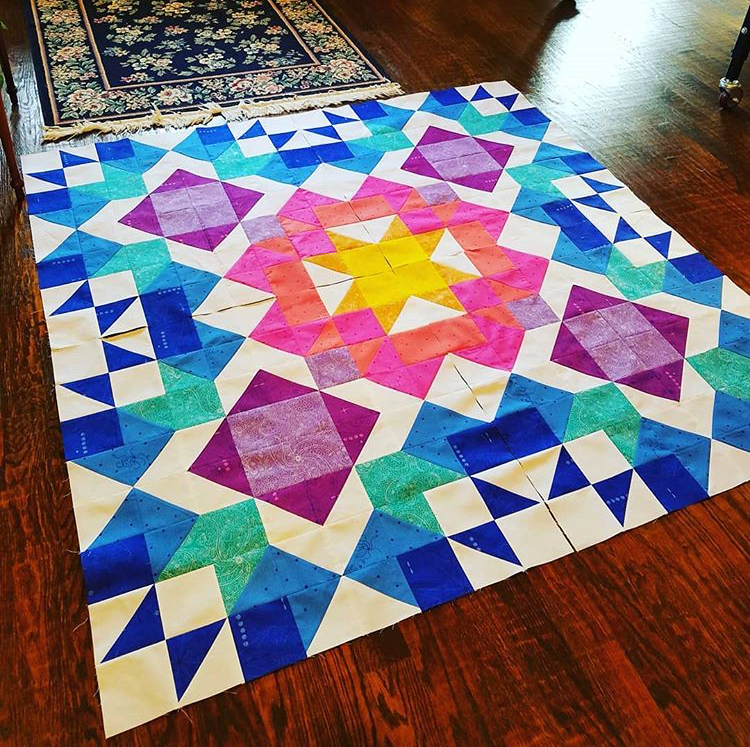
Image thanks to @jesslovestosew
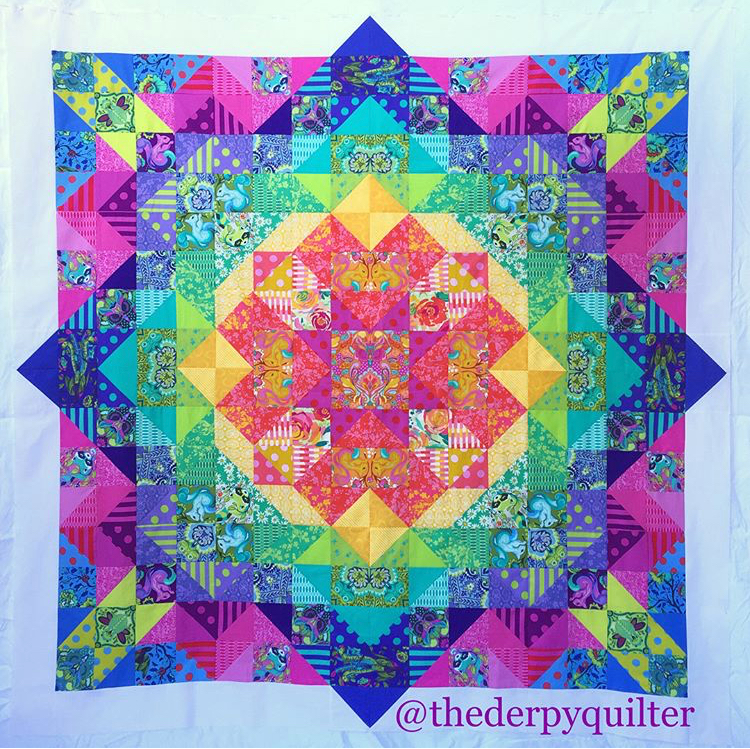
Image thanks to @bethannstitches_
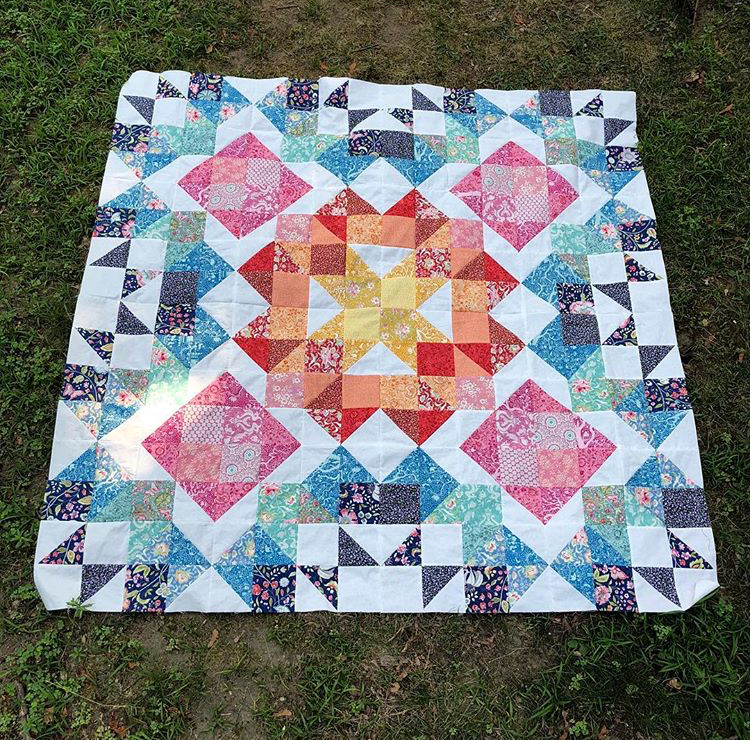
Image thanks to @thederpyquilter

Image thanks to @julietapu
This weeks Sponsor is Cassie at Sew Stitching Happy - she has this beautiful Bundle of Fabrics.
A BIG THANK YOU
When I first had the idea to run this Sew Along - I had no idea that it would be so well received and that so many people would join and sew along. It has been so inspiring to see your quilts progress as well as make lots of new sewing friends along the way. So thank you for coming on this fun ride with me.
A massive thanks also to all the Sponsors who donated some amazing prizes each week.
Happy Quilting
Jemima x x
This post may contain Affiliate links. I may earn a small commission at no cost to you.

