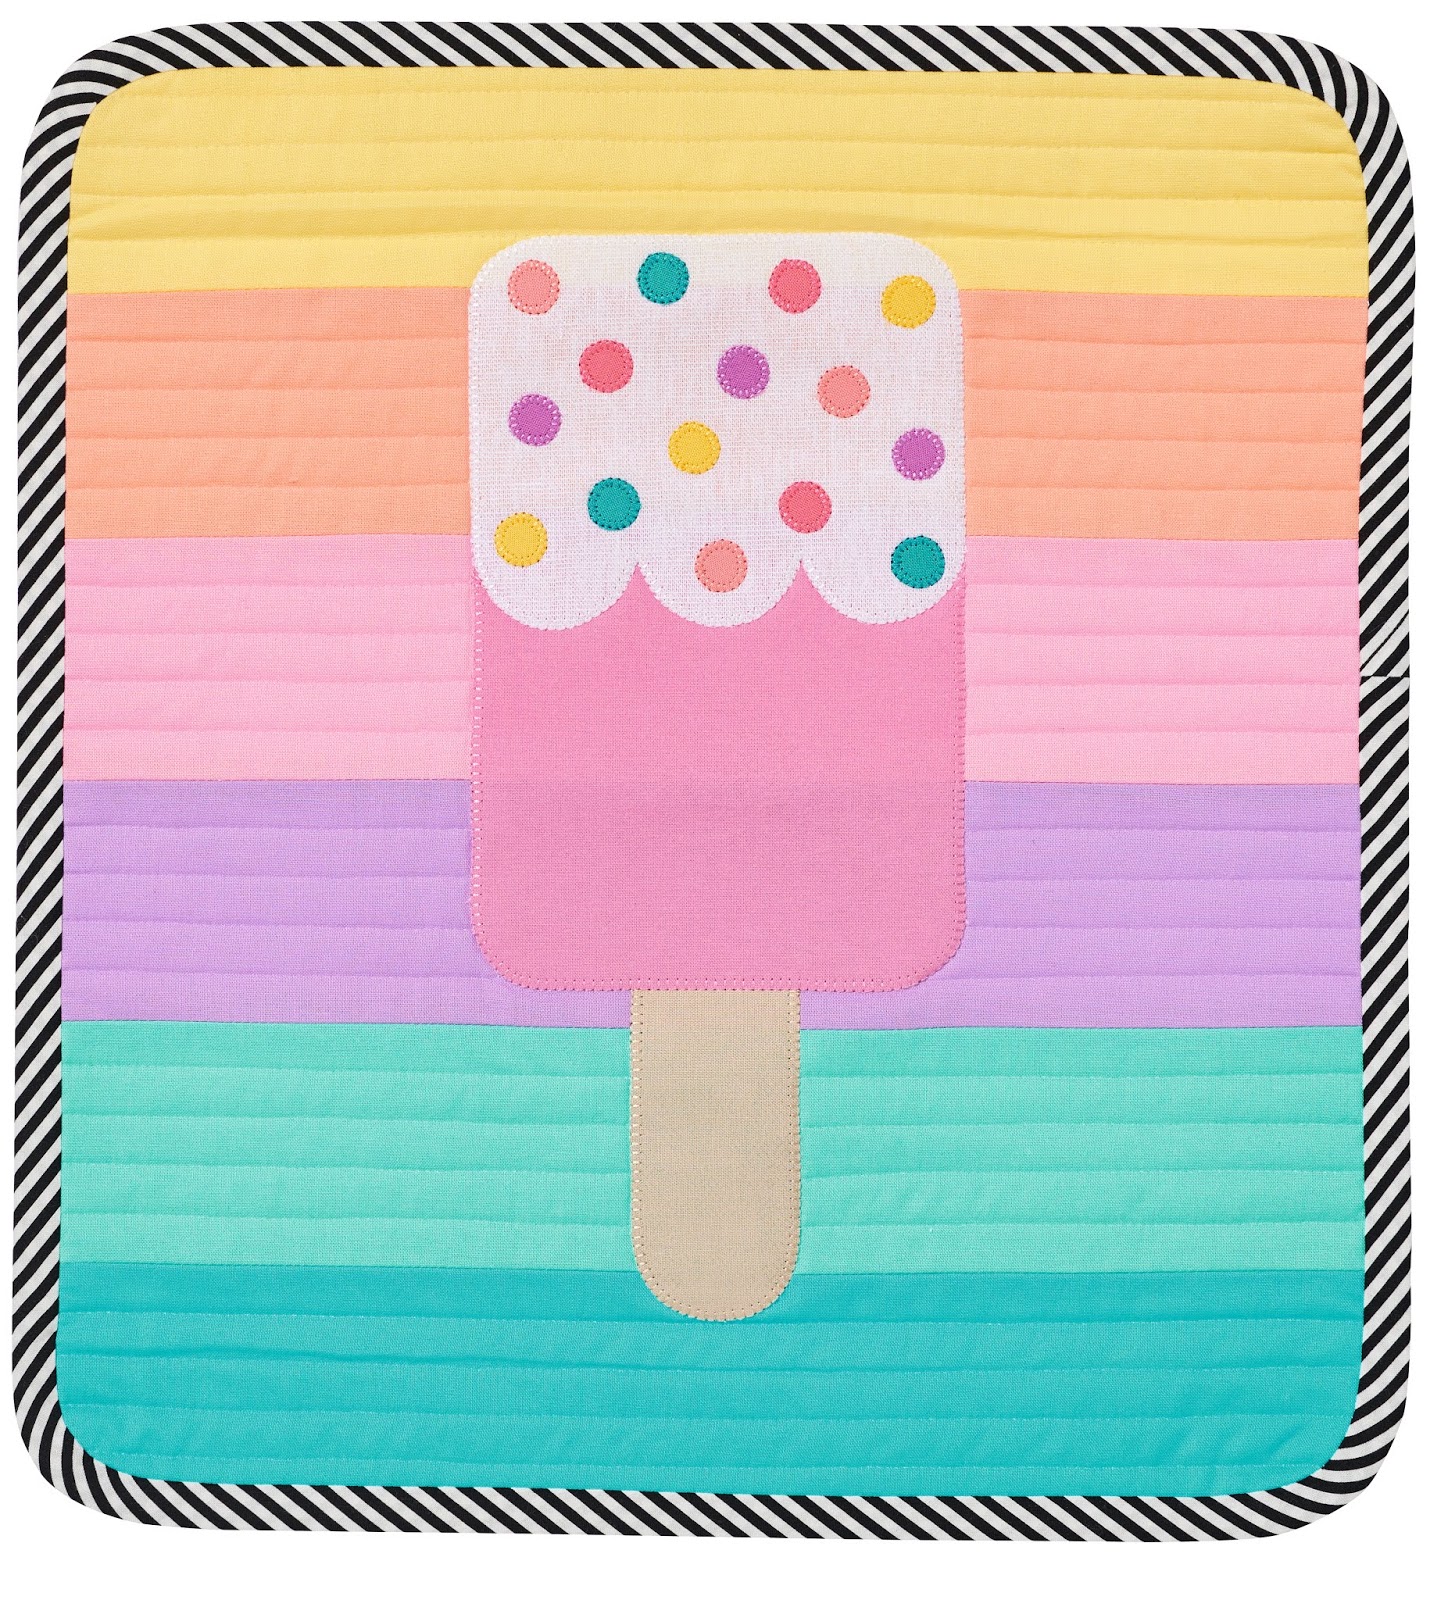
The Rainbow Popsicle Quilt comes in two sizes - the Lap Size at 60.5in x 63.5in (154cm x 161) and the Mini Quilt size 14in x 15.5in (36cm x 40cm). Included in the pattern is a Colouring Page to help you work out your colour placement, as well as Cutting Tags to keep track of your fabrics as you cut them.
Rainbow Popsicle Quilt Along - Week 1
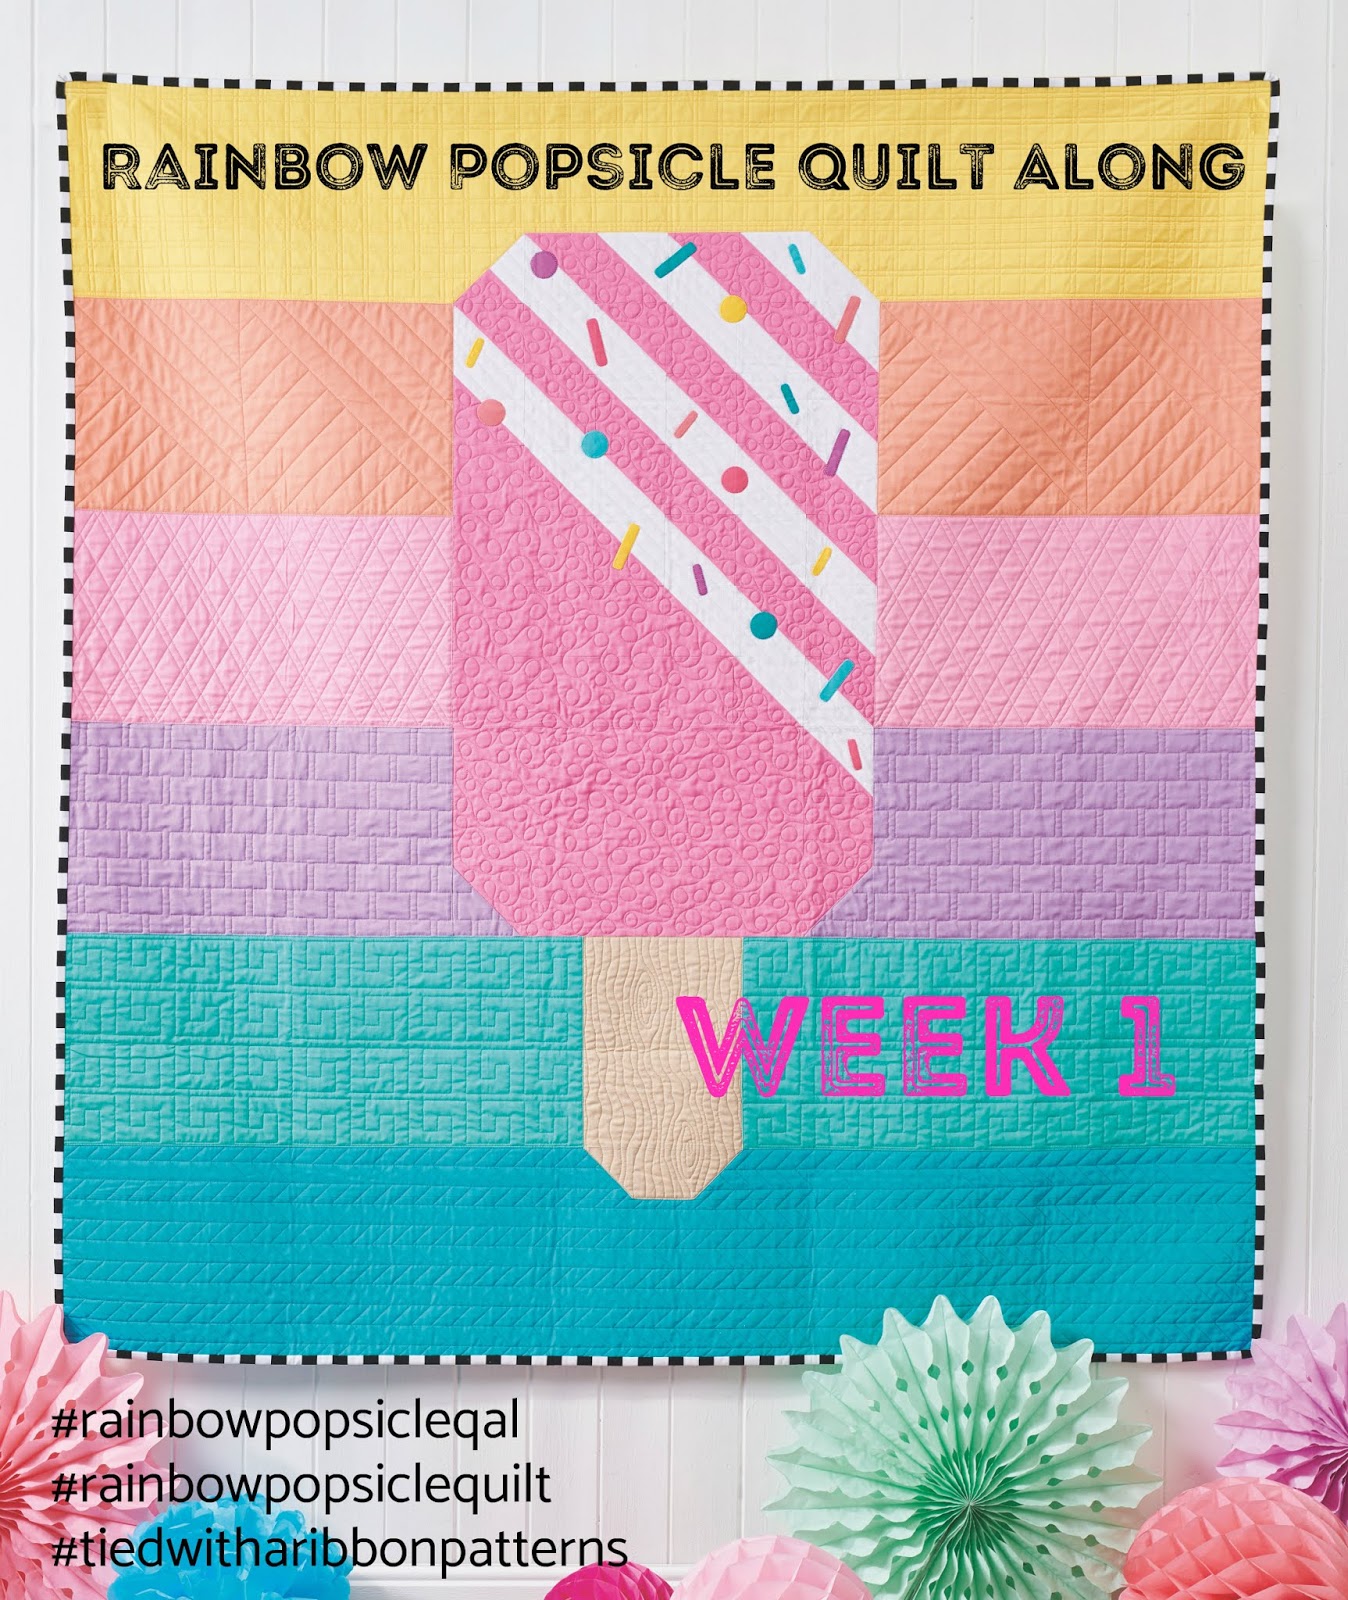
Welcome to Week 1 of the Rainbow Popsicle Quilt Along. I am really excited you have decided to join in and make your very own Rainbow Popsicle Quilt. This Quilt Along is designed to be casual and relaxed so that you can have heaps of fun, meet new quilty friends and be inspired by all the #rainbowpopsiclequilt that will be made during the Quilt Along. There are prizes up for grabs each week from some amazing Sponsors and I will be here to give tips, tricks or helpful details for you to successfully finish your Rainbow Popsicle Quilt.
Get the Rainbow Popsicle Quilt pattern here
Week 1 - Selecting your Fabric
This weeks task is all about selecting and choosing the fabric you would like to make your Quilt from as well as getting it all cut out. Post a pic to Instagram, using the above hash tags of your fabric pull, quilt planning or cutting to show us what you will be making your Rainbow Popsicle Quilt from and to be in the running for this weeks prizes. (NOTE - do not post full colouring pages PLEASE!)
This is where the sky is the limit - whether you choose Solids or Prints this quilt works. You can grab fabrics from your stash or use a collection.
If you are looking for inspiration for fabrics then head to the #rainbowpopsiclequilt hash tag. There you will see lots of different fabrics that have been used so far to make Rainbow Popsicle Quilts.
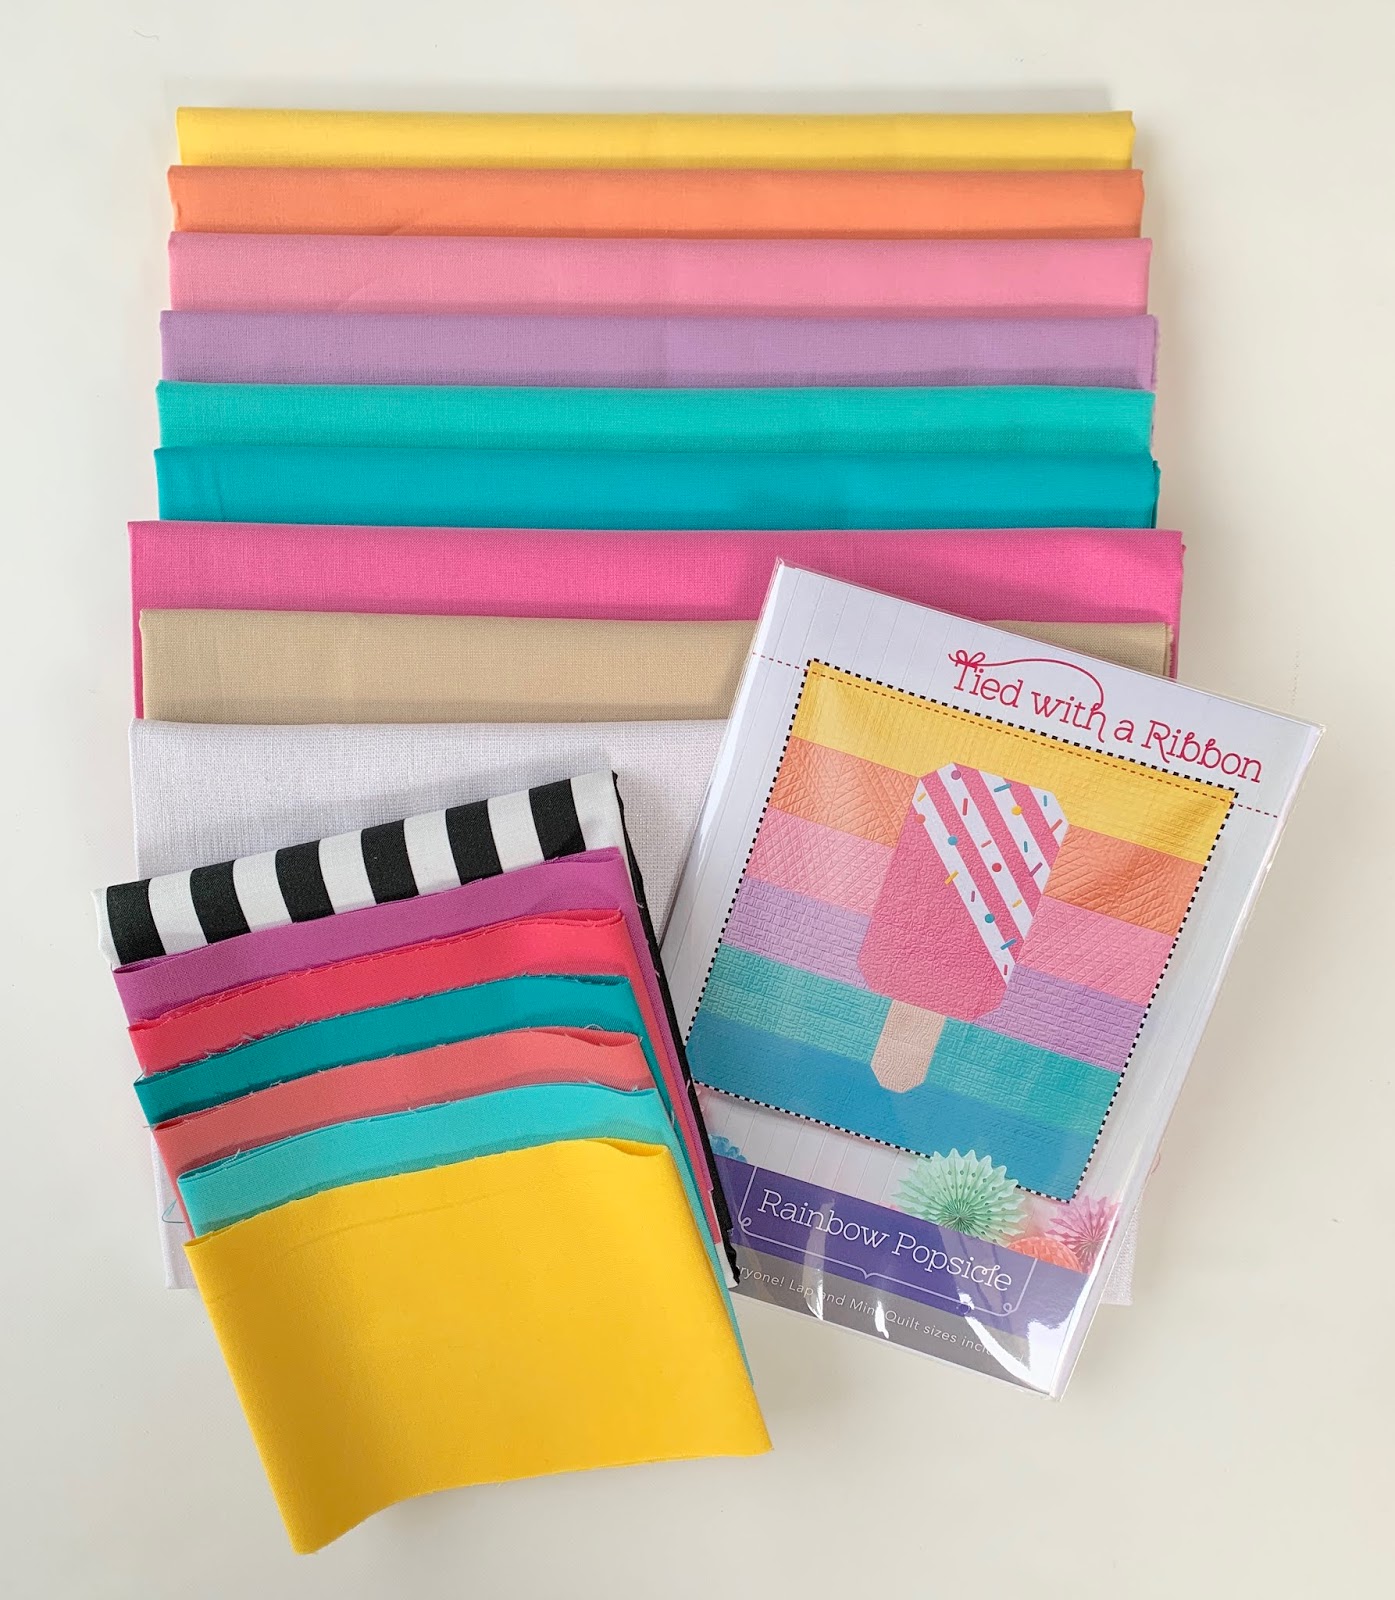
Solids
Solids work so well for this Quilt and the choices of different Fabric Company Solids is huge. I have included in the pattern the names of the Kona Solids I used but you can pick any colour scheme you like for this. One way to do this is head over to Pinterest and search Colour Palettes - this gives you lots of boards with a selection of colours already that co-ordinate and work well together. From here you can pick and choose solids for any colour palette you like.
Prints
For this quilt - multi directional prints work best and are easiest - You can use small scale prints that really give the cohesive look. Or large scale prints like big florals are also fabulous as these really stand out.
Directional Prints - you can certainly use directional prints so if you are wanting to match directional fabrics then you will just need to allow for extra fabric when you purchase.
KITS AVAILABLE
The following stores (who are all Sponsors) have Kits for the Rainbow Popsicle Quilt Available if you are looking for some ready made options:
Colouring In Page
Included in the pattern is a Colouring Page - simply print out or copy this page from your pattern and grab your colouring in pencils. This is designed to help you plan out and play with the colours and fabrics until you have a colour palette you are happy with.
Other tools that may be helpful in planning out your colour palette might be colour cards of swatch samples.
Cutting Tags
Included in your pattern are Cutting Tags. These are designed to assist you keep everything all sorted once you decide which fabrics will be which and then to make sure you cut the correct number as you work.
I hope you enjoy making your Rainbow Popsicle Quilt with us.
Happy Quilting
Jemima x
Rainbow Popsicle Quilt Along - Week 2
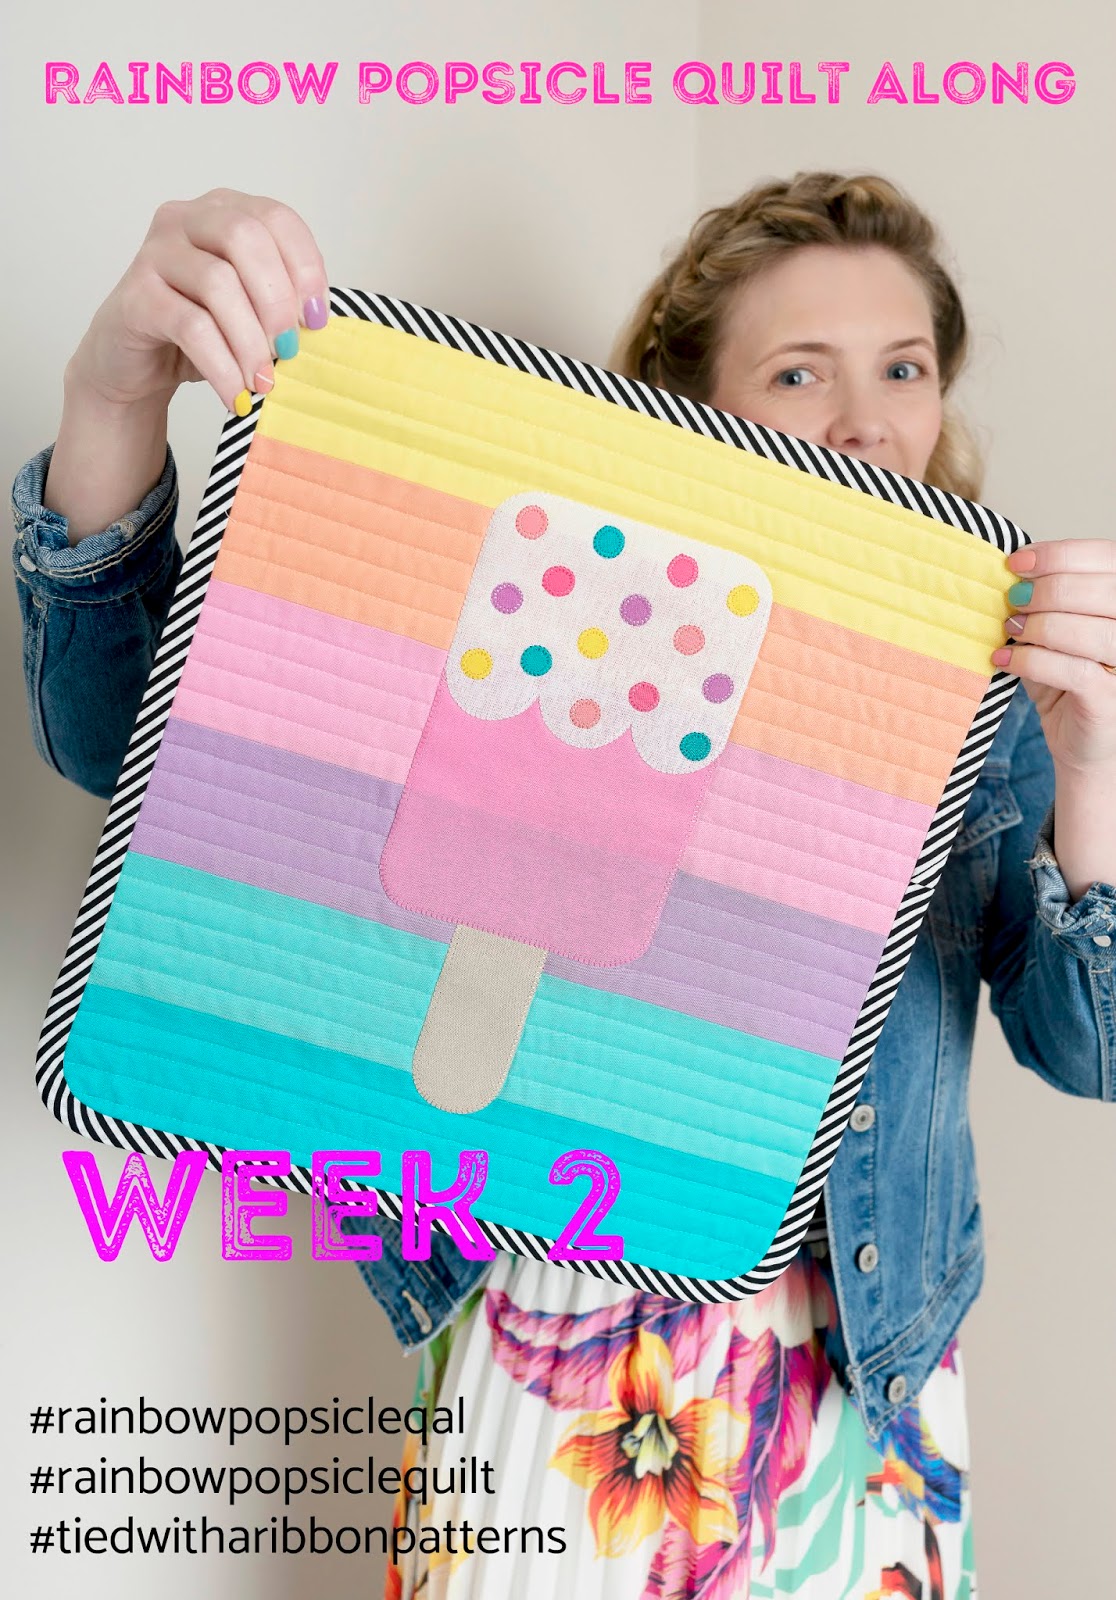
Welcome to week 2 of the Rainbow Popsicle Quilt Along. It has been really great to see all the fabric pulls that people have done and the colour combos look so great.
WEEK 2
So this weeks task is all about making your Half Square Triangles or HST's as they are more commonly know as and constructing your Popsicle.
Half Square Triangles are the starting point for many designs. There are a LARGE number of ways to make them - you only have to google them to find lots of different Methods.
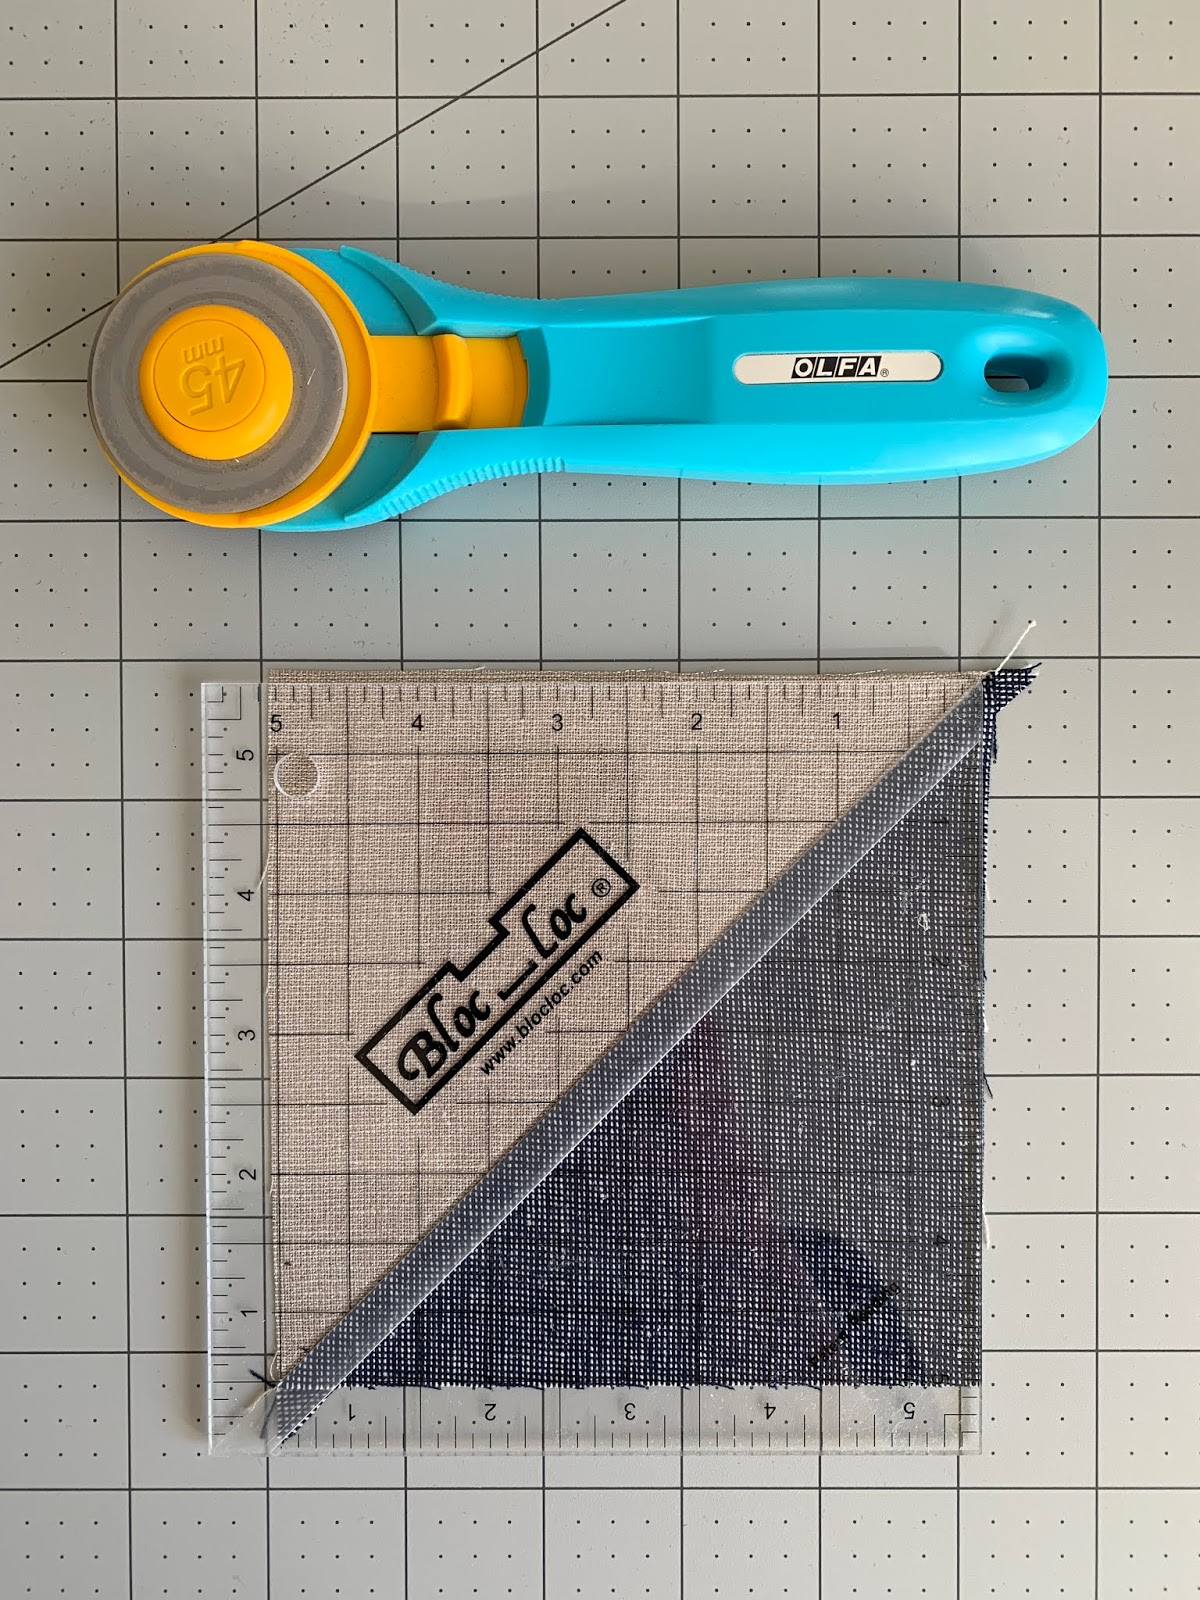
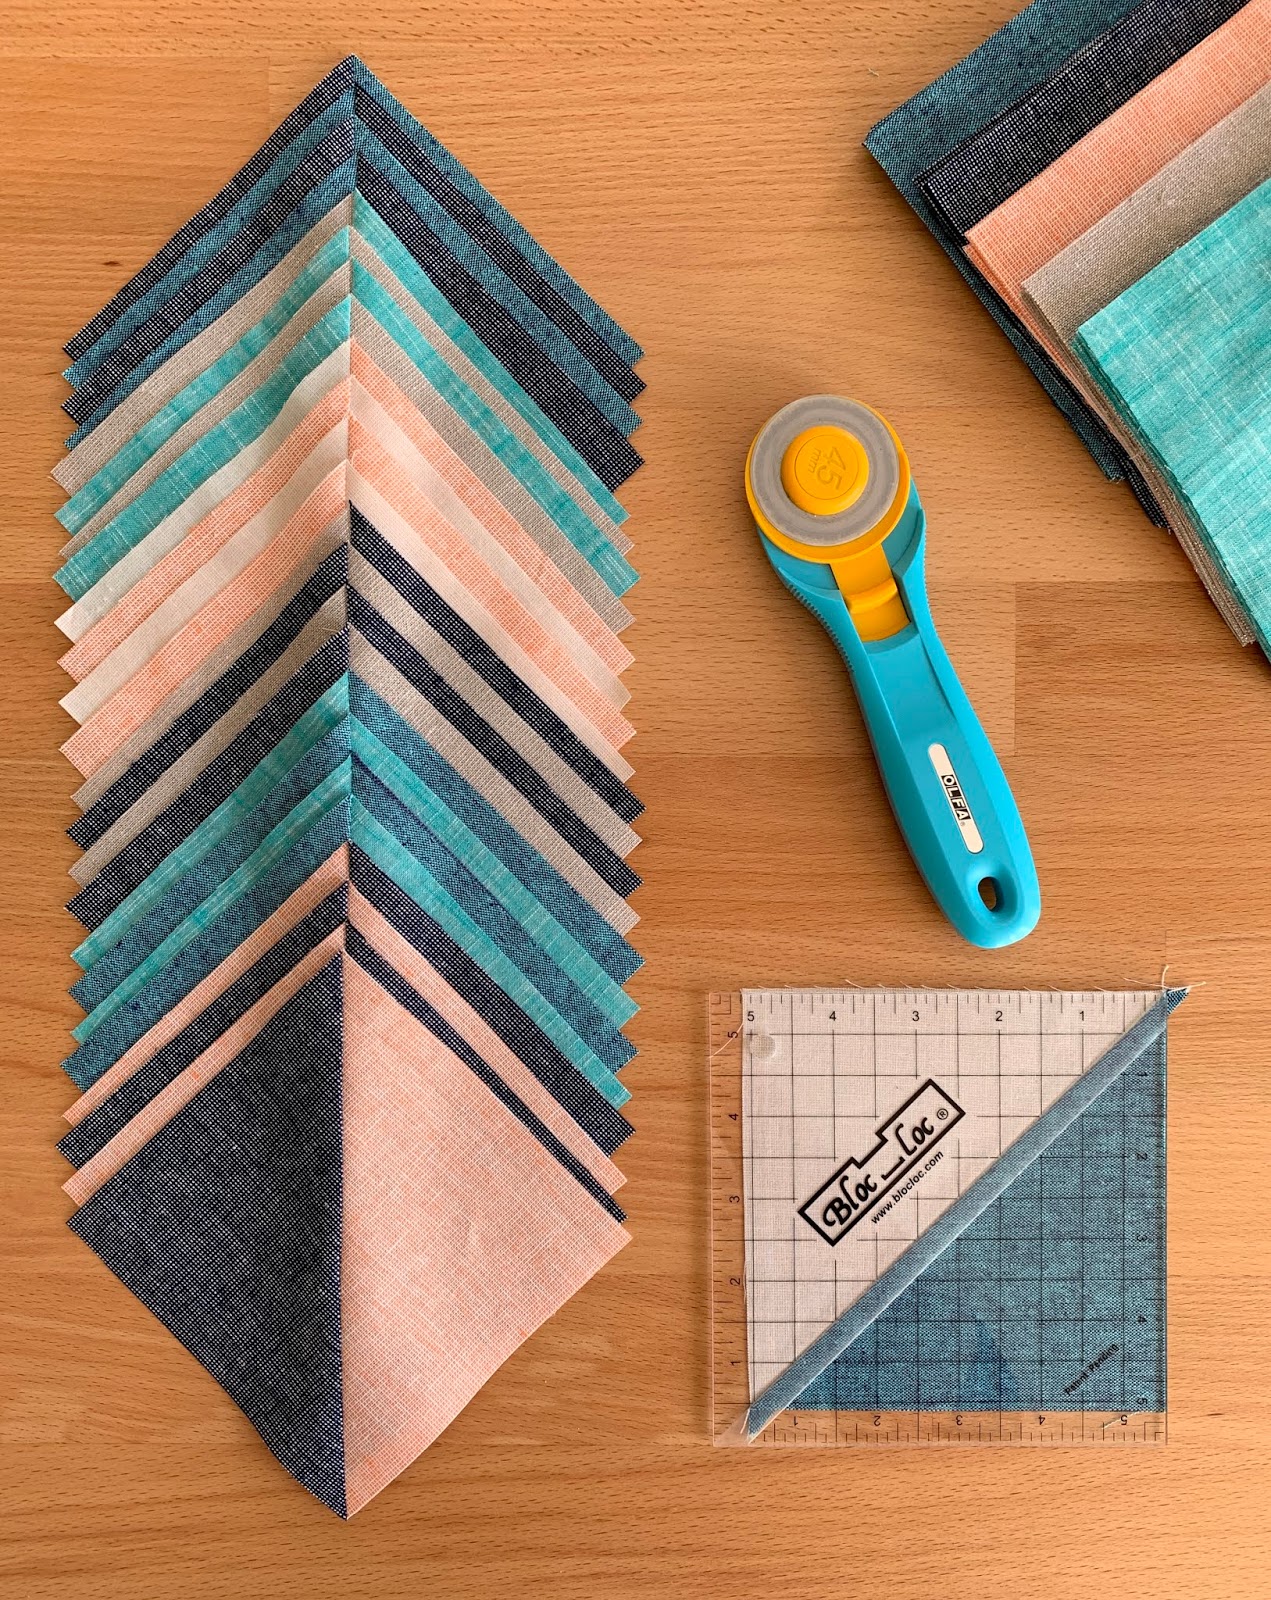
When making HST I prefer to make larger blocks then trim them down to size using Bloc-Loc Half Square Triangle Square Up Rulers. While some quilters may see this an an extra step, I believe that taking the tine to do this actually saves time and frustration down the track. The points in your blocks will match up better and ensure your finished project looks better.
I have also found that when Half Square Triangles are made to size, you often have to deal with bias stretch, which can distort the points when pressing and involve unpicking and sewing scant seams to make things fit.
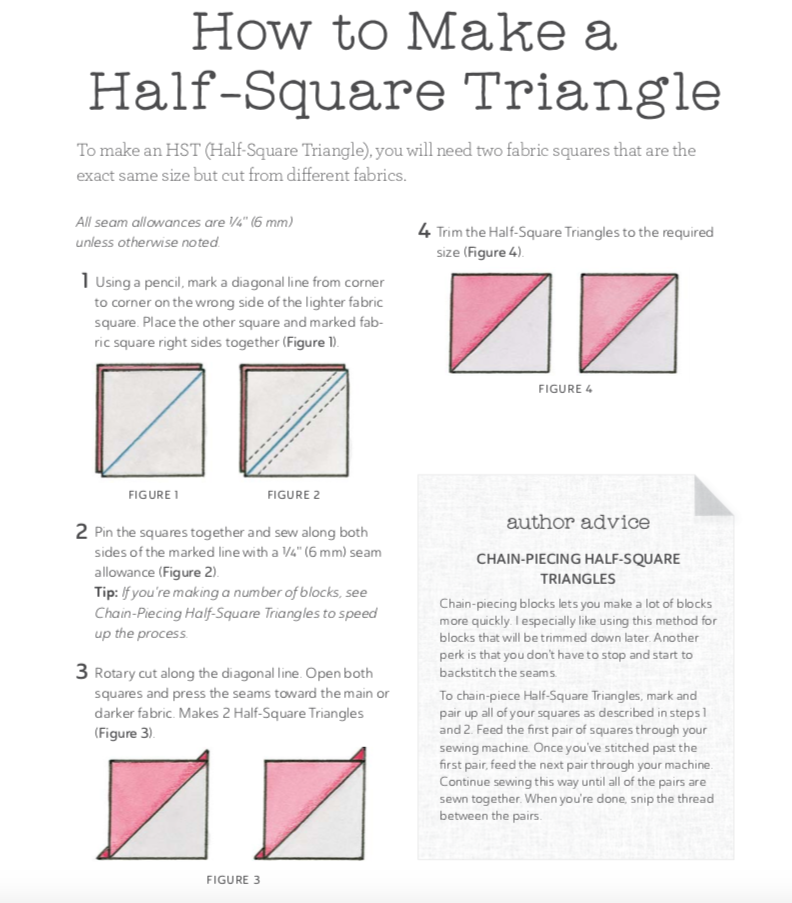
Here is an excerpt from my book Weekend Quilting on the Chapter for making Half Square Triangles along with some tips for Chain piecing.
BLOC LOC RULERS - I am in no way associated with Bloc Loc - this is just the ruler I love to use for trimming HST's. You can find more about why I love them here in their Blog Post on my Top 5 Tools. They are readily available from Local and online retailers worldwide.
Happy Quilting
Jemima x
Rainbow Popsicle Quilt Along - Week 3
This week marks the halfway point in the Rainbow Popsicle Quilt Along. So far, we have chosen our fabrics, cut them out, constructed our Half Square Triangles and this week we are sewing all the Quilt top pieces (background and popsicle) together.
Week 3
Now that you have completed your HST's you will be able to start constructing the Quilt top. Each of your pieces should be labelled and this will make the process much easier as you work through sewing the pieces together. If you have sewn all your Popsicle together this too, will make it quicker.
This is an exciting week as you see your quilt really take shape and see how quickly it all comes together.
Pins Matter
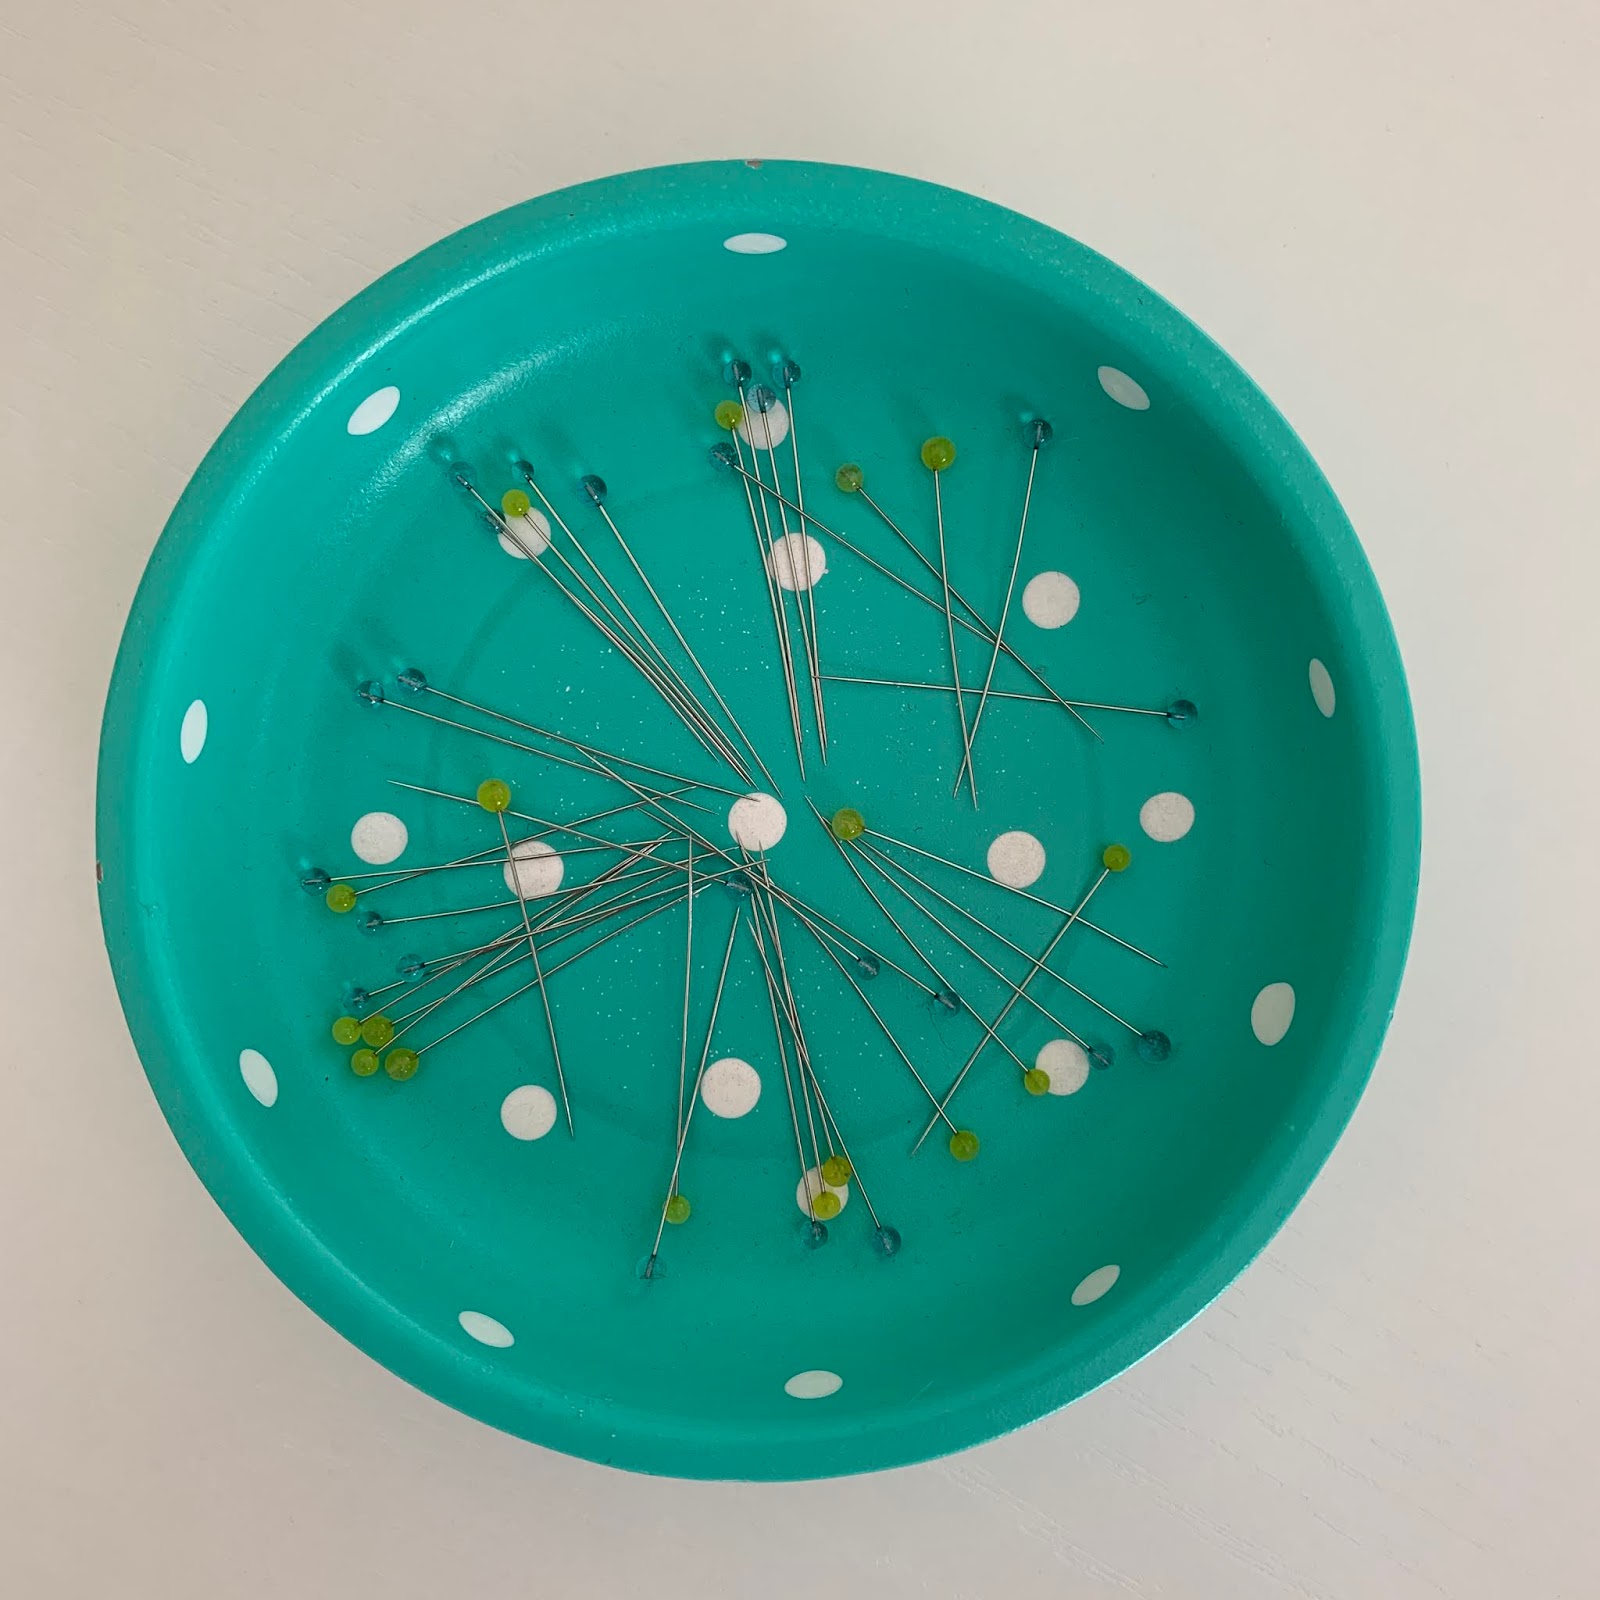
When it comes to pinning - yes I really do believe that the type of Pins you use matter and can make a big difference to your sewing. I have taught many students over the years and a simple way to make a big difference in how you pin, is to use good quality, fine pins designed for Patchwork. Big, bulky, thick pins will make things harder to line up - they disturb the fabric more when pinned through your fabrics and sometimes they can snag your fabric if they are rusted or have burs along them.
Fine Pins for Patchwork are a worthwhile notion to have in your Quilting Toolbox - I like to use Clover Fine Patchwork Pins (as pictured below and this isn't a sponsored add - just my personal opinion). They are sharp, nice and fine and are perfect for use when quilting.
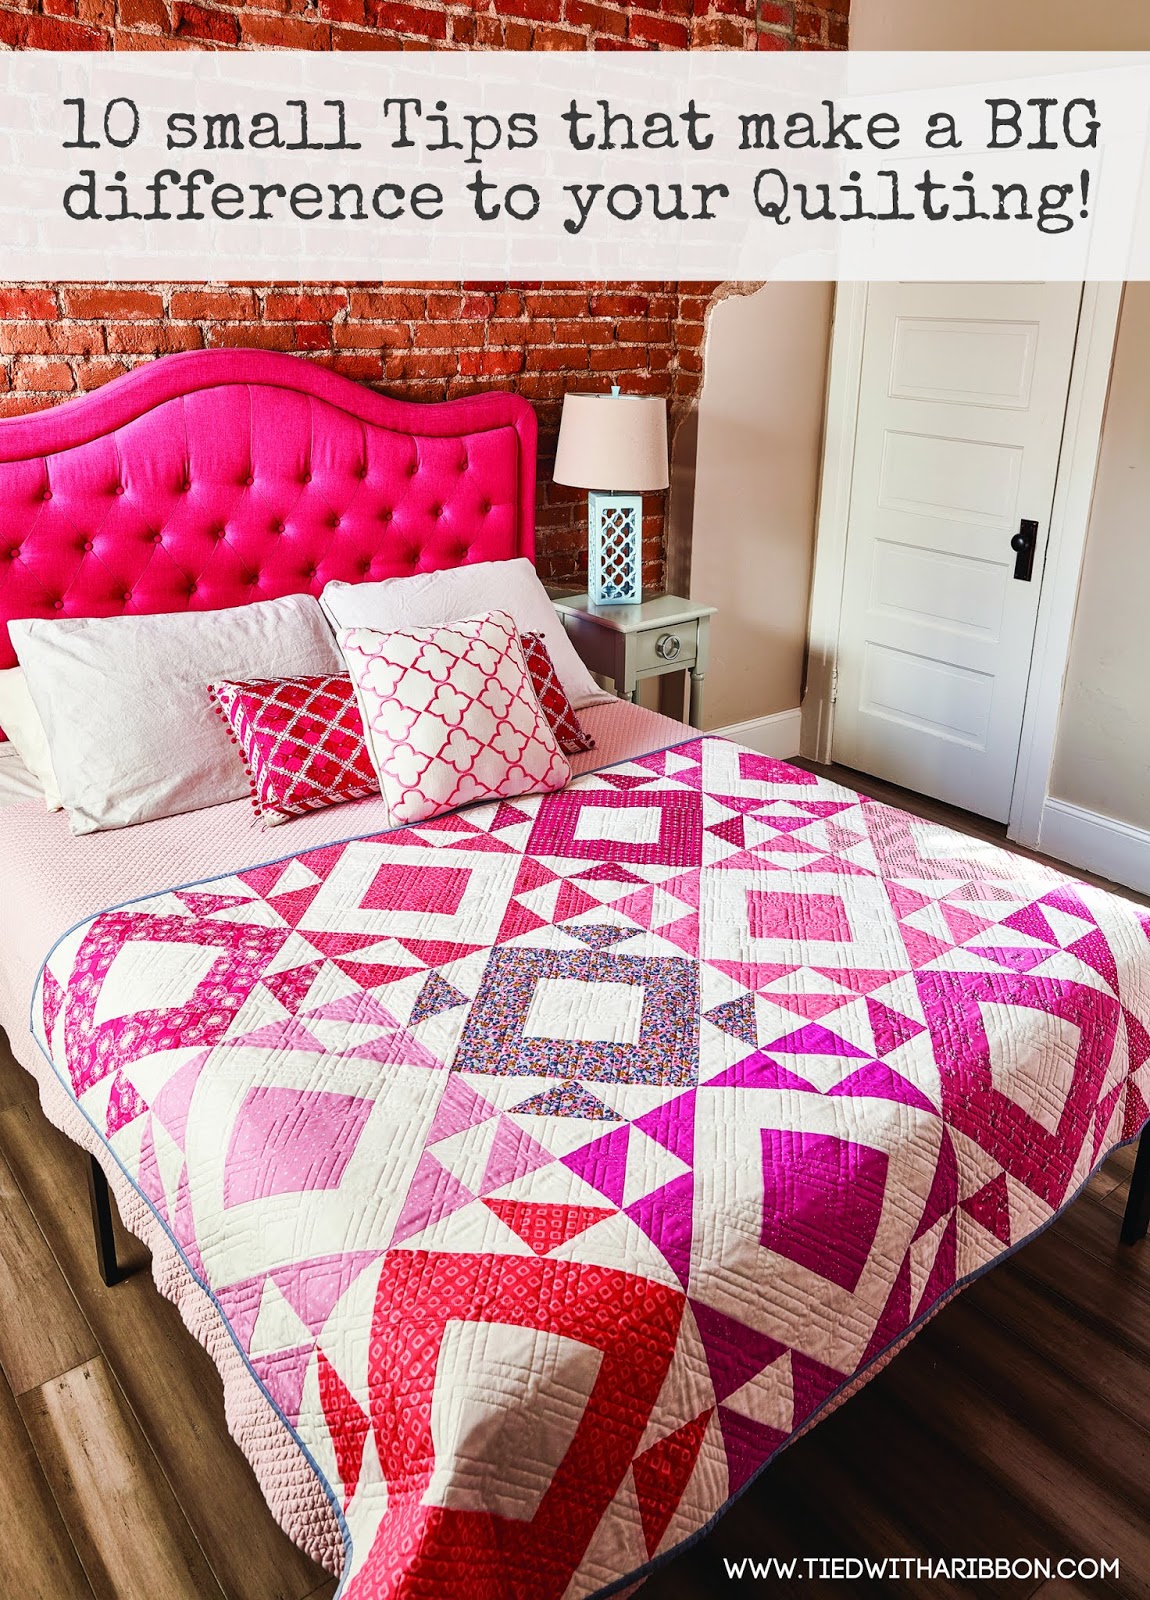
Have you checked out my 10 small Tips that make a BIG difference to your Quilting Blog Post.
I have written all about my best tips to help you out.
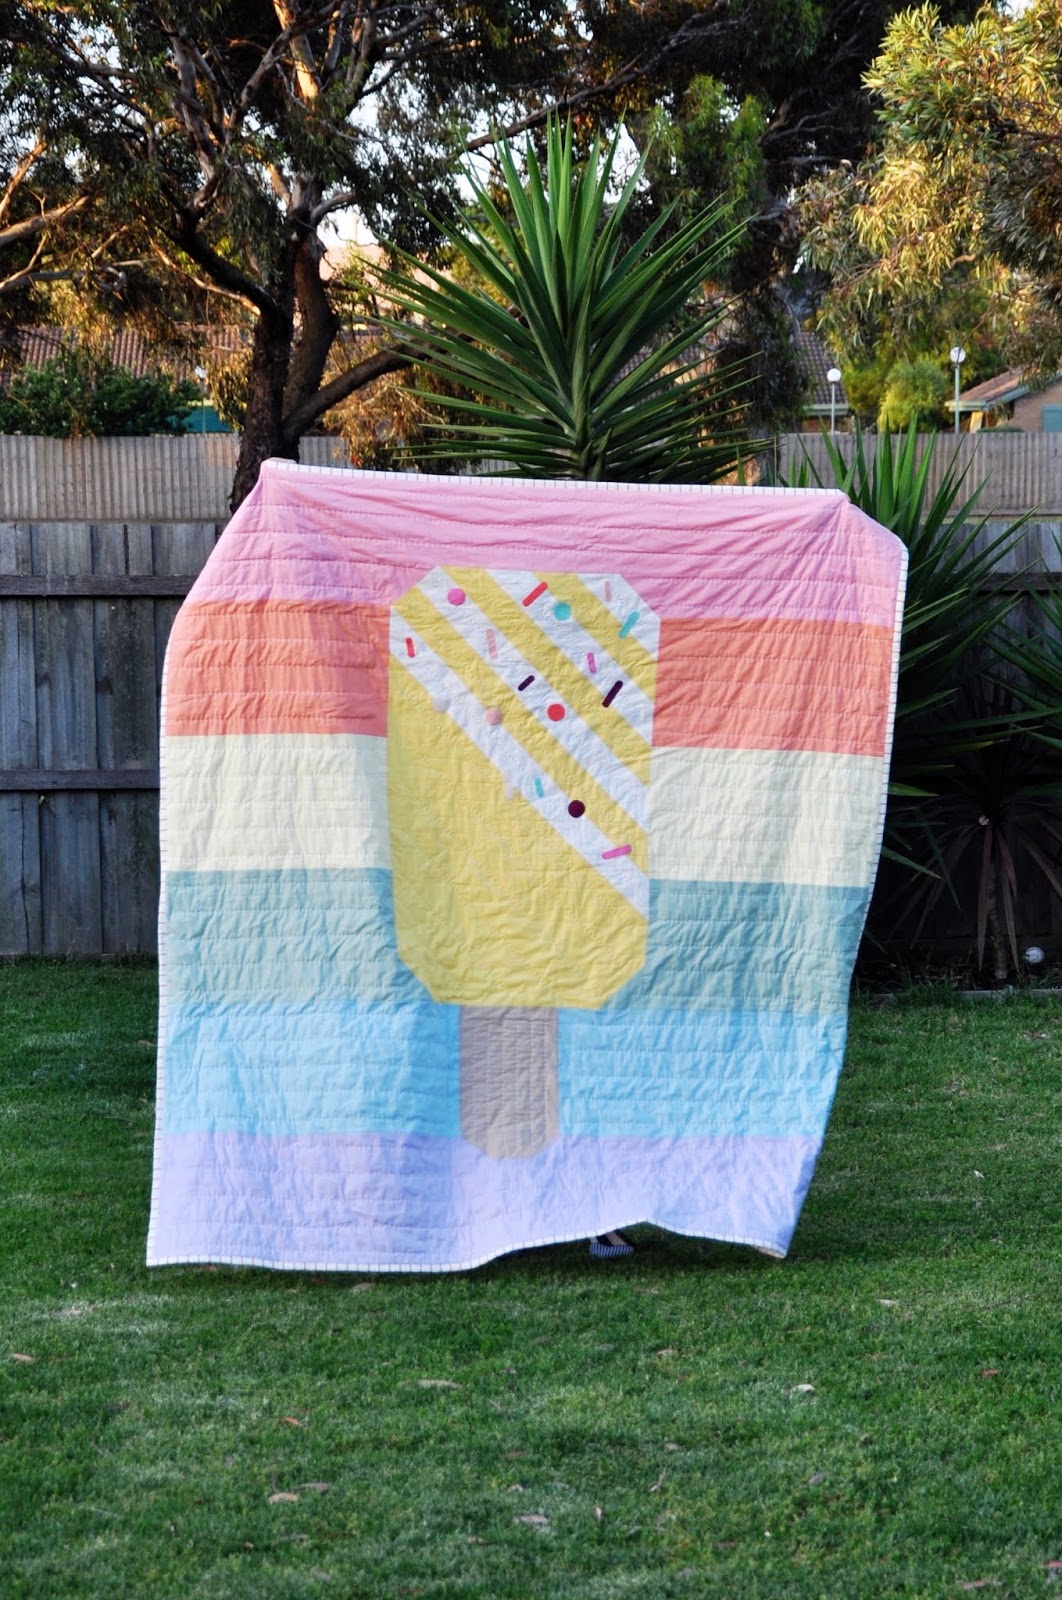
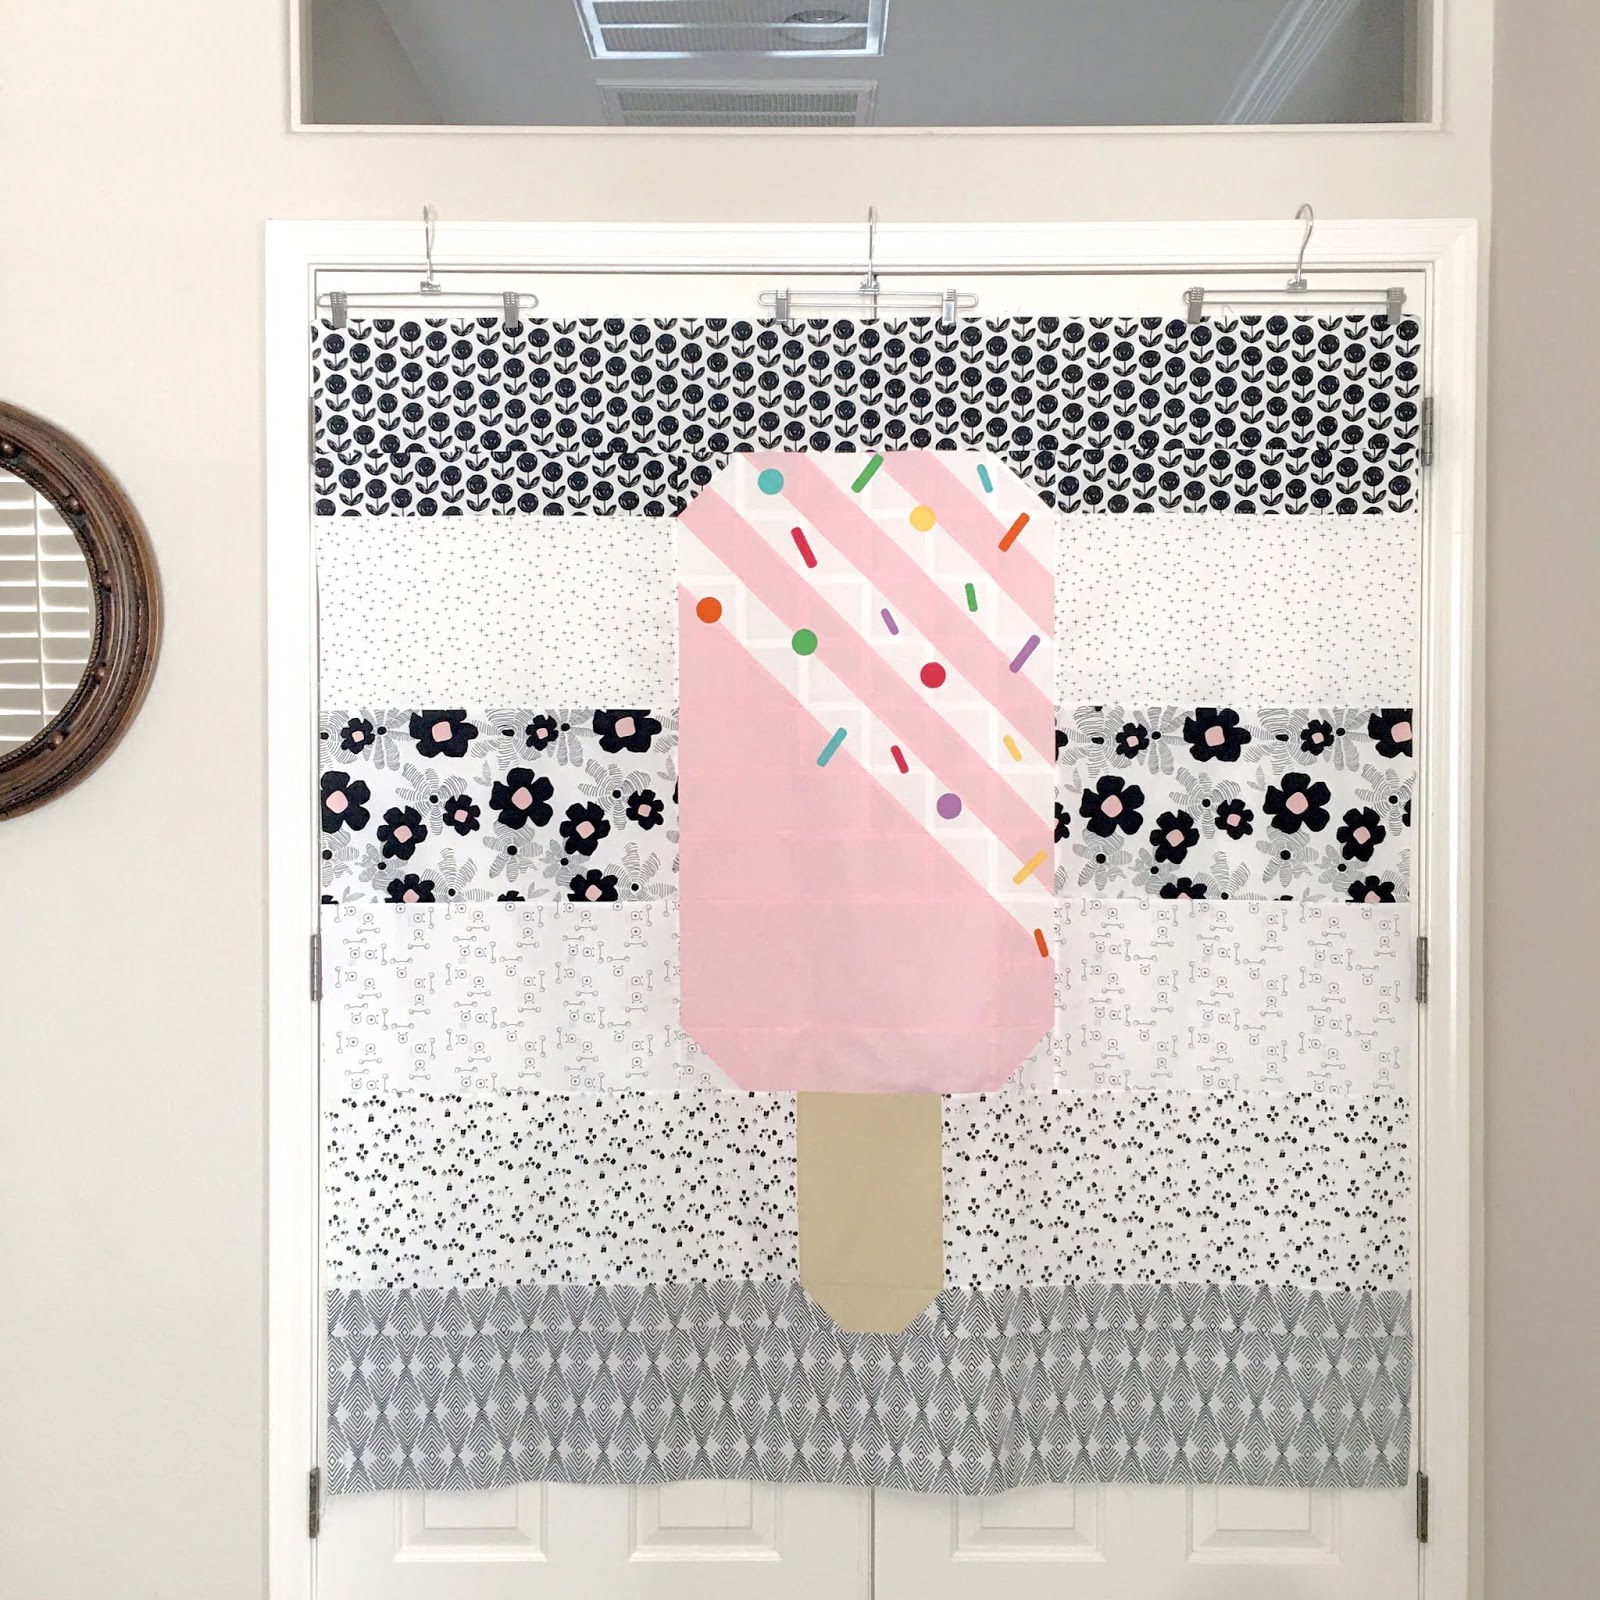
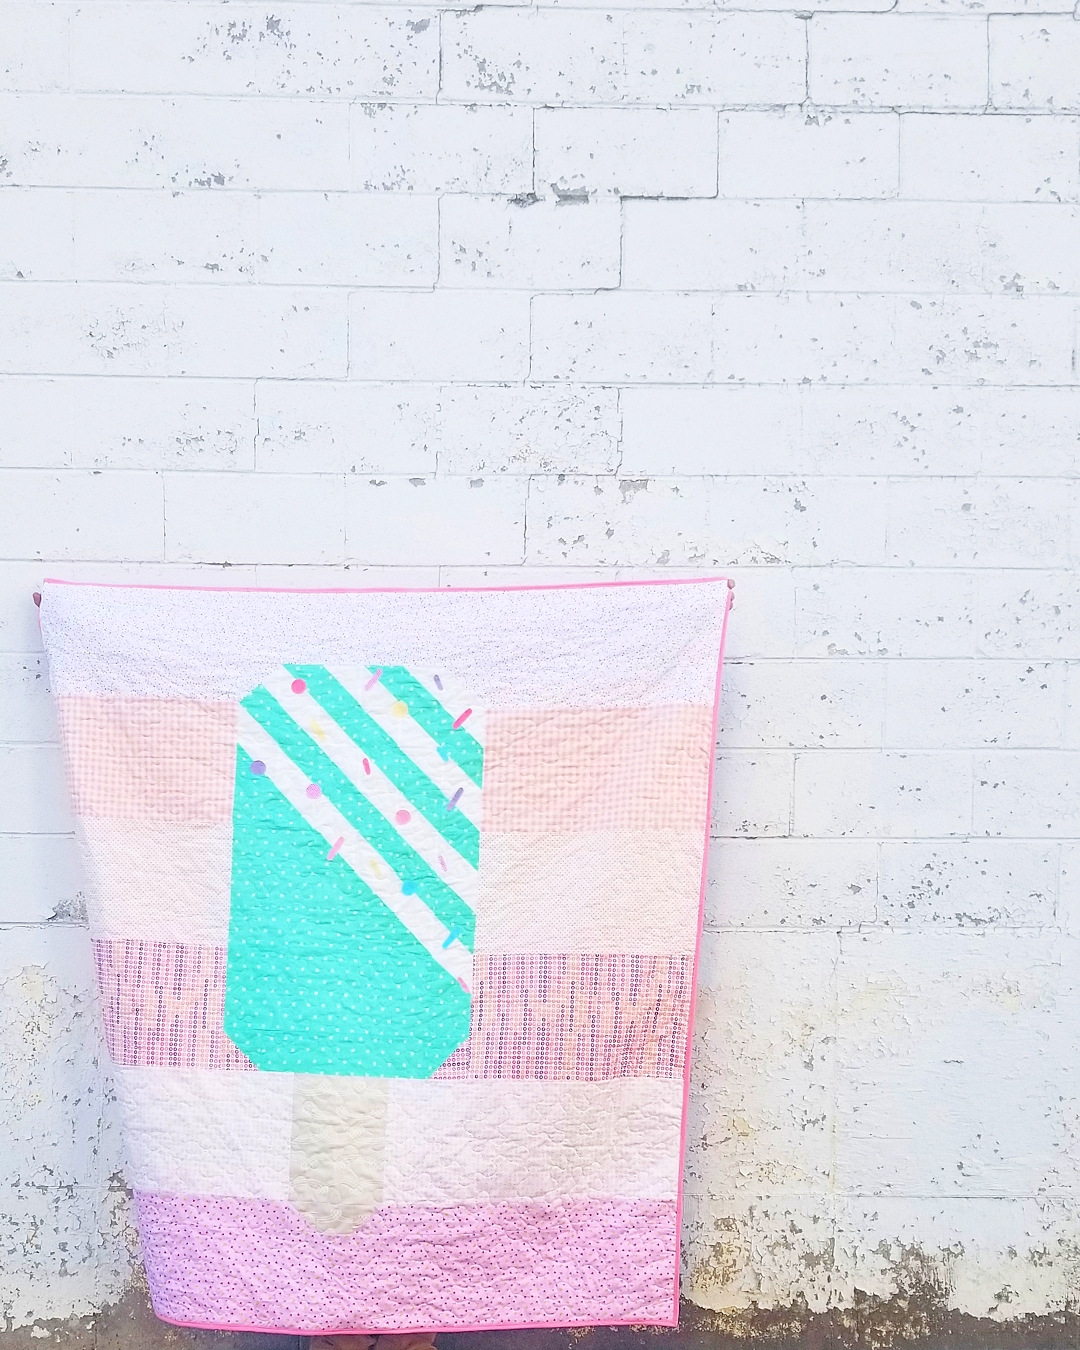
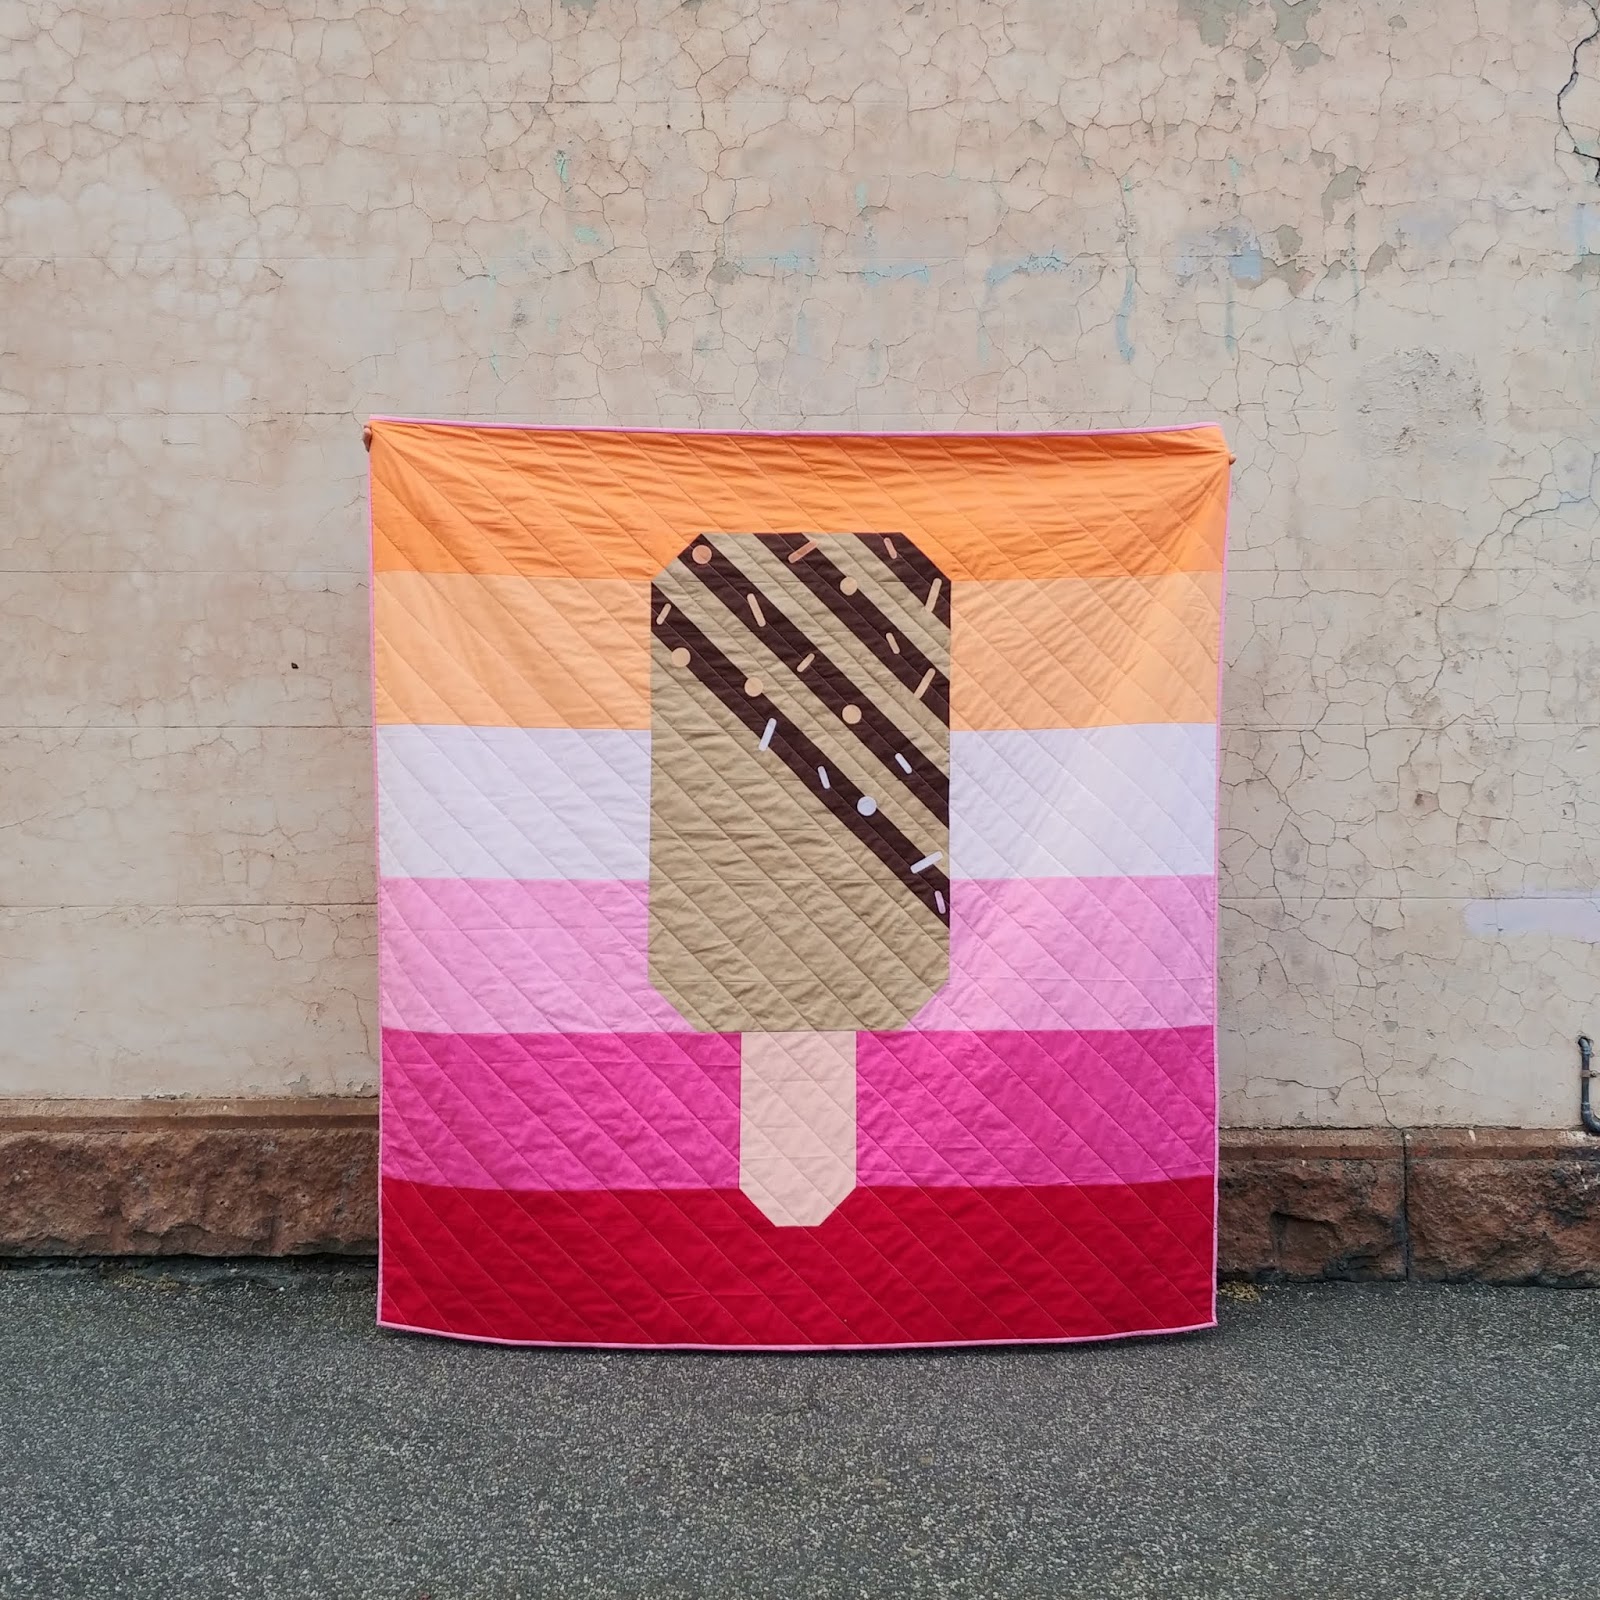
Rainbow Popsicle Quilt Inspiration
Happy Quilting
Jemima x x
Rainbow Popsicle Quilt Along - Week 4
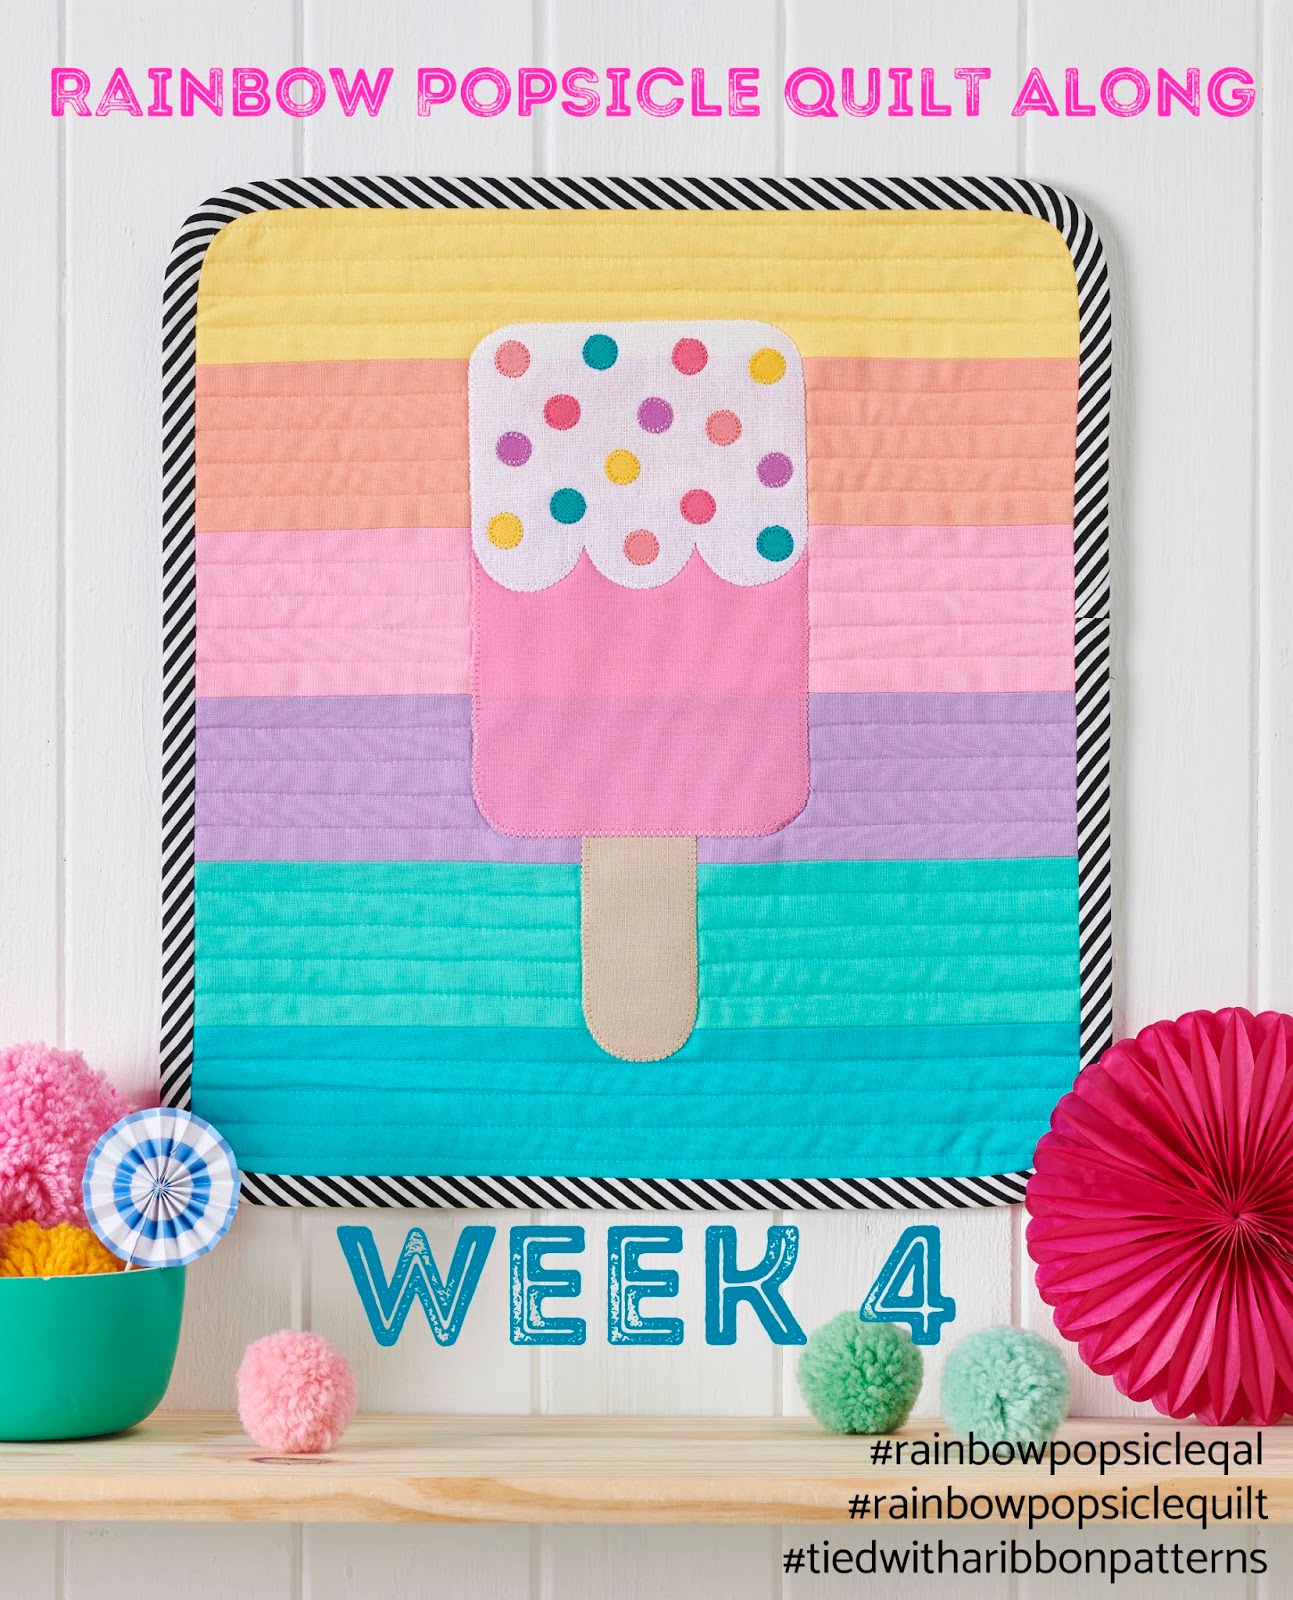
Welcome to Week 4 and how amazing are all the #rainbowpopsicelquilt Tops starting to look. I hope you are nicely surprised by just how quickly this design sews up. Now for some fun with adding some Applique Sprinkles to your Popsicle.
Post your pics from the weeks prompts on Instagram to - #rainbowpopsicleqal, #rainbowpopsiclequilt and #tiedwitharibbonpatterns. It also helps to tag me - @tiedwitharibbon to make sure I see your post.
WEEK 4
Adding the Sprinkles to your Popsicle is of course also totally optional. You might have chosen a busy fabric or just want to leave them off. Your Sprinkles also become a great way to hide any of your Half Square Triangle points that maybe just didn't come together as well as you hoped so you can cover them with a Sprinkle.
Applique has long been one of my Quilting favourites. I love each step of the process from tracing to cutting and then sewing. I prefer to use paper-backed Fusible Web when making my Applique shapes because it allows for easy tracing and cutting. Not all Fusible Web is the same so you may need to experiment to find a brand that works for you.
There are many machine stitches you can use for sewing down your Applique shapes. You can use a Blanket Stitch to sew around the outside raw edge of your shape. Or you may like to create a raw edge Applique, which uses a Triple Stitch sewn just within the shape outline. I also love to Hand sew the applique so you might like to do it this way as another option.
HOW TO MAKE YOUR APPLIQUE SHAPES
For the Sprinkles you will be following the same method as described below.
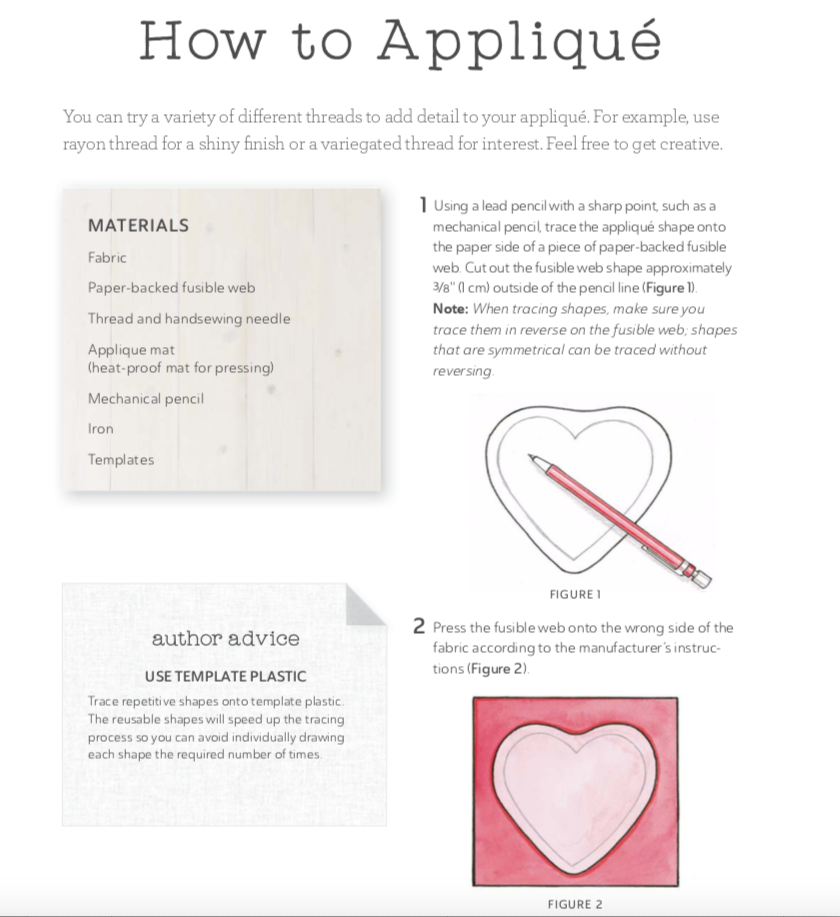
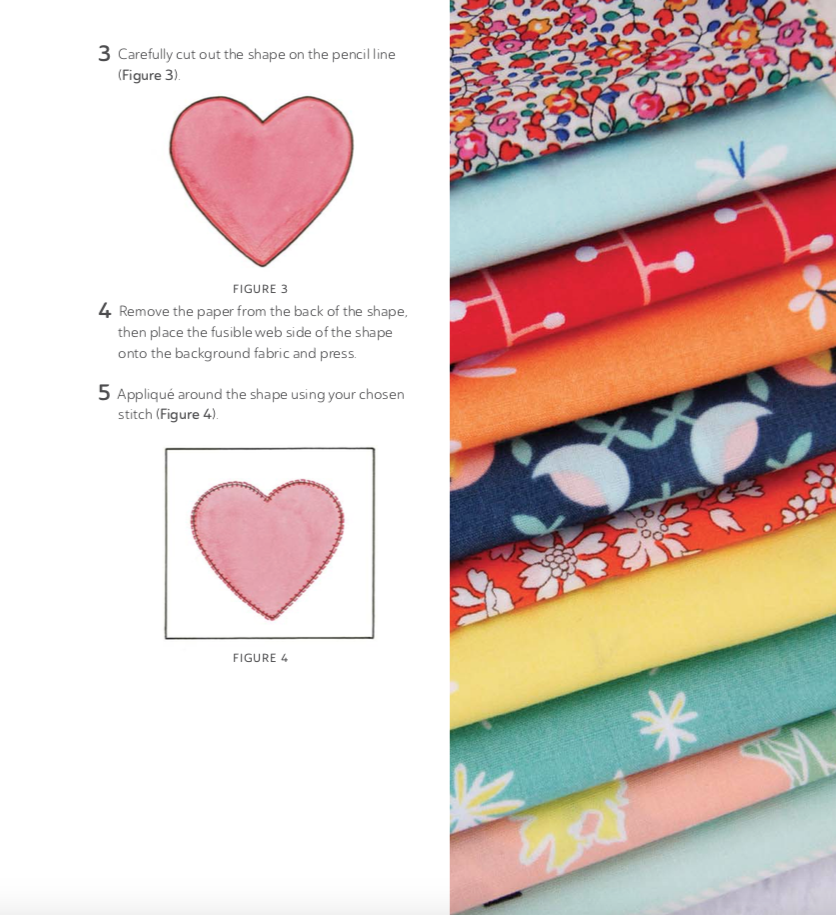
This is taken from my book - Weekend Quilting
Happy Quilting
Jemima
Rainbow Popsicle Quilt Along - Week 5
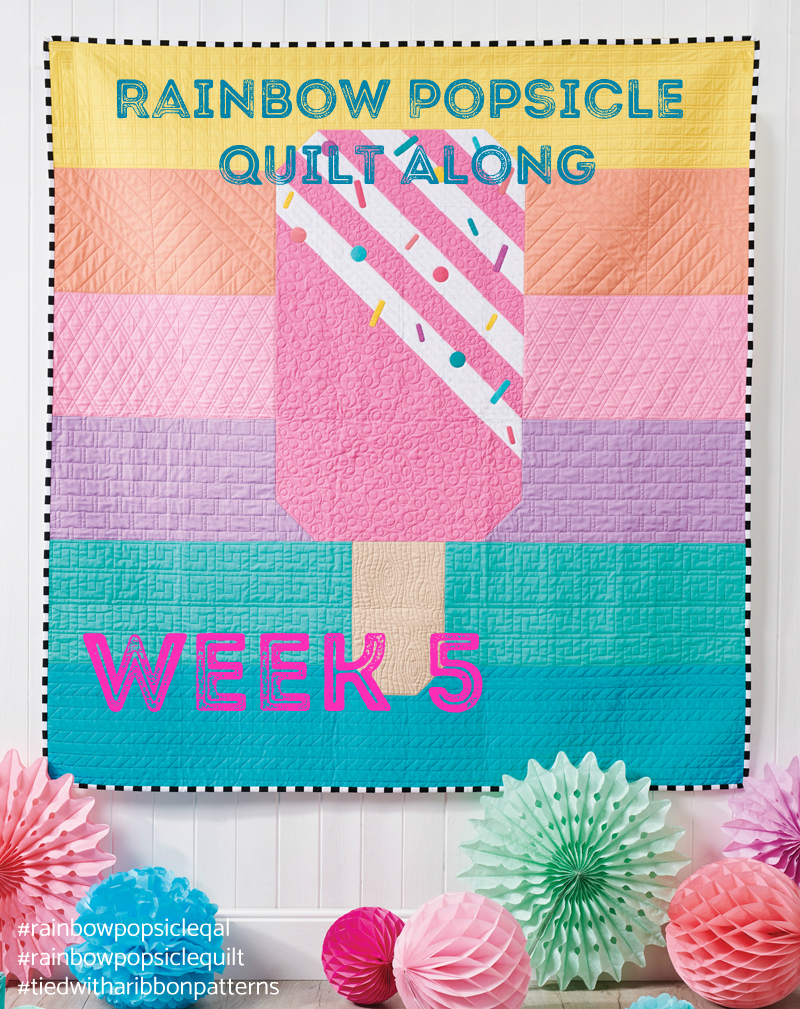
What an amazing few weeks it has been through the Rainbow popsicle Quilt Along. We are here at the end and while that is certainly sad - have a look at all the amazing you guys have made - simply stunning!
So now that your Quilt Tops are all complete its time to start to think how you will Quilt your Rainbow Popsicle Quilt and Bind it.
Post your pics from the weeks prompts on Instagram to - #rainbowpopsicleqal, #rainbowpopsiclequilt and #tiedwitharibbonpatterns. It also helps to tag me - @tiedwitharibbon to make sure I see your post.
WEEK 5
QUILTING DECISIONS
When it comes to deciding on how to Quilt your Quilt - you have lots of options.
1 - Quilt It Yourself - You can do this in lots of different ways - Straight Line Quilting, Cross-Hatching over the entire quilt, using a Large Zig Zag stitch without needing a lot of experience.
The Mini Quilt this is a great size to tackle yourself - even if this is your first time quilting a project.
For those wanting to give Free-Motion Quilting a go or already are familiar with this Technique, check out this Blog Post I wrote all about Machine Quilting. I hope this gives you some helpful tips.
Machine Quilting and Free Motion Quilting Tips
2. Hand Quilting - no this isn't a crazy idea at all. I love the texture that Hand Quilting creates - it is so snuggly and soft and gives such an amazing texture to the quilt. If you are keen to Hand Quilt your Rainbow Popsicle Quilt, then check out this Blog Post I wrote all about my favourite Hand Quilting Tips and Tools to use.
3. Send it to a Professional - there are lots of reasons to use a Long Arm Quilting service. Find a Quilting service you are happy with and chat to them about your needs for this Quilt. Always remember that when you send your Quilt to be Long Arm Quilted - your batting and backing fabric need to be at least 4in bigger on all sides than your Quilt top.
I had Carol Brady of the Quilting Cottage Custom Quilt my Rainbow Popsicle Quilt. Custom Quilting is different to Edge to Edge Quilting so chat to your Quilter about what your budget is and what you want the quilting to look like.
BINDING YOUR QUILT
Once you have your Quilt all Quilted - now you can turn your attention to Binding your Quilt. There are so many Tutorials for how to bind you Quilt if you Google.
I have put together a Tutorial on how to work the Binding continuously around the corner when you sew it onto the top of your Quilt - its a small but very helpful and useful way to sew your Binding all on in one go. Check it out here:
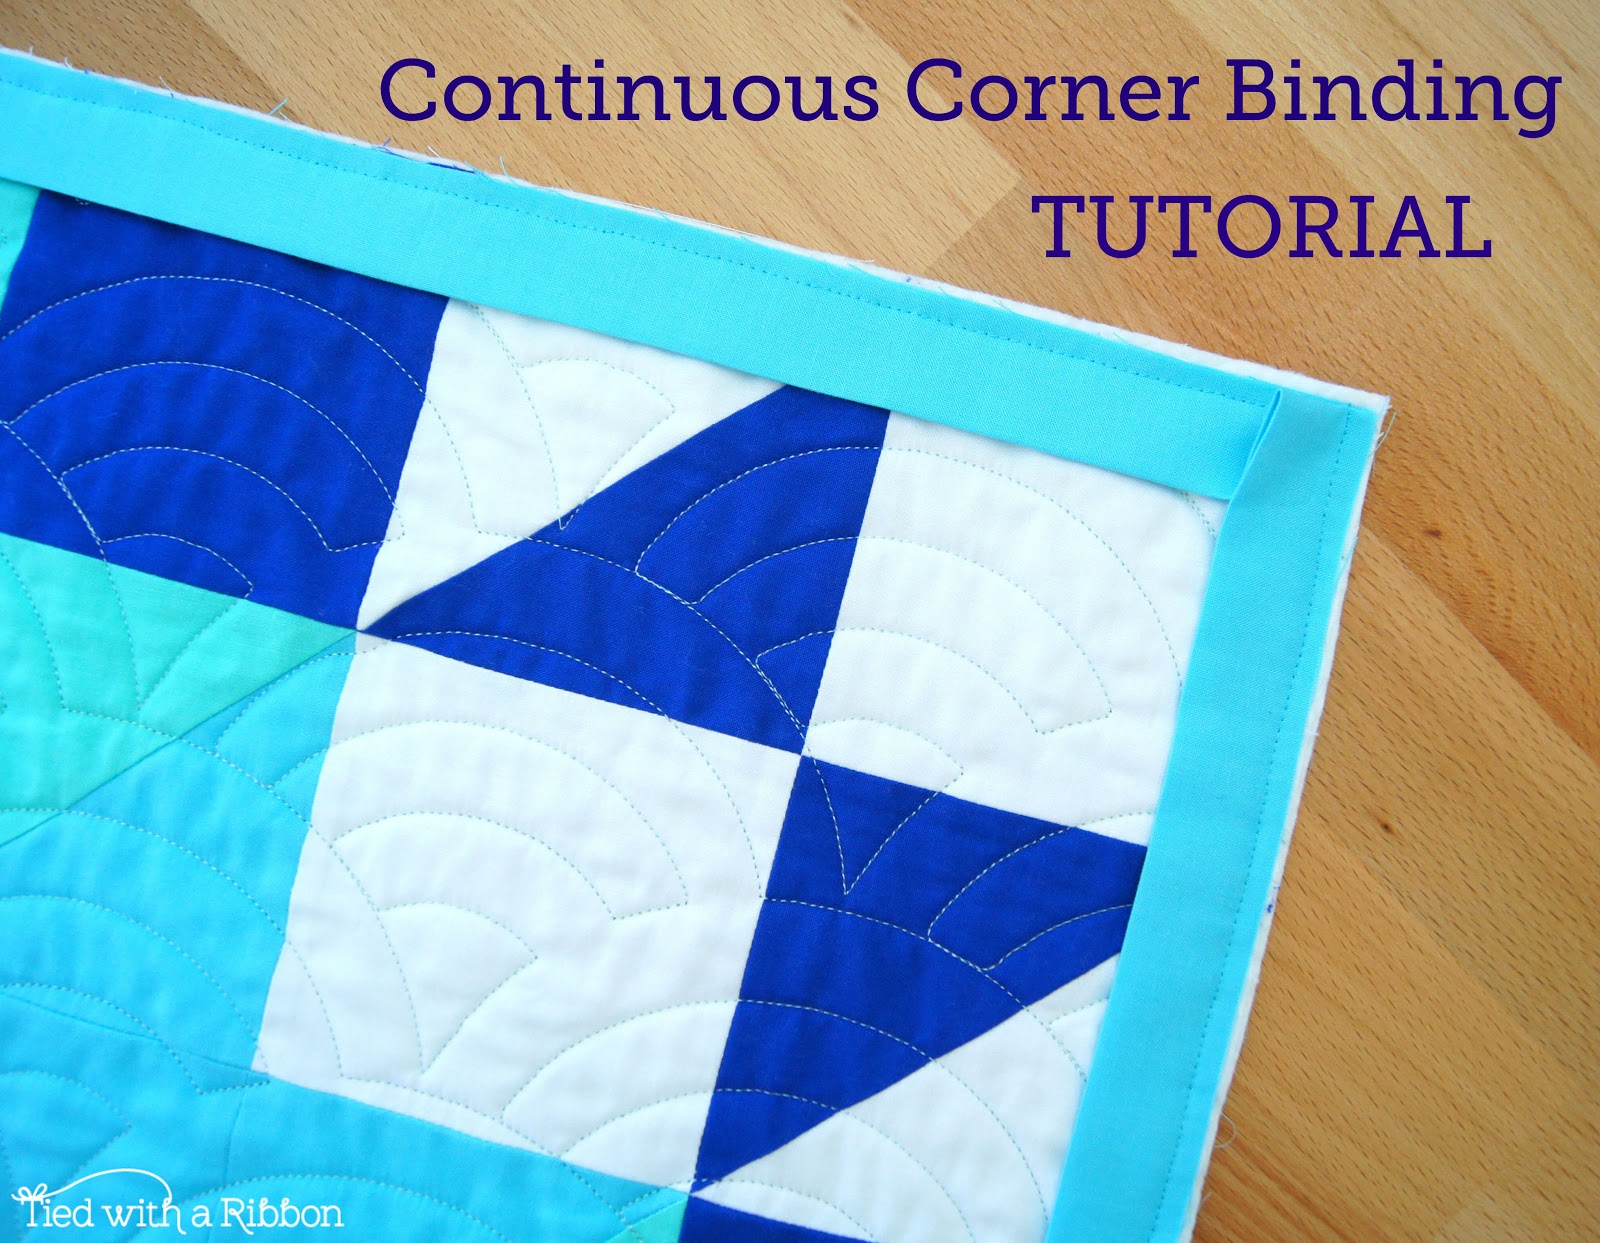
Continuous Corner Binding Tutorial
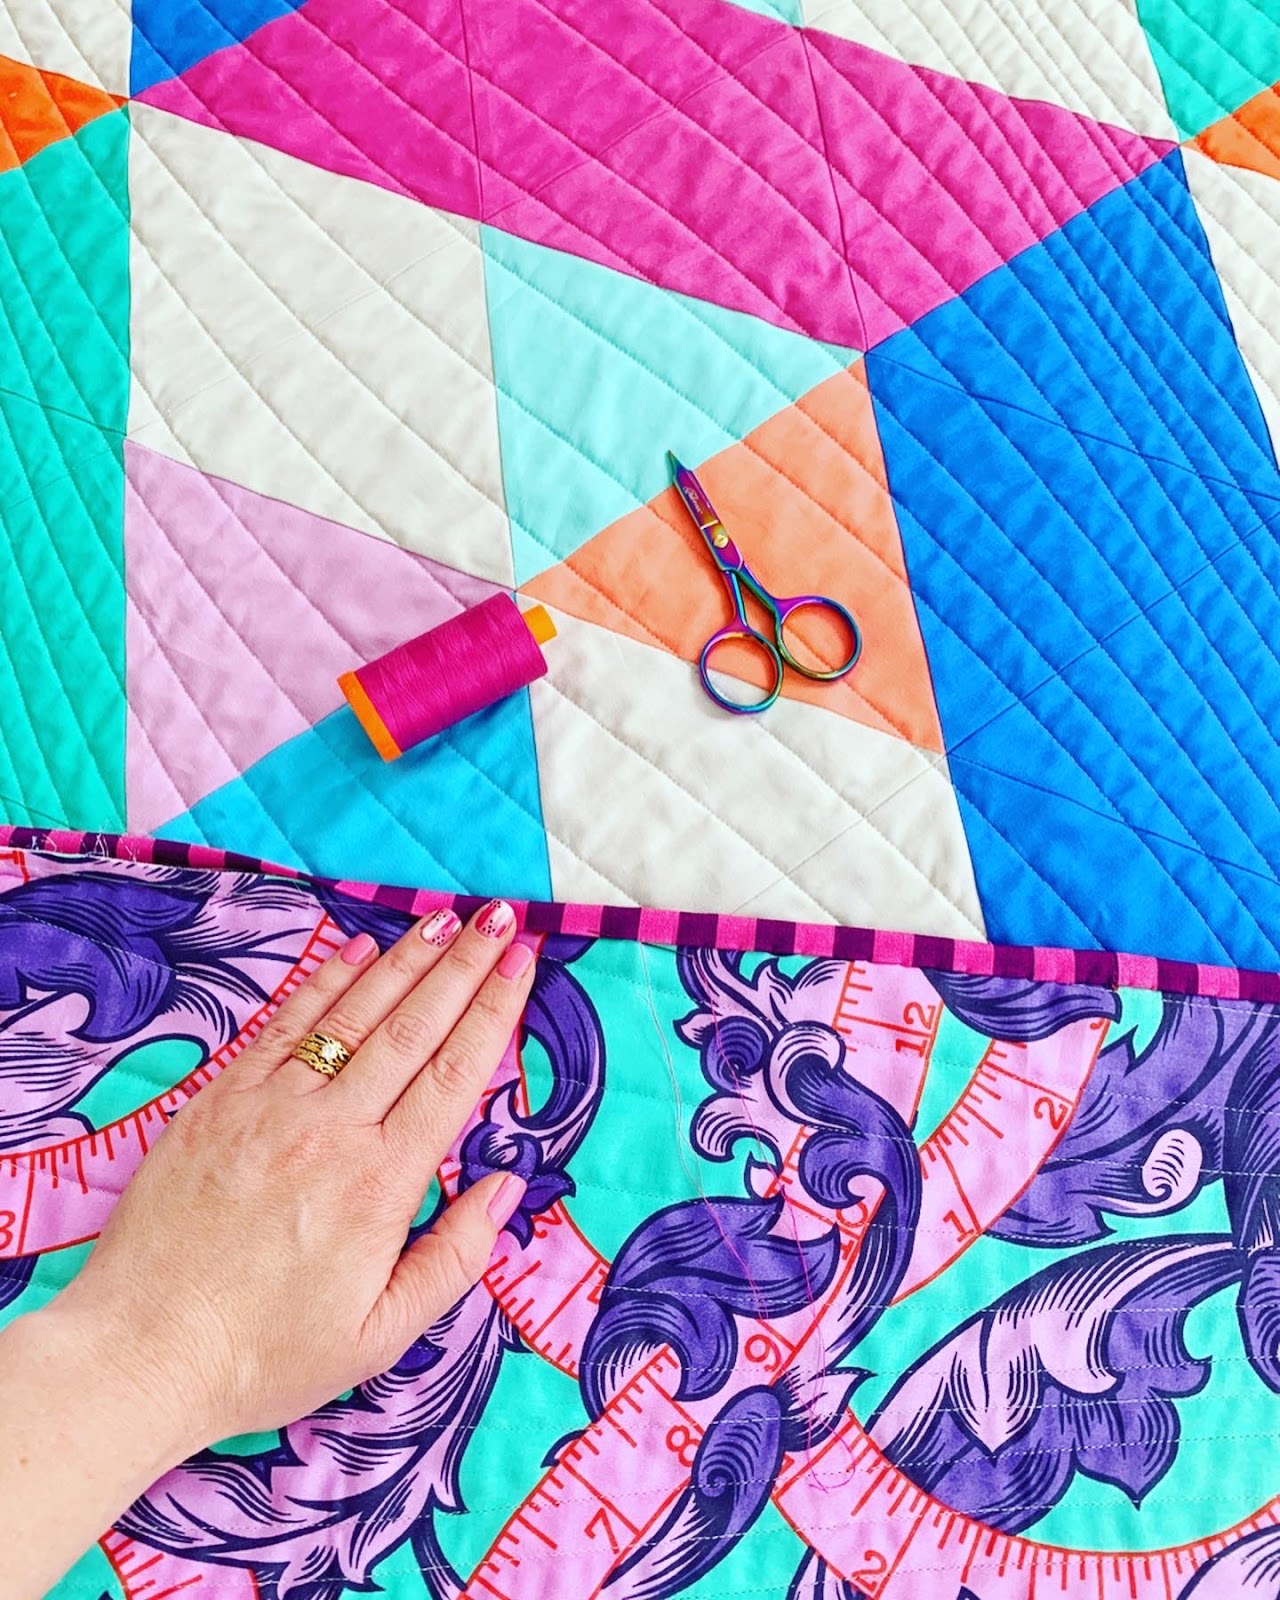
Check out my IGTV on "How to Invisibly Hand Sew your Binding like a Boss!"
A massive thank you to all of you that have joined in along the way on this Quilt Along. Its has been great fun and so inspiring to see all your different variations of this pattern. I hope you have enjoyed it just as much.
Happy Quilting
Jemima x
This post may contain Affiliate links. I may earn a small commission at no cost to you.
