Thank you so much for joining in the Denim Pockets Quilt Along.
I am so excited you will be making with us. The Denim Pockets is lots of fun with its striking 3-D effect and I hope you come to love it as much as I do.
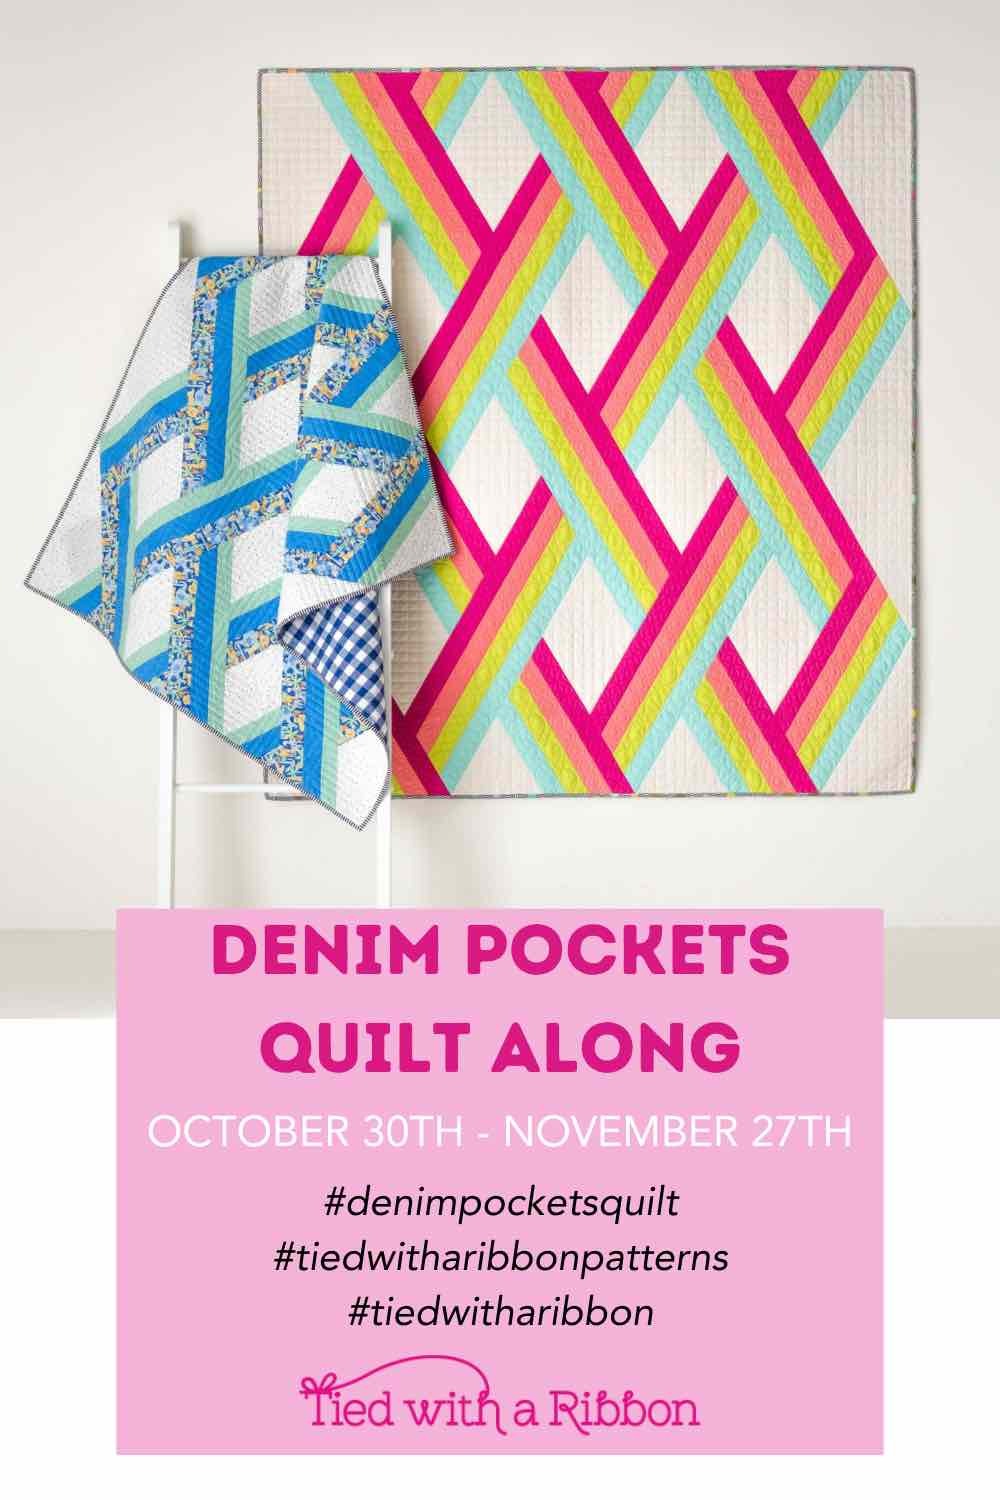
The Denim Pockets quilt pattern has 3 size options available – Table Runner (16½in x 51½in / 42cm x 131cm), Baby (45½in x 49½in / 115cm x 126cm) and Large Throw (62½in x 72½in / 159cm x 185cm).
Templates for all sizes are available Table Runner, Baby and Large Throw.
It is suitable for patterned prints just as much as solids. This is great for Ombre or Rainbow fabrics as you can make the 3-D effect really stand out with fabrics that range from lighter to darker. You can check out the #denimpocketsquilt hashtag for lots of inspiration from quilts already made.
So, no matter where in the world you are, you can Sew Along with us.
Denim Pockets Quilt Along Week 1
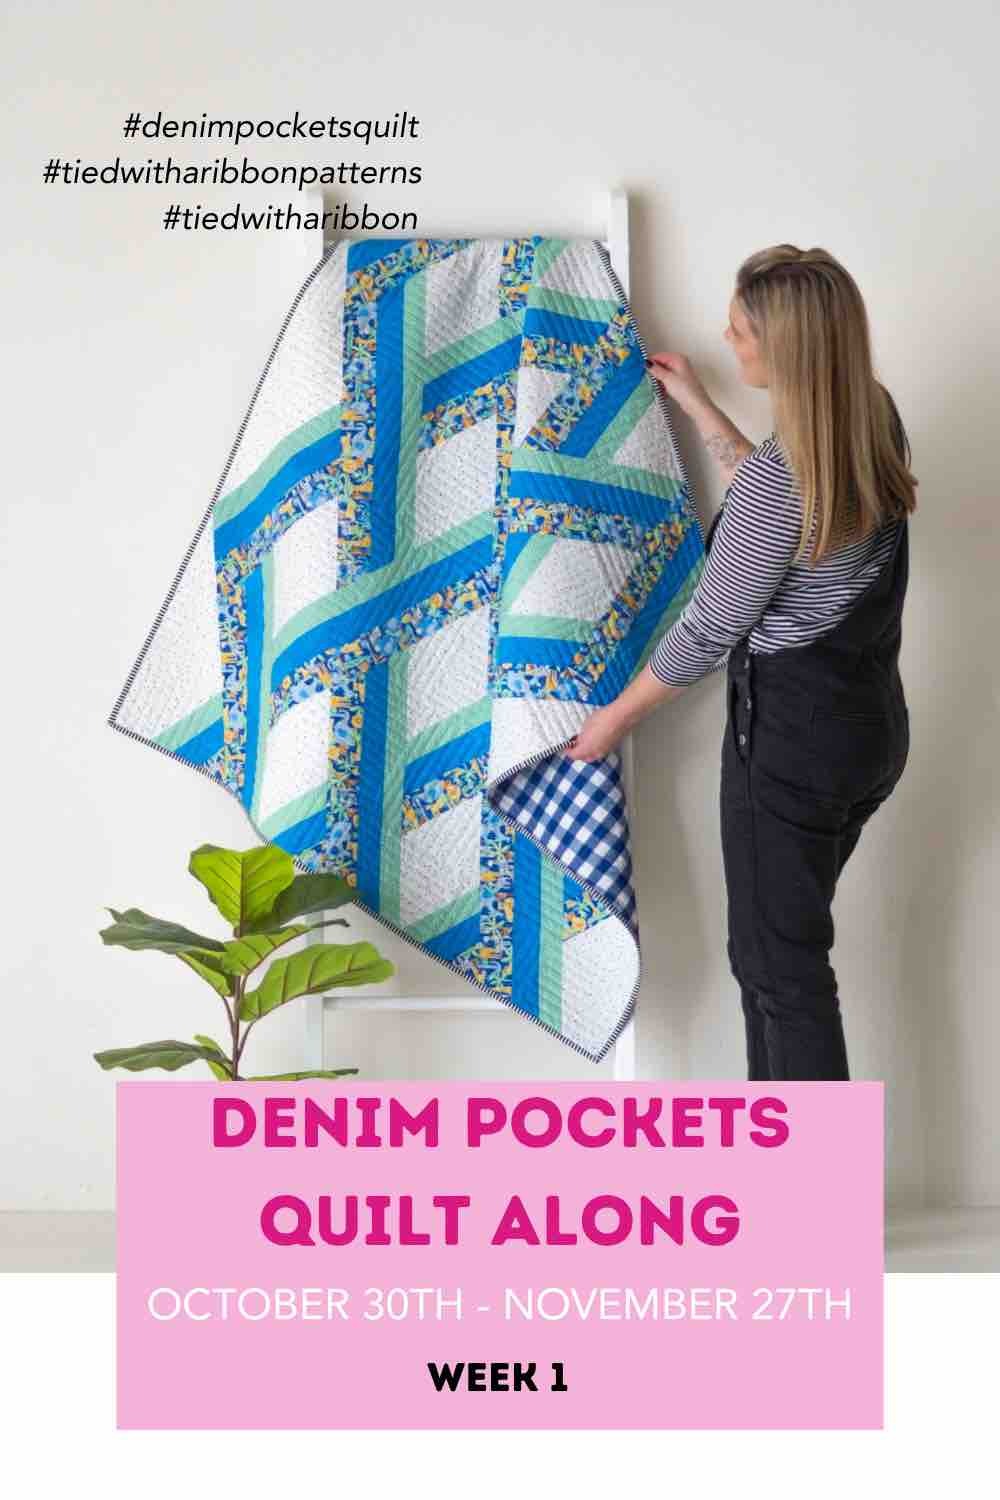
Welcome to Week 1 of the Denim Pockets Quilt Along. Designed to be fun, casual and relaxed so that you can work through making your very own Denim Pockets quilt over the coming 5 weeks - I am looking forward to having you join in.
This week is all about choosing and deciding which fabric you will use to make your Denim Pockets Quilt as well as getting it cut up. Make sure to check out the the #denimpocketsquilt hashtag for inspiration.
Selecting your Fabric
This weeks task, is all about selecting and choosing the fabric you would like to make your Quilt from and cutting up your Strips and Background EQ Triangles.
This is where the sky is the limit - whether you choose Solids or Prints this quilt works. You can grab fabrics from your stash or use a collection.
Prints
For this quilt - multi directional prints work best and are easiest. Geometrics work well as well as smaller scale prints.
Solids
Solids work so well for this Quilt and the choices of different Fabric Company Solids is huge. One way to do this is head over to Pinterest and search Colour Palettes - this gives you lots of boards with a selection of colours already that co-ordinate and work well together. From here you can pick and choose solids for any colour palette you like.
FREE MINI COURSE
To help you even further and give you my best tips for choosing fabric colours – check out my FREE Mini Course here - https://tiedwitharibbon.newzenler.com/courses/3-simple-ways-to-choose-fabric-for-your-quilt
Cutting your Fabric
Now that you have chosen your fabrics, this week is also all about cutting into them.
HOT TIP - With your background fabric, I like to roll the yardage onto a spare empty bolt. You can ask you ask your Local Quilt store for a spare empty cardboard bolt that is used to store fabric on. Rolling your yardage onto a bolt makes for easy cutting of the yardage which you can roll off and cut from the bolt.
Take your time with Cutting out – this step is important as it can set up your piecing to be accurate from the beginning.
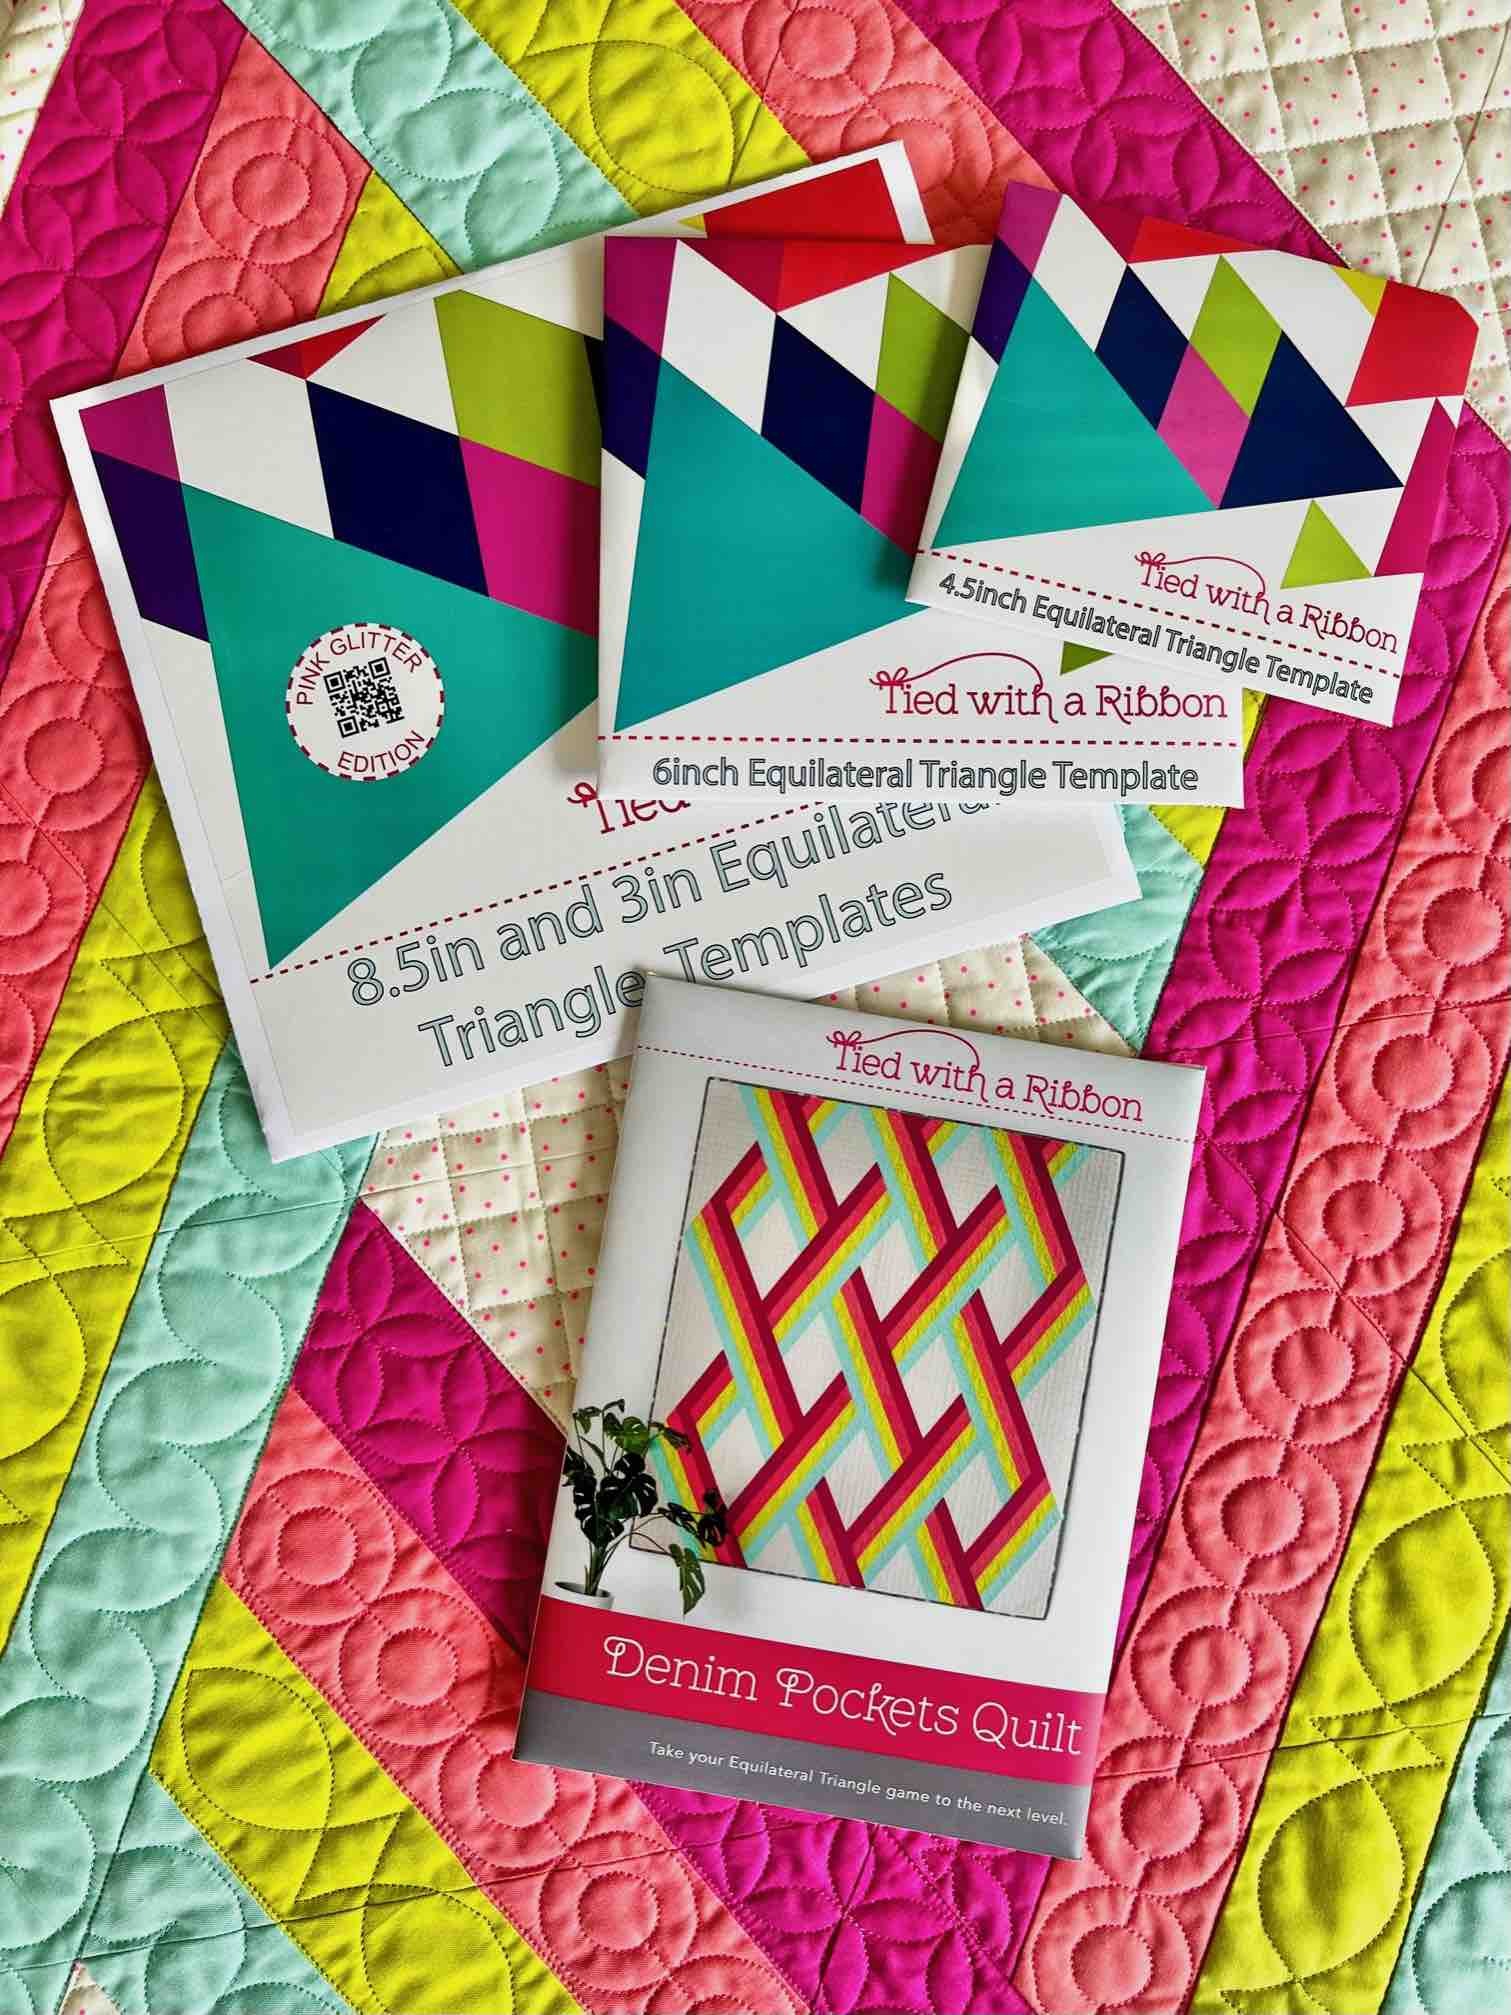
Templates – make sure to check the size of your Templates always against the paper Templates provided if you are not using my branded Templates. Templates do make your cutting easier, faster and most importantly more accurate.
You can get all the sizes of Templates in my Shop here for all sizes – Table Runner, Baby and Large Throw.
Keeping Track of your Project
One of the best ways I love to keep track of my Project is by using my Fabric Swatch Cards.
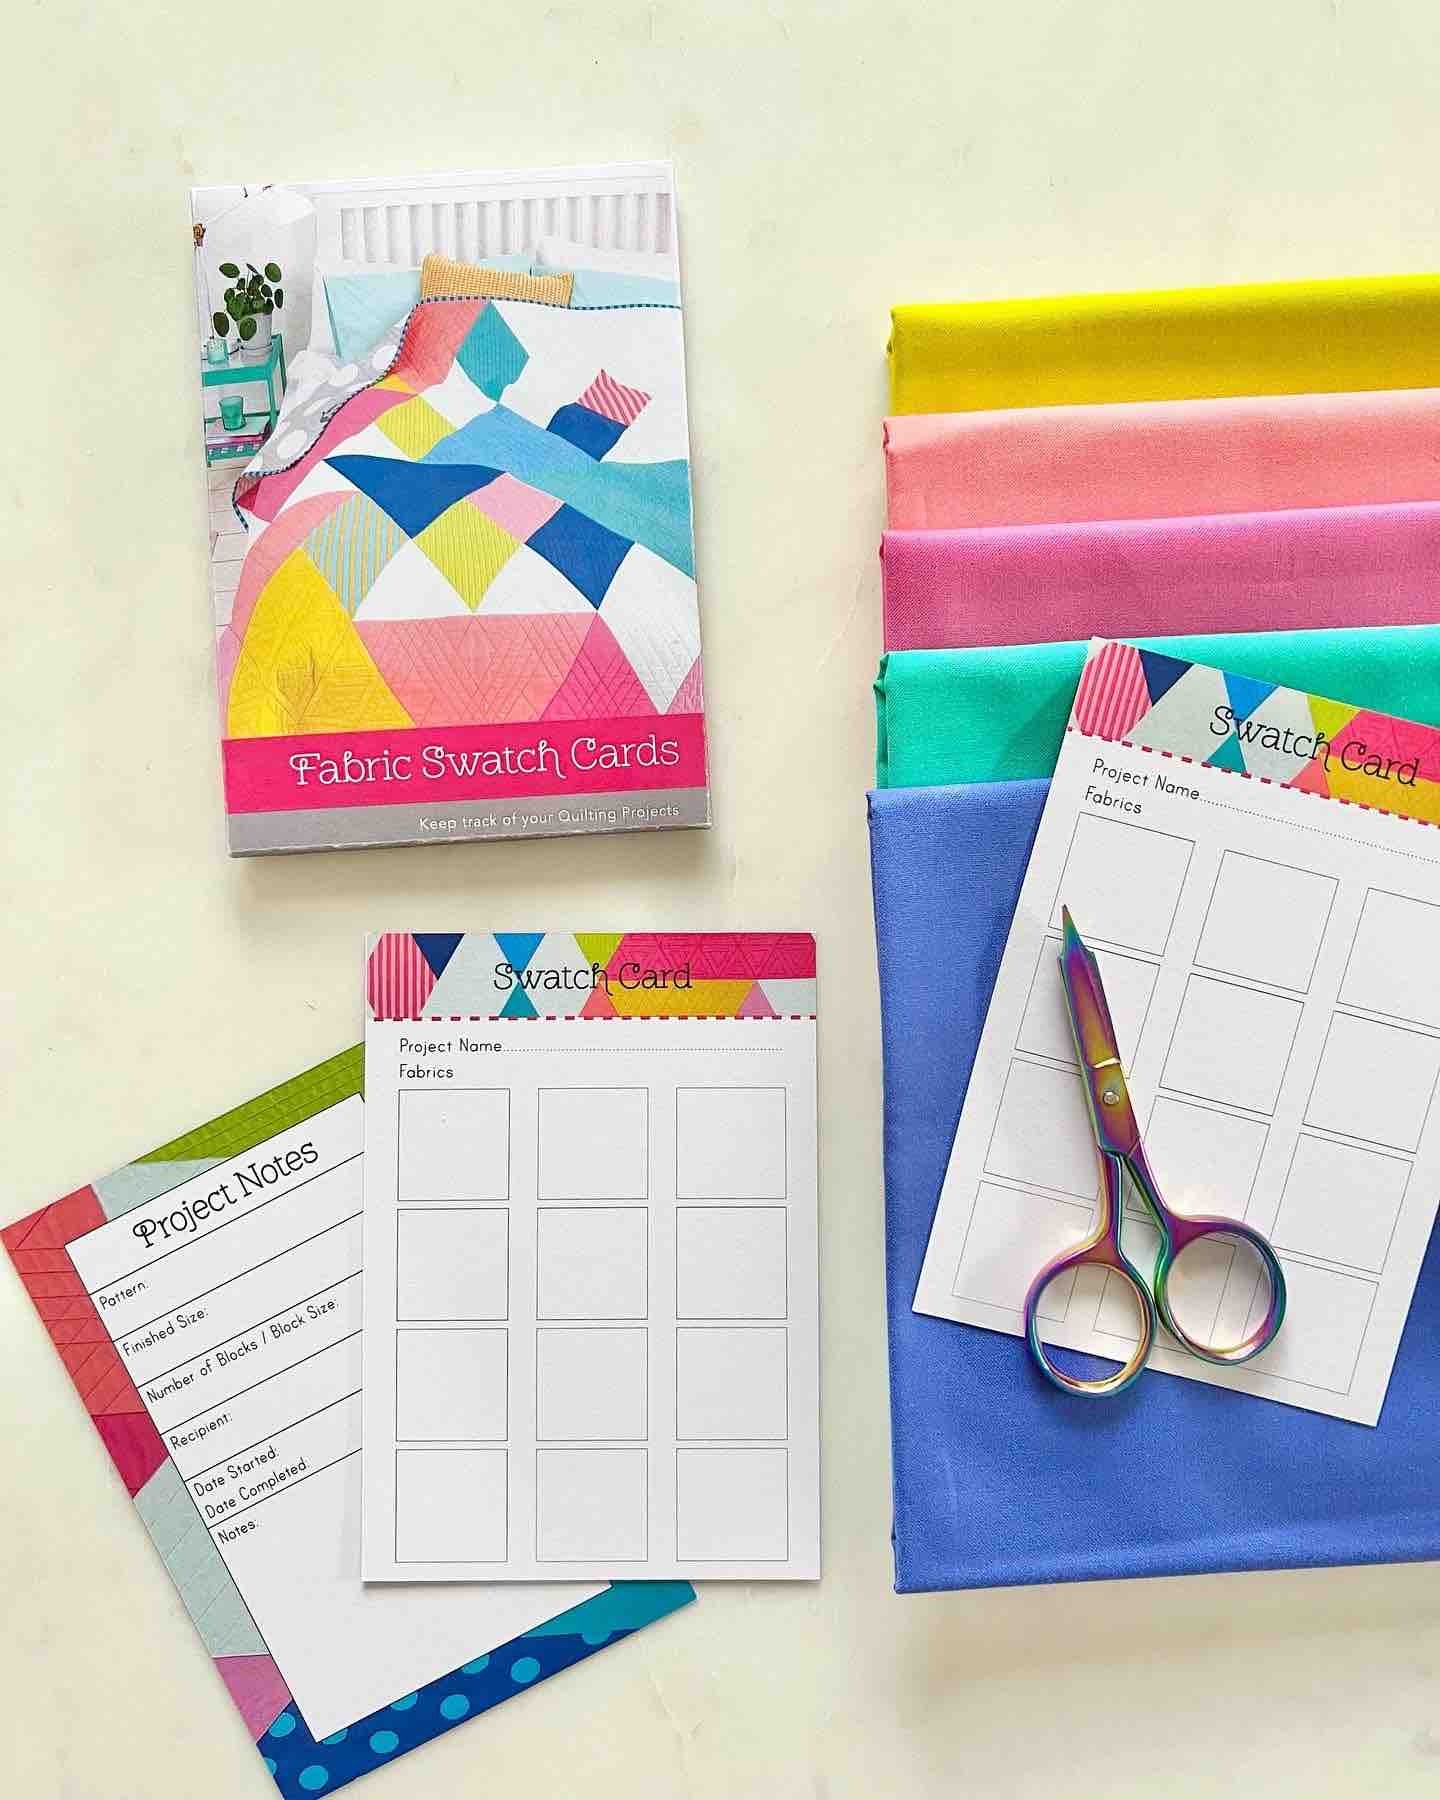
These mean I can easily keep track of my fabric colours, I don’t need to lug yardage to the shops if I need to get more. These are a great way to help you organise and on track with all the details of your project and a sweet memento of quilts you have gifted. Also a fabulous gift for your Quilty friends.
Denim Pockets Quilt Along Week 2
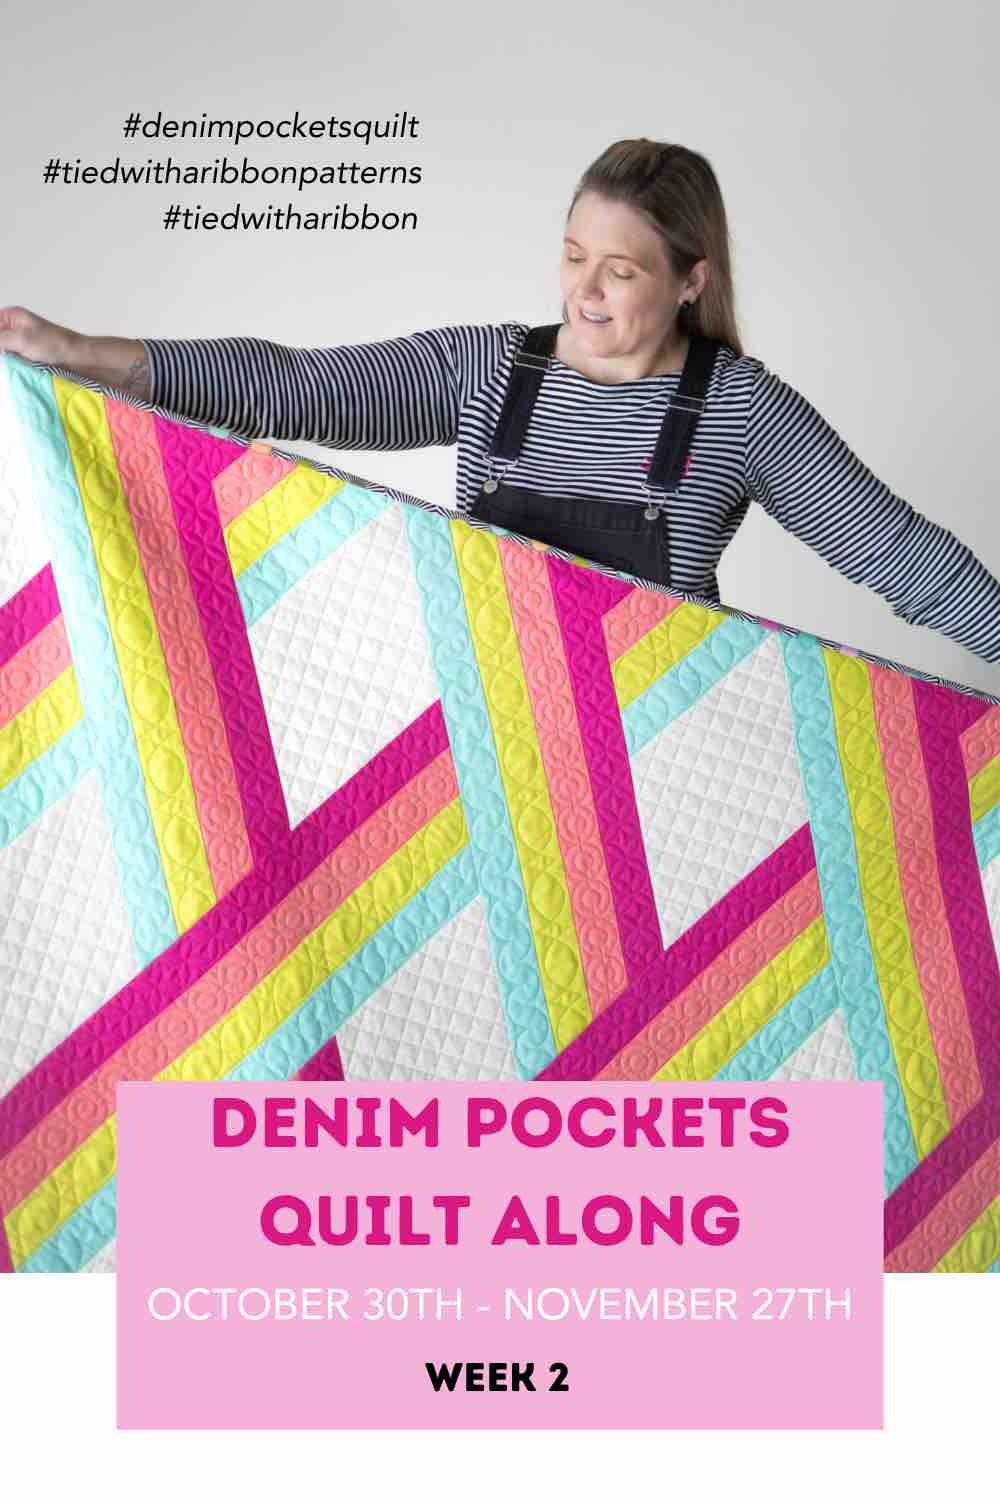
Sewing and Cutting your Strips into EQ Triangles
Now that you have chosen and cut out your fabrics, this week you are going to be working on sewing our Fabric A, B, C, and (D for the large Throw size) strips together and then cutting these out into our Equilateral Triangles.
I have 2 main tips that will give you greater success with this next step of the pattern.
SCANT ¼in seam allowance
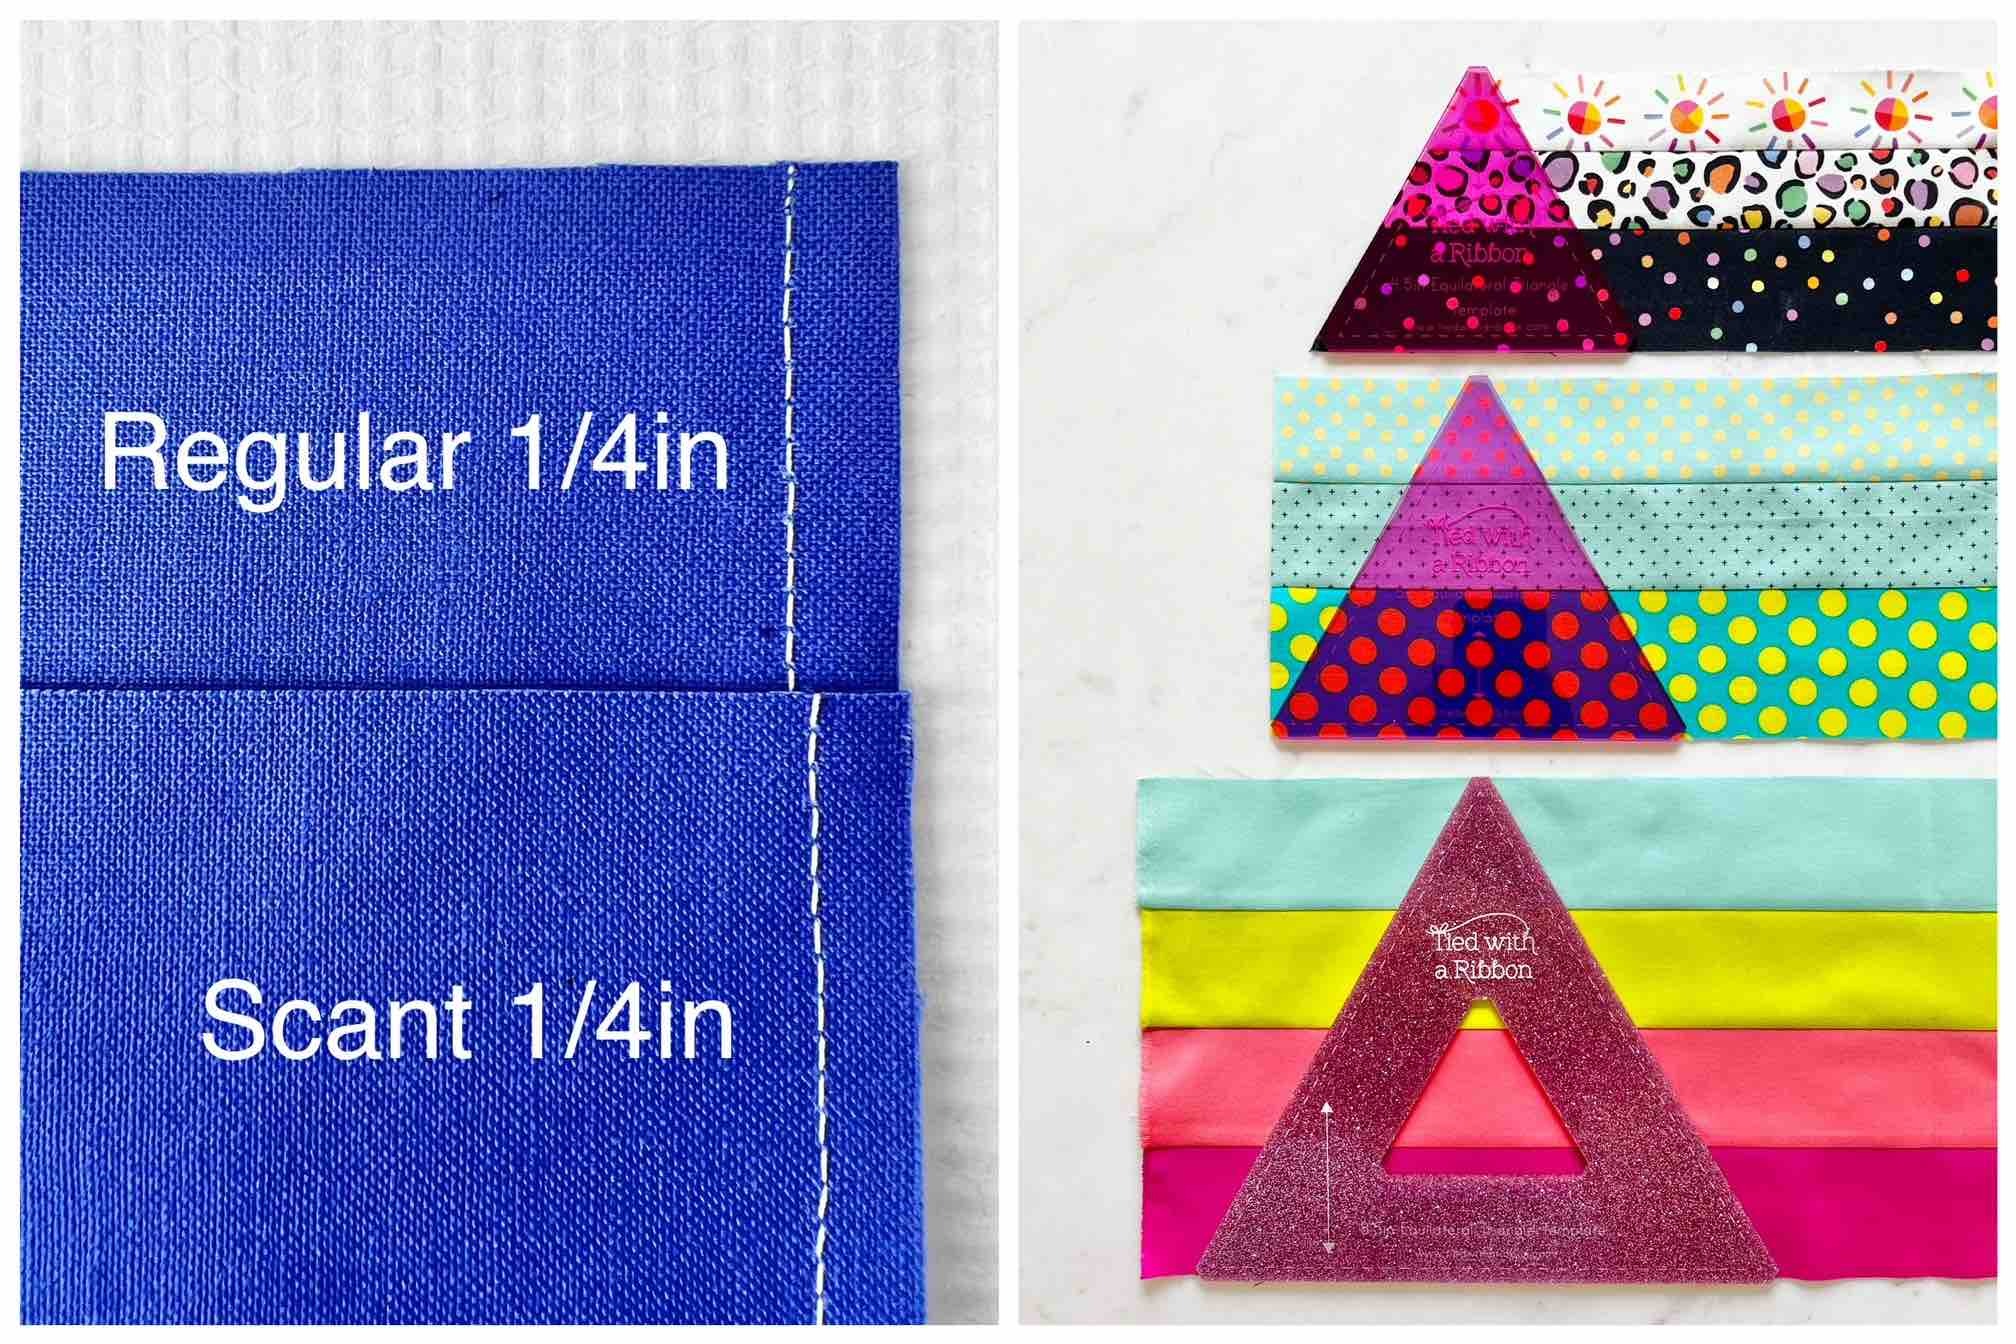
The majority of the time in Quilting we sew using a ¼in seam allowance. When you are sewing several strips together as in the case with this pattern – no matter which size you are doing (Table Runner, Baby or Large Throw) you “lose” fabric in sewing and pressing the strips to the space taken up for the fabric to fold over. This means that if you sewed the strips together using a “Regular ¼in seam allowance” then your strips would come up short in the sizing of them.
One of the easiest ways to fix this is using a Scant ¼in Foot – many sewing machine companies have these available for their machines.
If you don’t have one of these then you will need to adjust your machine to sew a scant ¼in seam allowance.
So essentially, a scant ¼in is when the sewn line falls just inside the ¼in mark on your ruler.
Measure and Test – grab some scraps and before you sew any of your strips together test your seam allowance and make sure you are sewing a scant ¼ in seam allowance.
Setting your seams
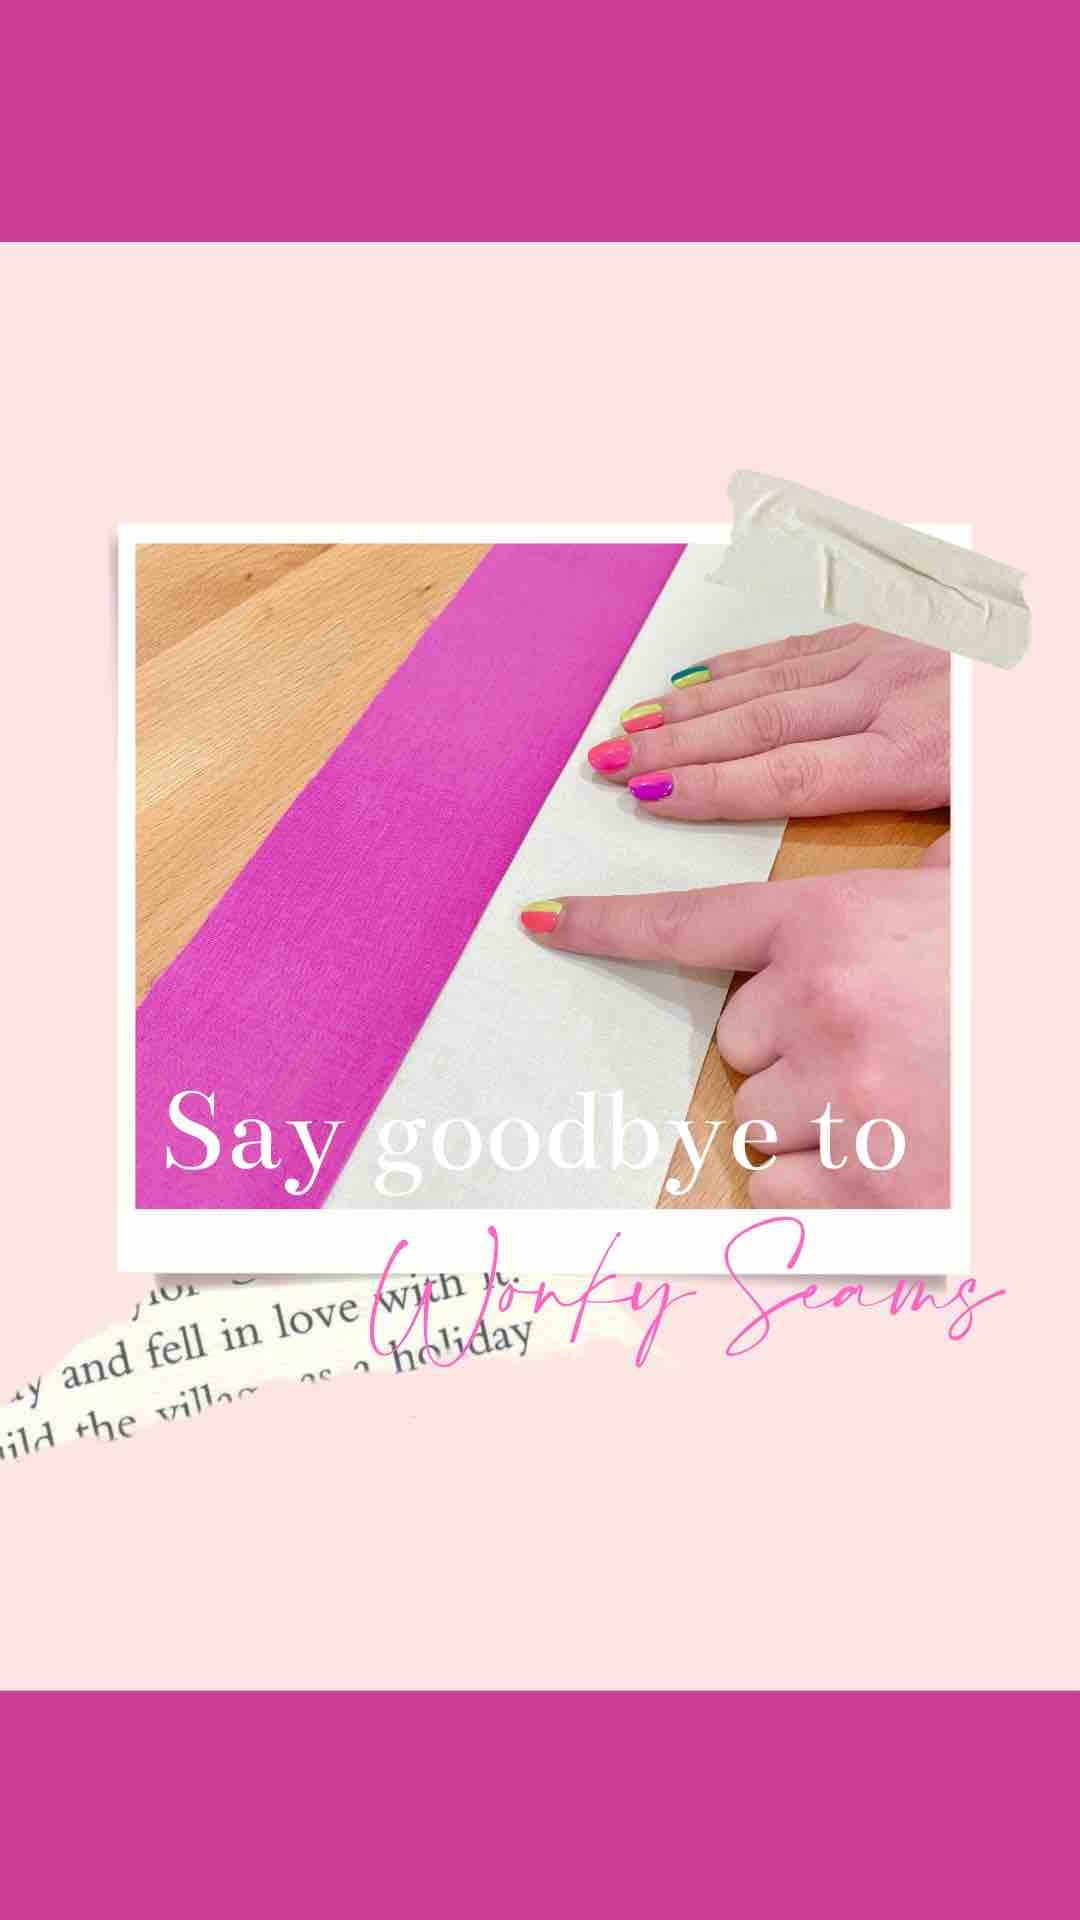
When it comes to pressing your sewn strips, one tip that will make a huge difference to getting your strips nice and straight is to “Set your Seams”.
Do you ever have trouble with your seams being wonky after pressing? Well, I have the solution to help.
1. Press the seam first as you have sewn it.
2. Then press your seam in the direction you want it to lay.
This is called “setting your seams” and allows the top and bobbin thread to lock within the fabric from pressing, making for a much straighter seam.
Check out this Reel that I made all about setting your seams and the difference this makes to achieving straight strip sets.
Denim Pockets Quilt Along Week 3
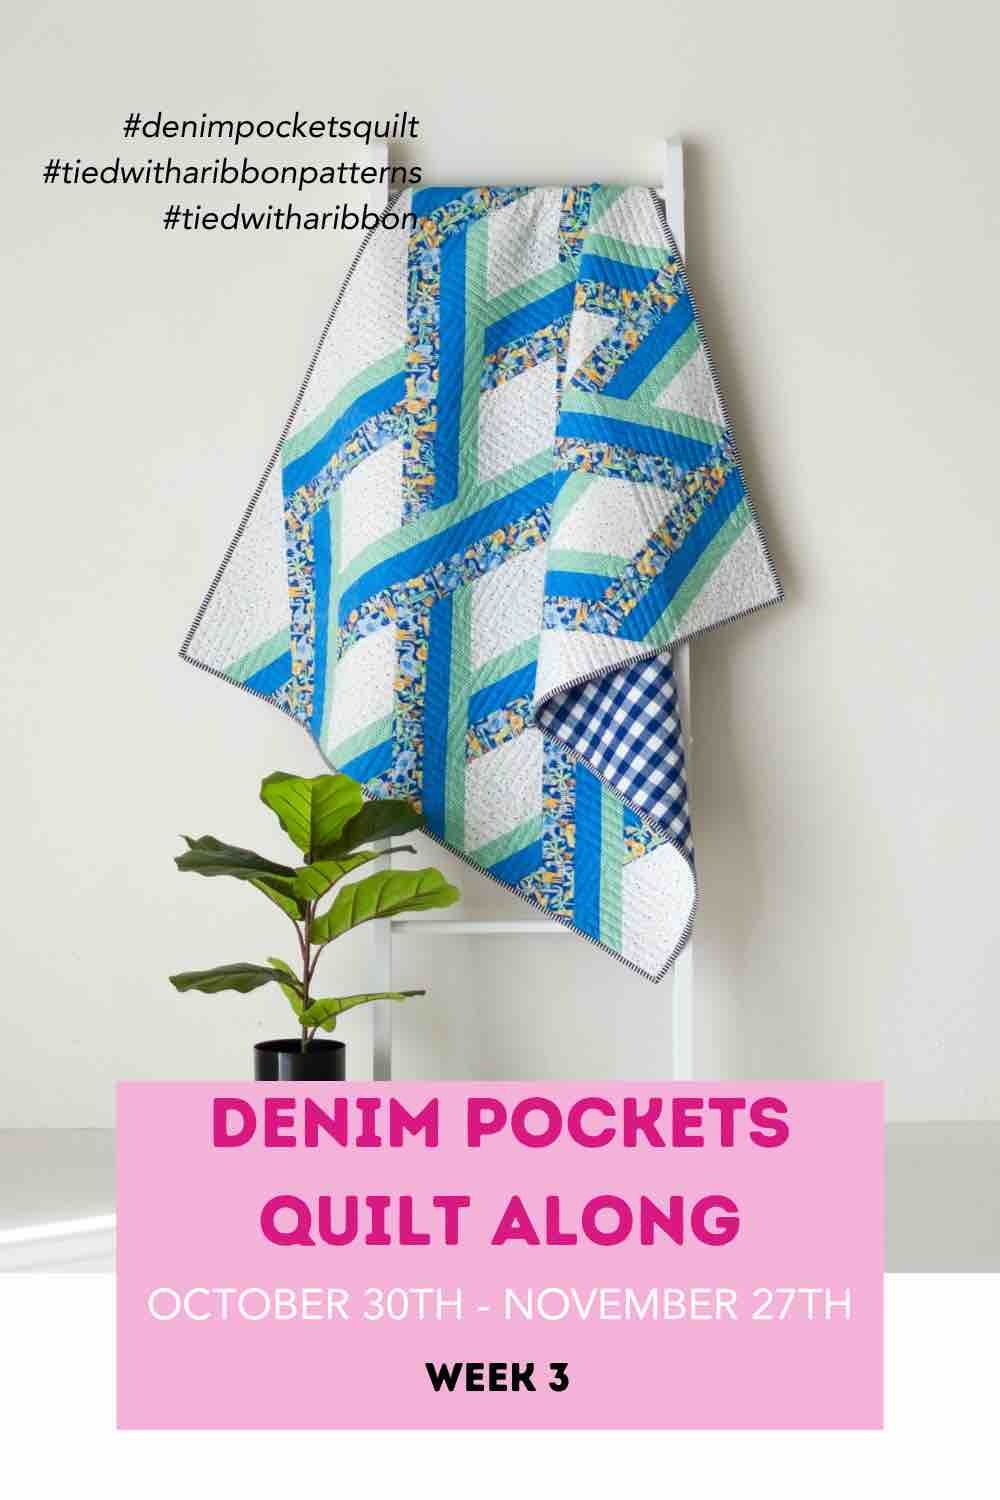
We are at the halfway mark and it is very exciting to see lots of Quilts starting to come together and all these beautiful fabric choices becoming gorgeous Denim Pocket Quilt tops.
With all of your cut out Equilateral Triangles it is now time to layout your quilt top.
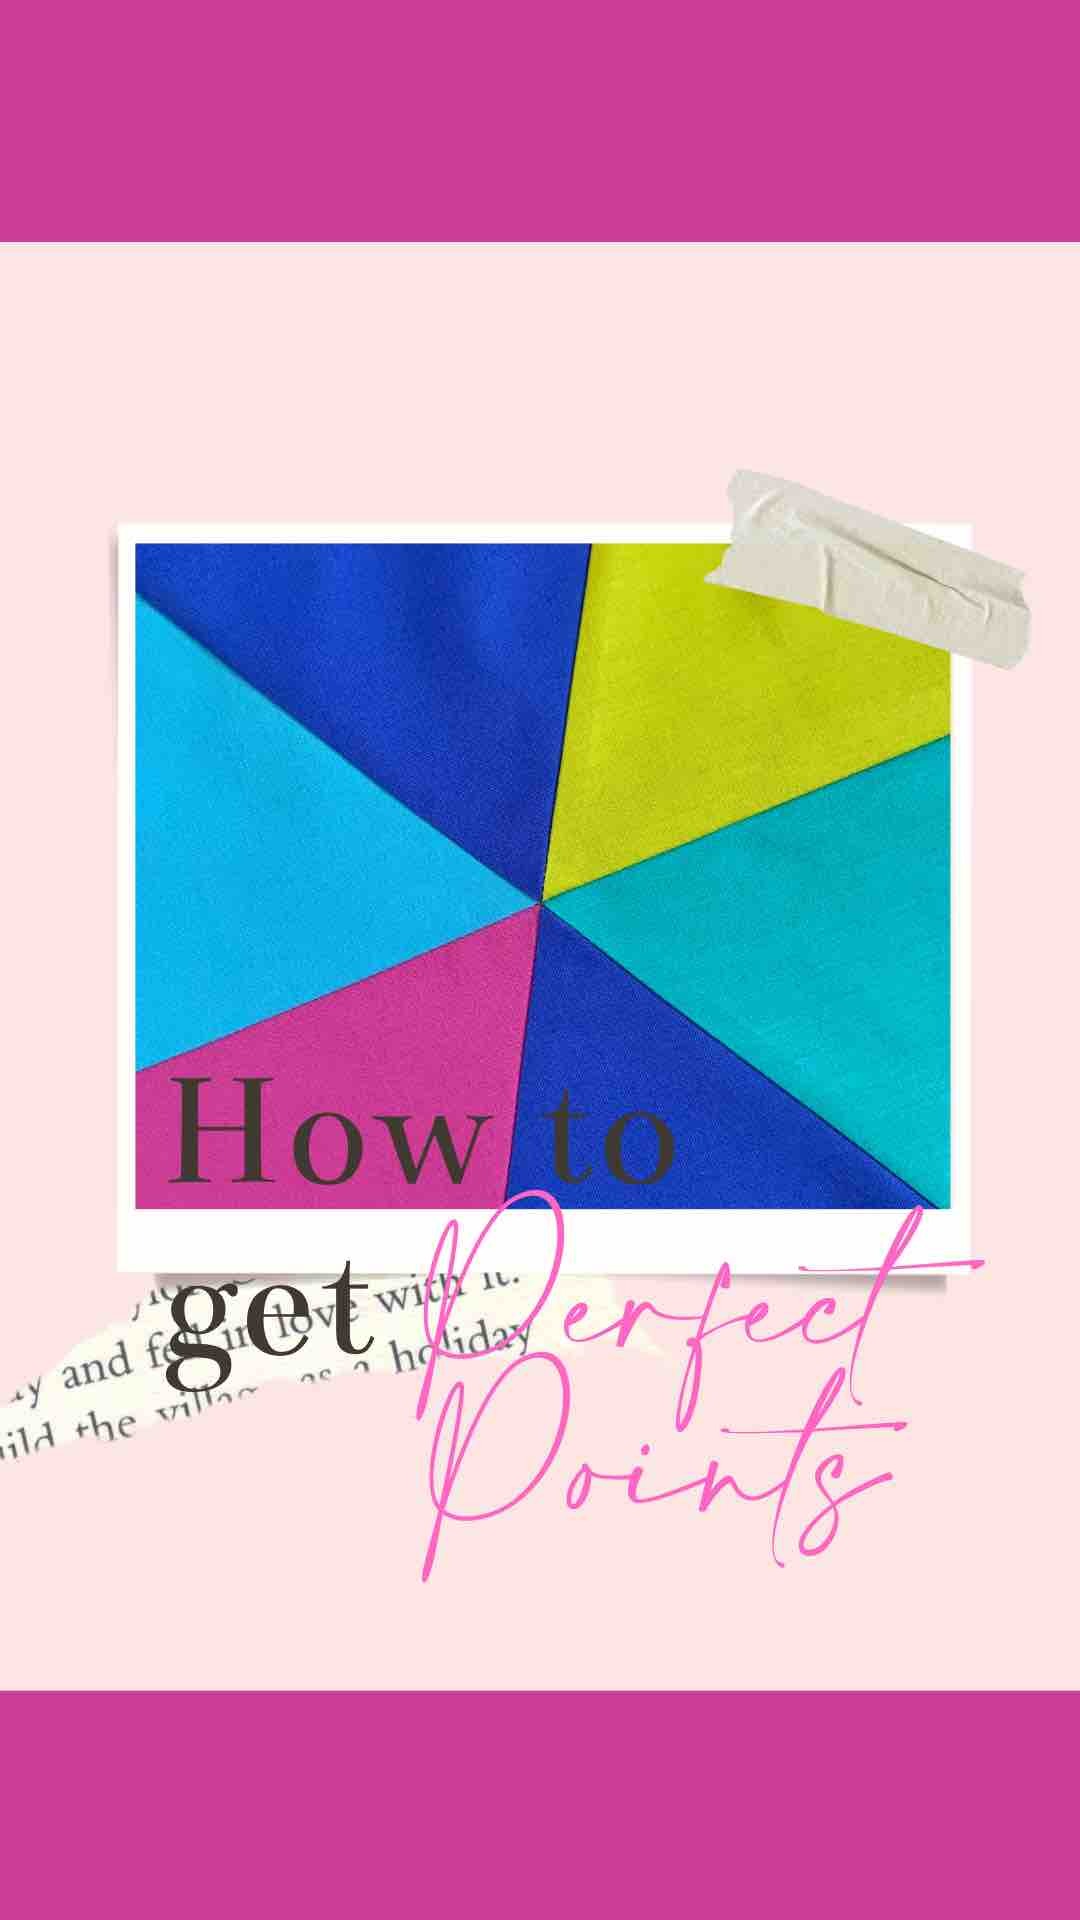
How to get perfect points
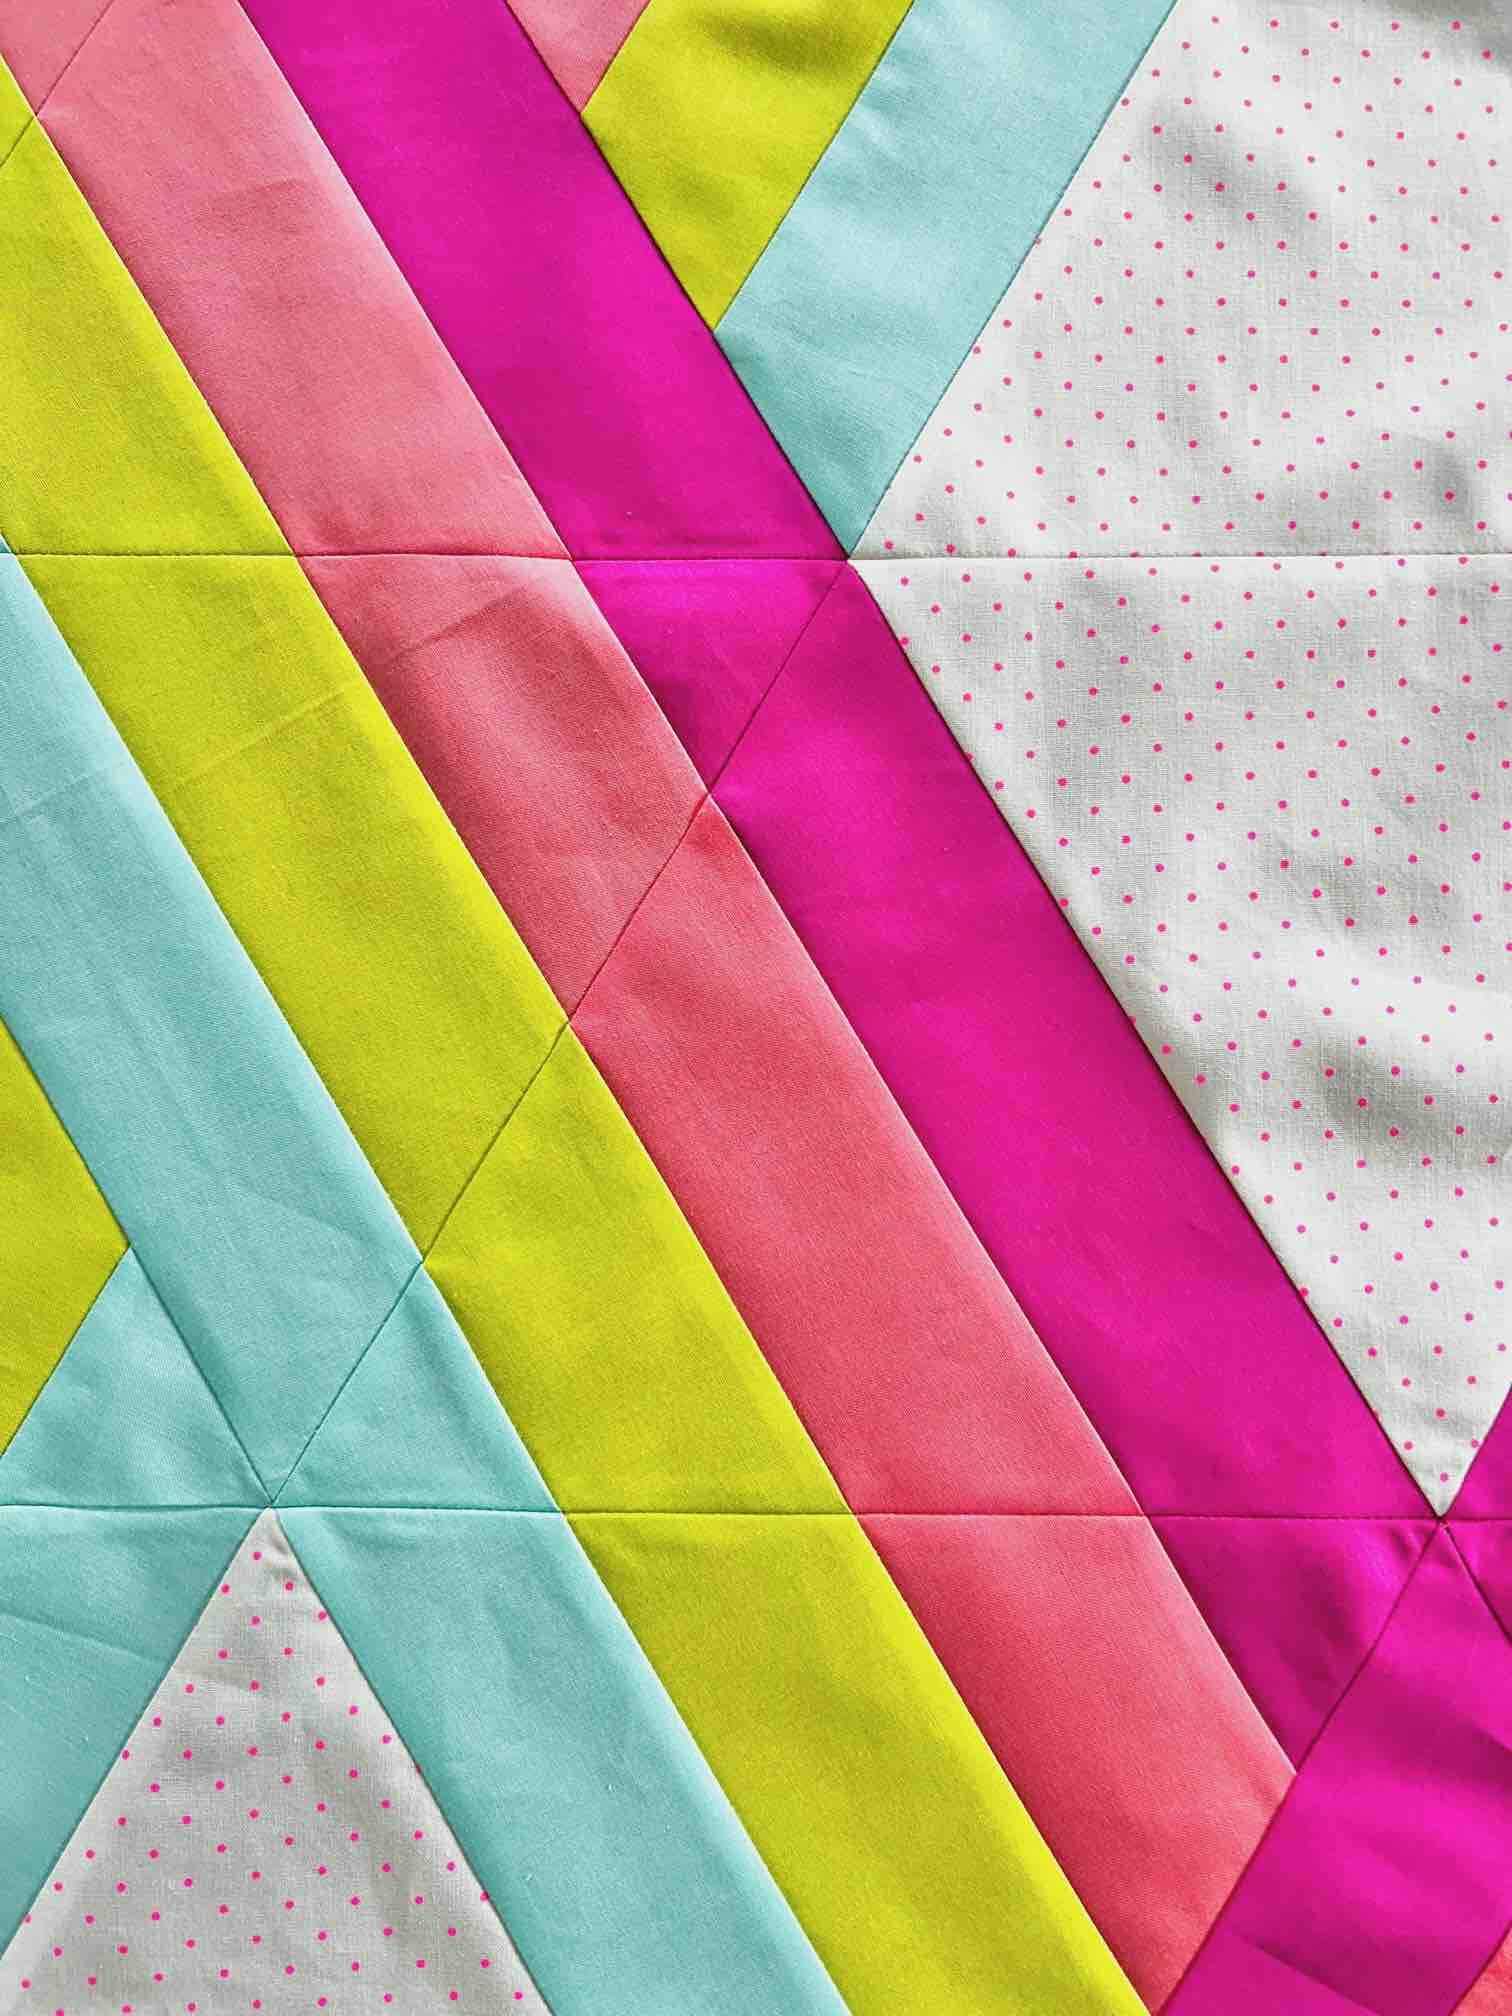
I know that some people feel very intimidated by them but I’m here to share some of my big tips on working with them so that you can also see that they are not that tricky and you can love sewing them.
1. Patience - take your time in lining them up. Use pins to hold them in place once you have lined them up and then make sure to watch where you are sewing over your seam intersections.
2. Practice - it takes a little bit of practice to get them right but once you have it you will be admiring your points in no time. And there is nothing wrong with getting out the seam ripper on a section if your not super happy with it - just un-pick that section (you don’t have to un-pick the entire row)
For my full and extended list of how to get perfect EQ points, grab my FREE Equilateral Triangles Tips and Tricks Checklist here - https://subscribepage.io/equilateraltriangles
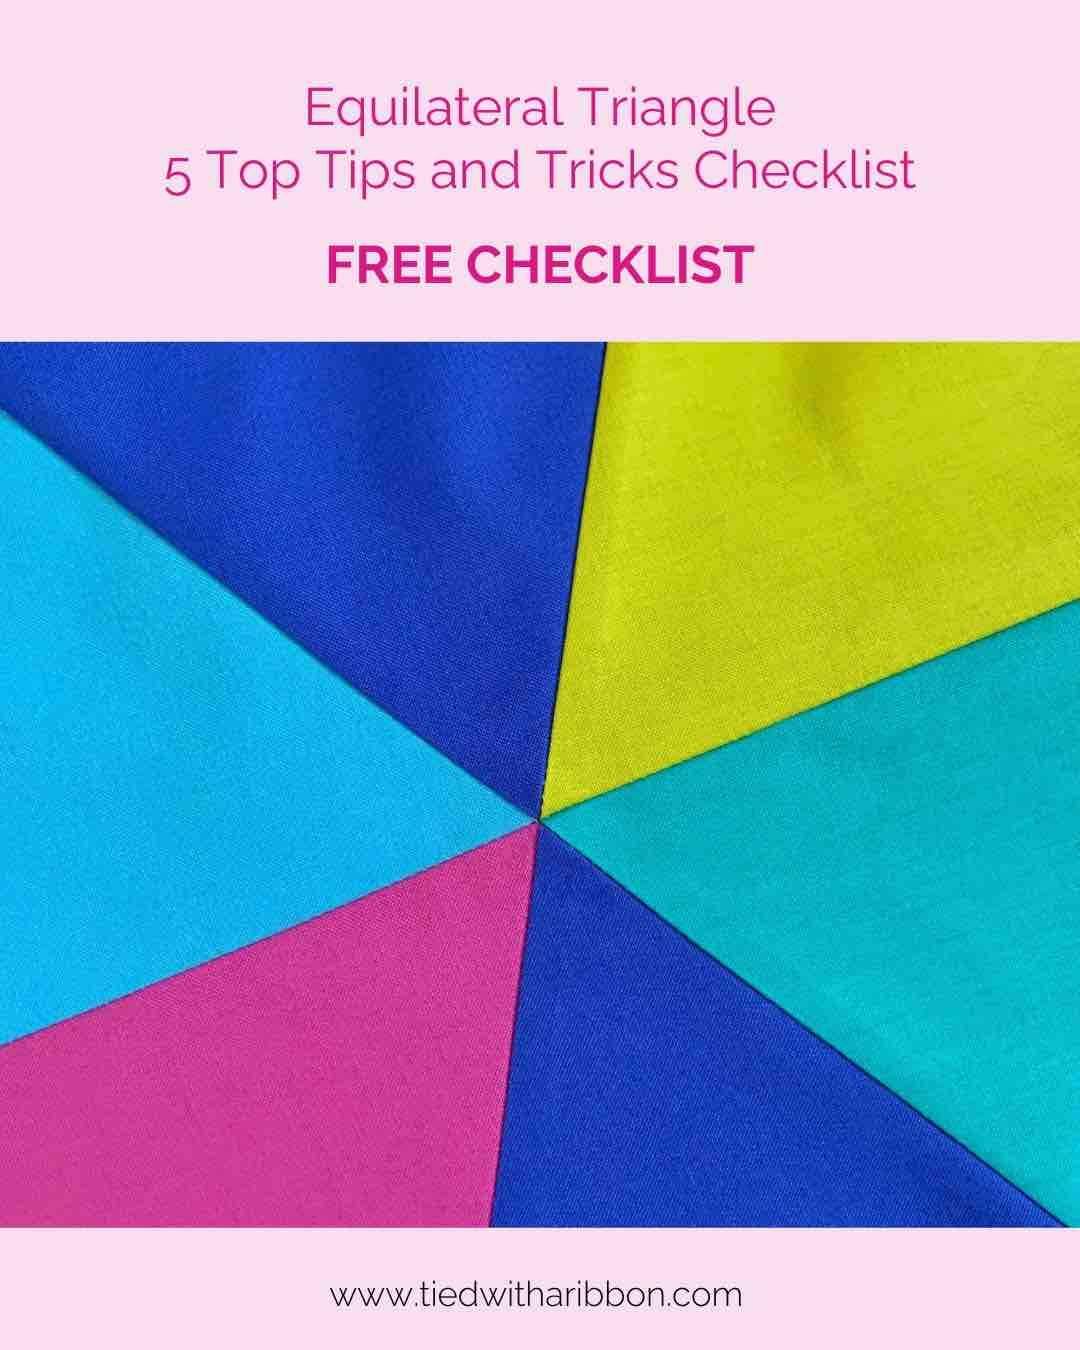
When it comes to sewing your EQ triangles together and aligning seams and points- match your points at the seam intersection (not along the raw edge of the fabrics).
1. Place a pin where the seam meets at ¼in to hold these points together. I like to put my pin through on a diagonal to hold down seam allowances from either side.
2. Sew the seam through where the points intersect. You may need to sew slightly scanter or wider at this point, so your stitch runs exactly through this point.
3. Be amazed by perfect points.
Check out the Reel here so you can see it in action
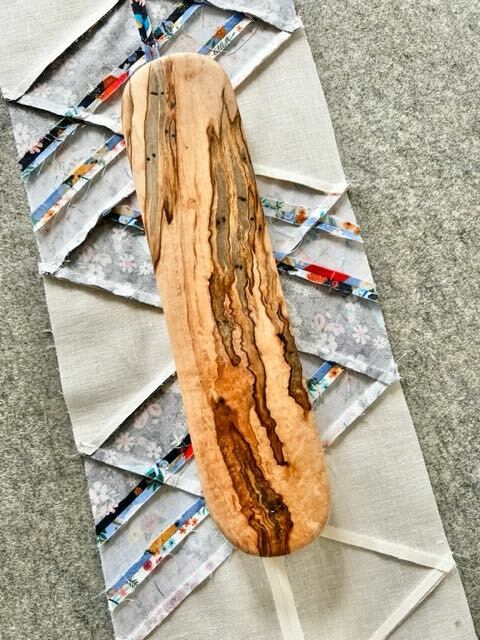
The magic of a Tailors Clapper and your Iron
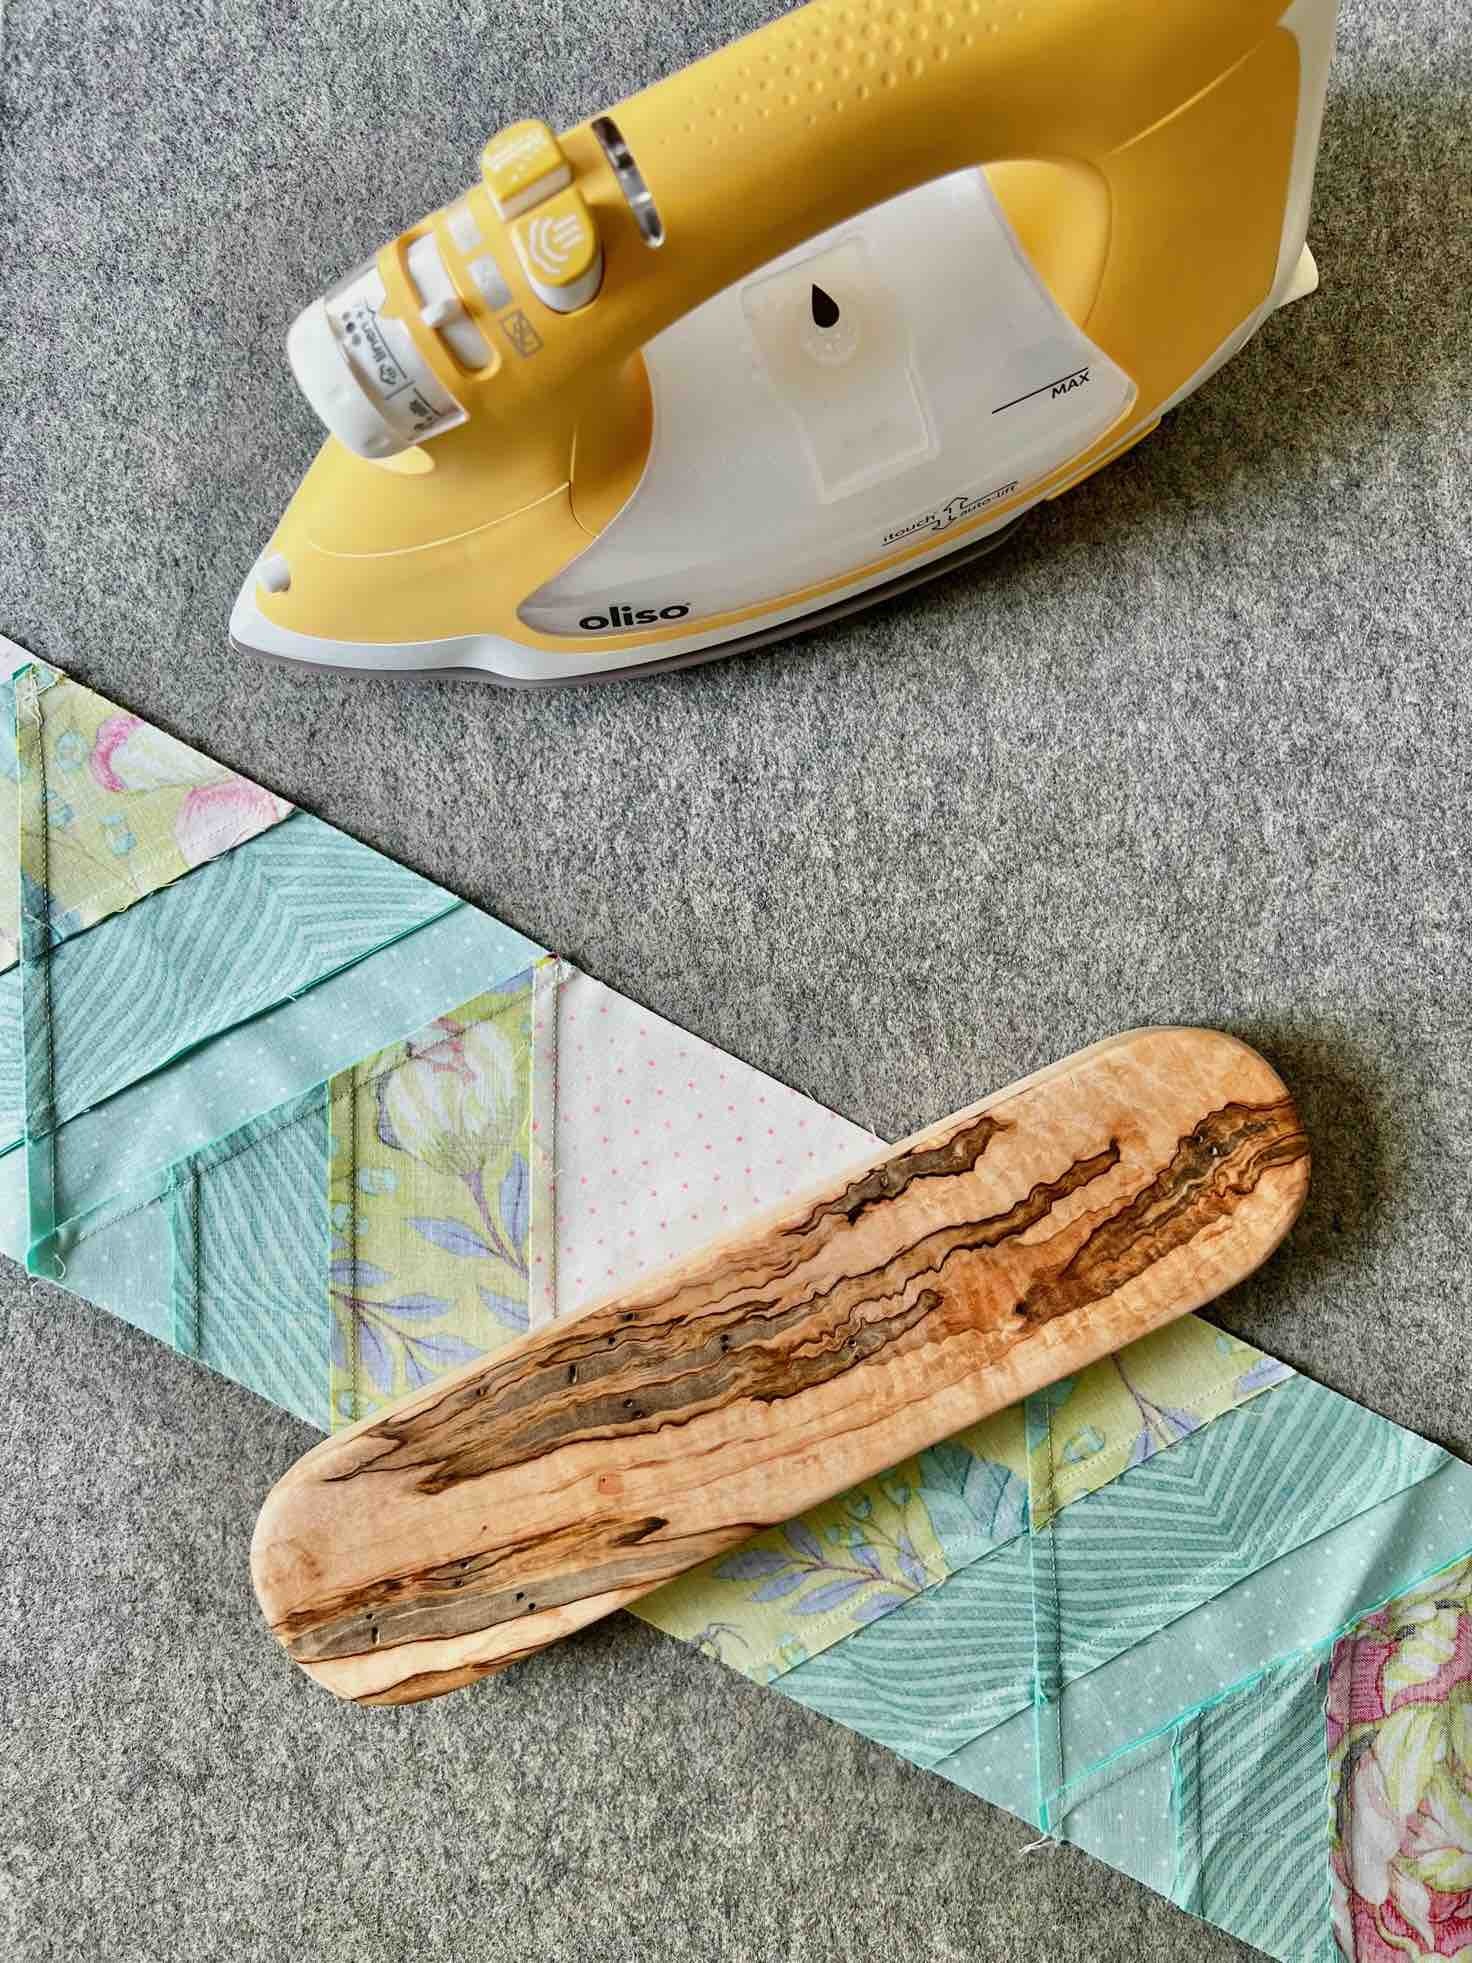
Achieving flat seams is a common aspiration among quilters, and it's a game-changer, making your precision, piecing, and quilting a breeze. Some folks, however, might be a tad reluctant to take the plunge and embrace the wonder of tailor's clappers.
Now, let's talk about the science behind it. Heat and steam, my friends, are the magical duo that makes fabric fibers bend to your will. When you hit them with heat and steam, they become all flexible, and as they cool down to room temperature, they stay put in the shape you desire. It's like fabric magic! But here's the thing, when you're just pressing and you remove the iron's pressure while the fabric is still sizzling, those fibers can sneakily relax out of shape before they stiffen up again.
Enter the tailor's clapper – this little hero traps that heat and steam for an extended rendezvous with your fabric. This extra time in the heat spotlight lets the fibers settle into that perfect, flat formation you've been dreaming of, and the clapper keeps them locked in that ideal shape as they cool.
The secret sauce? Well, a dense wood clapper is your best buddy, as it holds onto that heat and steam like a champ, giving your fibers even more quality time to become perfectly flat. And remember, a heavier clapper is your golden ticket to a fabric that's as flat as a pancake.
My best recommendations are:
Tailors Clapper by – of course @modern_american_vintage
Iron by Oliso (did you know I have 3 of these to GIVEAWAY for winners in our final week)
Wool Pressing Mat
Denim Pockets Quilt Along Week 4
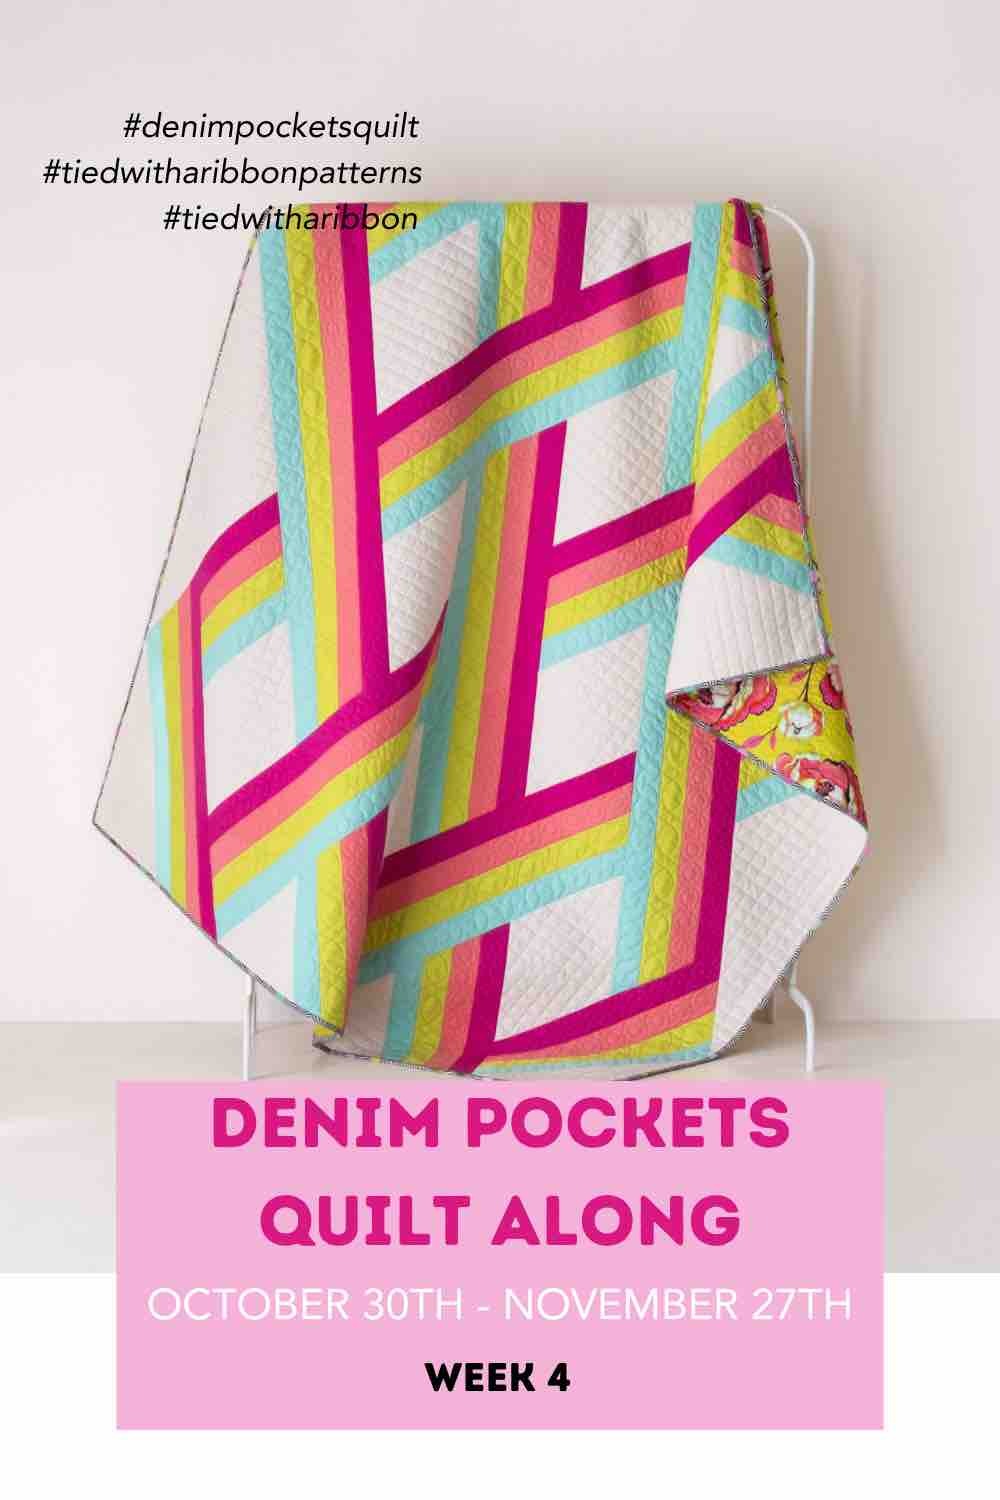
This week is all about finishing sewing your rows and having your Quilt Top completed as well as starting to think about getting your Quilt Top ready for Quilting. I have put together some tips and links below which I hope will help you with the decisions for this next part of the process with how you will finish it.
Quilting Decisions
When it comes to deciding on how to Quilt your Quilt - you have lots of options.
Quilt It Yourself - for those keen to quilt your own Quilt there are lots of ways you can tackle this. You can simply quilt tram lines both sides of all the seam lines for simple but effective quilting. You can get as adventurous as you like with Free Motion Quilting or even more detailed straight-line quilting. Or how about Cross-Hatching over the entire quilt or even using a Large Zig Zag stitch without needing a lot of experience.
For those wanting to give Free-Motion Quilting a go or already are familiar with this Technique, check out this Blog Post I wrote all about Machine Quilting. I hope this gives you some helpful tips.
Hand Quilt it - if you love the look of hand quilting or have ever wanted to give this a go, head over and check out all my best Hand Quilting Tips and Tools here. There is nothing more satisfying than the look of perfectly imperfect handmade stitches in a quilt.
Send it to a Professional - you can send your quilt to a Long Arm quilter who can either do and Edge to Edge Design or Custom Quilt your finished Quilt.
Denim Pockets Quilt Along Week 5
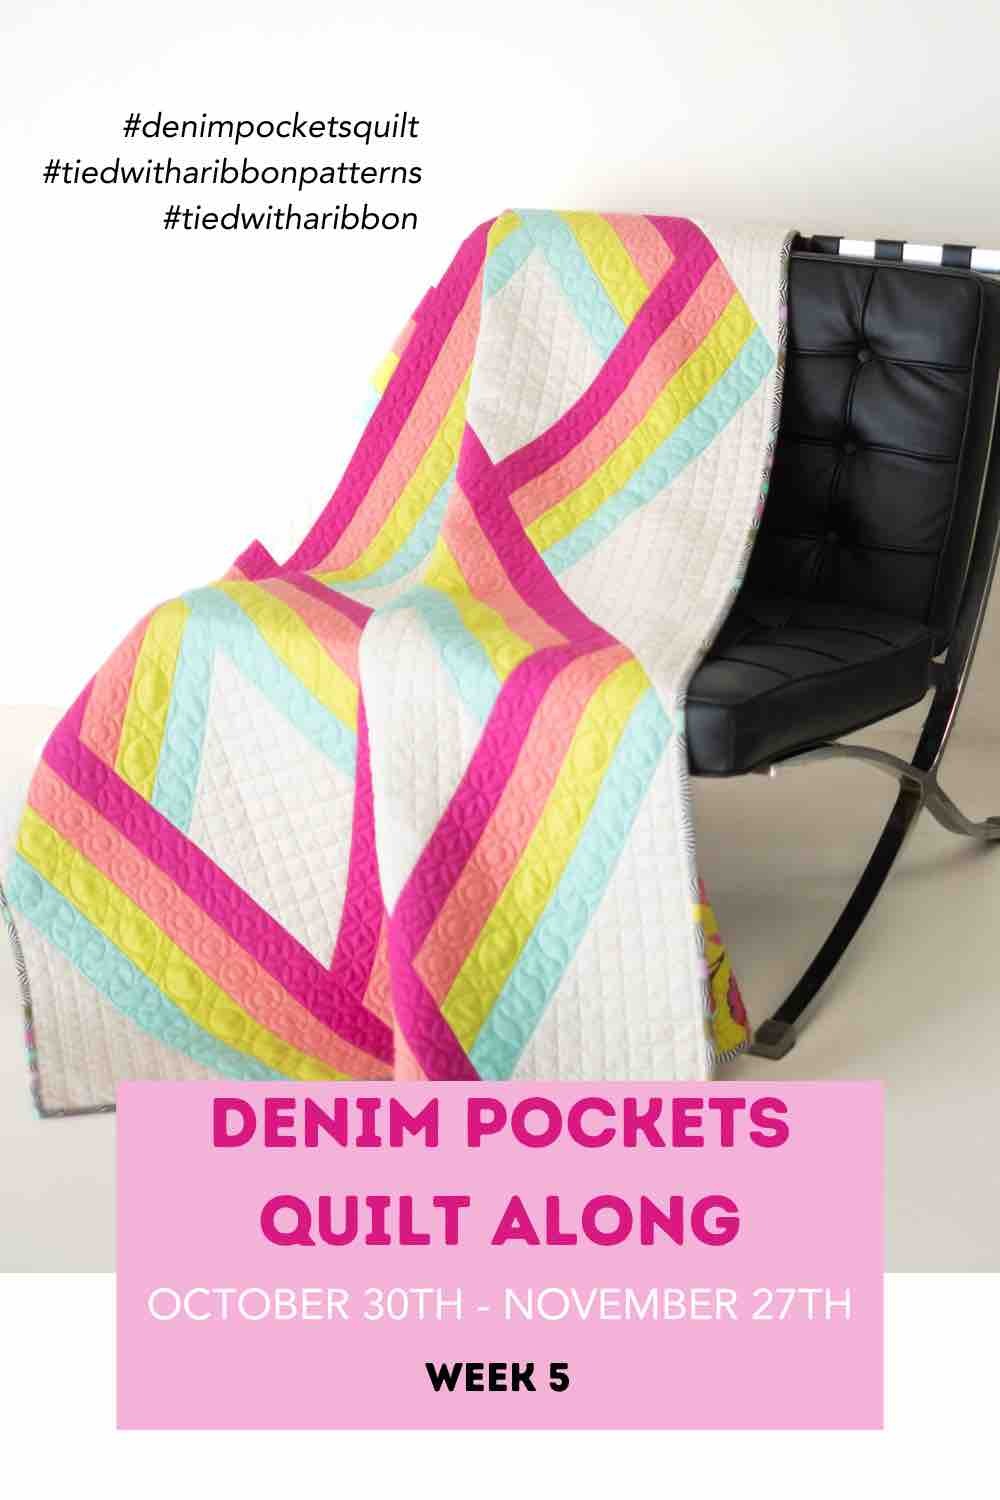
Well, I can't believe we have come to the final week of the Denim Pockets Quilt Along. I am beyond humbled by all those who have joined in and for all the love this pattern of mine has been shown. A massive thank you to you all for your support - it really does mean so much to me.
So, this week is all about finishing your Quilt Top as well as getting your Quilt ready for Quilting, and Binding and being able to then finish it up.
Once you have your Quilt all Quilted - now you can turn your attention to Binding your Quilt.
I have put together a Tutorial on how to work the Binding continuously around the corner when you sew it onto the top of your Quilt – it’s a small but very helpful and useful way to sew your Binding all on in one go. Check it out here
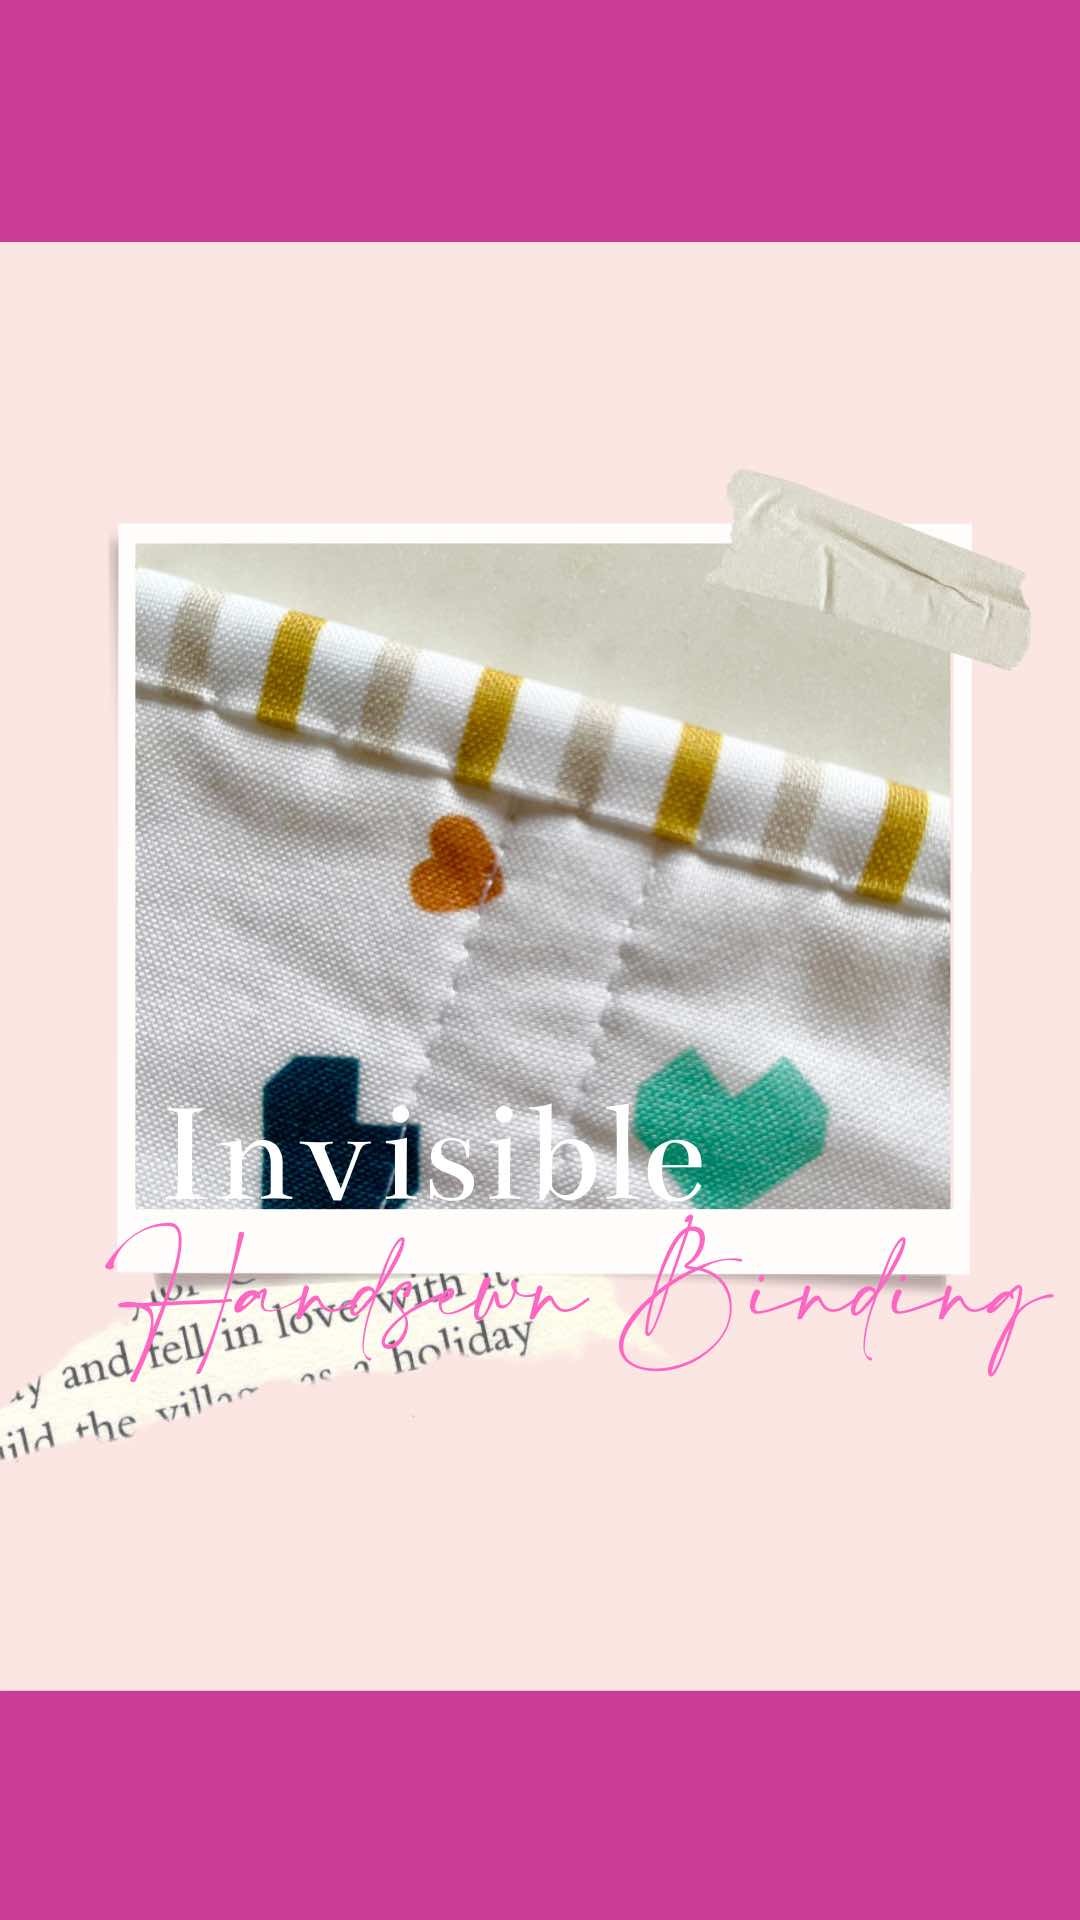
When it comes to hand sewing your Binding down, you can check out this Reel for how I hand sew my binding down Invisibly
How to Invisibly hand sew your Binding like a boss!
1. Single Strand thread, double knot then oversew to secure.
2. Take the needle down to the machine sewn line of binding and come up through to the front.
3. With the needle grab a few threads from the Binding strip from the front.
4. Move the needle through the middle of the layers of backing and batting and come up about 3/8in (1cm) from the last stitch.
5. Repeat steps 3-4 and continue along the back seam line.
